Einleitung

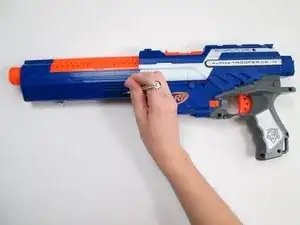
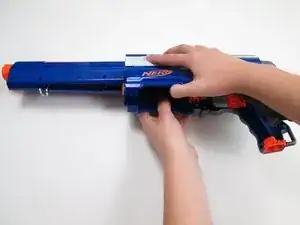
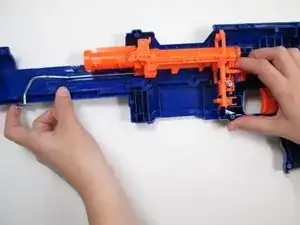
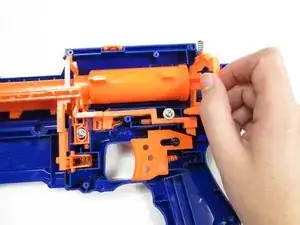
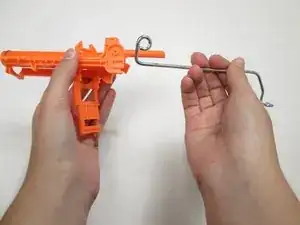
A damaged hammer rod may make it difficult, or entirely prevent the slide from operating. This can make loading the rifle difficult. This guide shows you how to access and replace the silver hammer rod next to the barrel of the Nerf gun.

  1. BQmiWF2U5NQF5BOl
    • There are many screws of varying lengths involved in the disassembling of this device. It is important to keep track which screws correspond to which holes. This will help ensure proper reassembly.

    • Be sure that the rifle is discharged and unloaded before starting disassembly.

  2. rGRnOlxuuAFEBAis
    rGRnOlxuuAFEBAis
    hqjTVAyCxT2ounYi
    LXsPZoBZdKSx34Xg
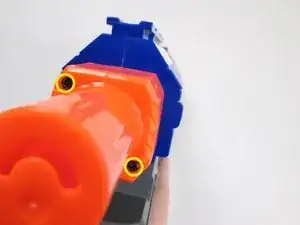
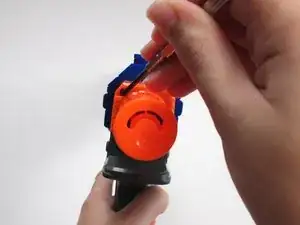
    • Looking from the rear of the rifle, remove the two 10 mm phillips screws holding the orange cap to the butt of the rifle.

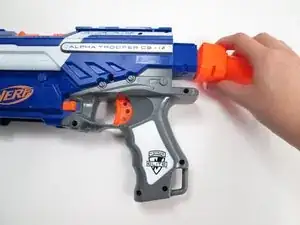
    • Pull off the orange cap.

  3. D5CcXmajeCIWjv4P
    D5CcXmajeCIWjv4P
    f6OAL6jBTeGhMx2F
    ET11Pgb1TTKttKfp
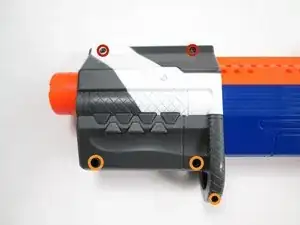
    • With the rifle barrel pointing left, remove the two 8mm phillips screws holding the slide mechanism together.

    • Remove the three 10 mm phillips screws from the bottom of the slide mechanism.

    • Separate and remove the two halves of the slide mechanism.

    • Make sure to keep track of which screws correspond to which holes.

  4. PTdQdsMqL5OoMMPG
    PTdQdsMqL5OoMMPG
    UaS5VIhAQaU4LhEM
    • Again with the rifle barrel pointing left, remove the fourteen 10 mm phillips screws from the main body of the rifle.

    • Remove the two 5 mm phillips screws from the main body.

    • Remove the two 8 mm phillips screws from the main body.

    • Screws are varying lengths, make sure to keep track of which screws correspond to which holes.

    The screw to the left of the orange Nerf logo is actually 8mm, not 10 mm indicated in the key.

    Nikolas Hill -

  5. v1vEv4WPHC6JiFqD
    v1vEv4WPHC6JiFqD
    OghghqAiGEXSOJYg
    FwAgGkFcWUSHLIEJ
    • Pull the two halves of the rifle apart.

    • Be careful of the spring at the rear end of the rifle. It may come flying out.

    • If you have difficulty pulling the two halves apart, spudger to gently pry the edges of the body apart.

    • Also be careful of small parts when opening the gun, they may be easy to lose.

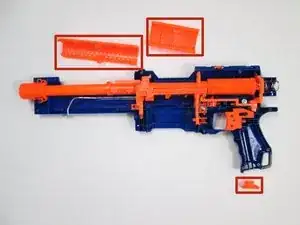
    • Remove the access gate and barrel cover.

  6. Xg6Rd3bgjmkWGJar
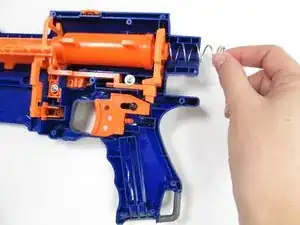
    • You should now be able to pull the main firing spring from the rear of the rifle.

  7. OtNYYmXMiu1bmsXe
    OtNYYmXMiu1bmsXe
    5W4XsZ112LVcYaDi
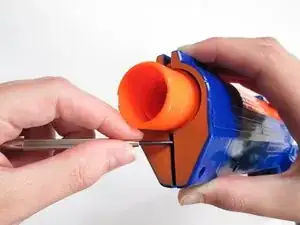
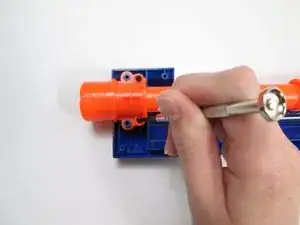
    • Remove the two 5 mm phillips screws holding the muzzle in place.

  8. KK3aWULwAspsQUWK
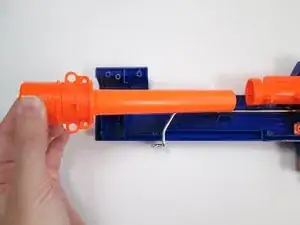
    • Remove the barrel and muzzle assembly from the gun body.

  9. ToC1byPpN2MhNdRN
    ToC1byPpN2MhNdRN
    iwiblYU5W1OAZeZq
    • Remove the 5mm phillips screw holding in the chamber lock mechanism.

  10. vDh5wqN2kVnb2SZ5
    vDh5wqN2kVnb2SZ5
    HBSrU1CZ3ydQDYh2
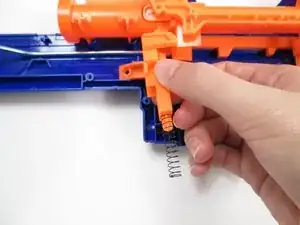
    • Pull the front chamber lock spring up and out of its seat.

    • Pull the front chamber lock mechanism down and out of the rifle barrel.

    • Note there are two pieces to this mechanism.

  11. wwEOBALZvADxlVk1
    wwEOBALZvADxlVk1
    IoZtTrJbsXjYLo6k
    uTy45eM2PMmQLNGW
    • Holding the rear chamber slide lock down, slide the chamber to the rear of the rifle.

    • Remove the rear section of the barrel.

  12. HxUT2IQvPAGvgrFu
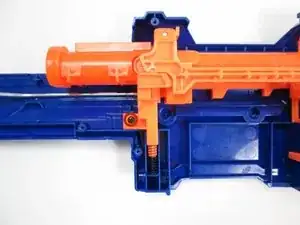
    • With the plunger in the air cylinder, pull the plunger lock out of the rifle body.

  13. FMZGjSWAJAKpE64p
    • Pull the air cylinder and plunger assembly rearwards and out of the rifle.

  14. L2OnHUWH14sw4KCP
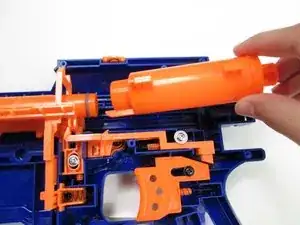
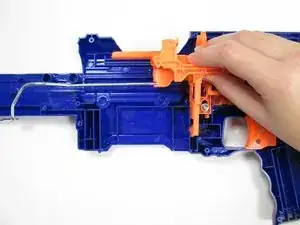
    • While holding the slide lock mechanism down, pull the bullet chamber assembly up and out of the rifle.

    • Part of the magazine lock mechanism should come along with it.

  15. wjJmNNQHlUTImLIL
    wjJmNNQHlUTImLIL
    FnlWqOmkXYcKFr6g
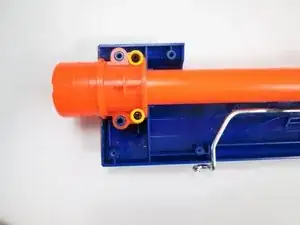
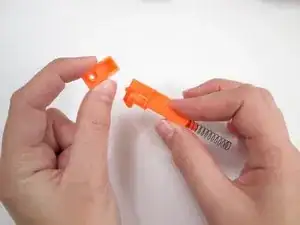
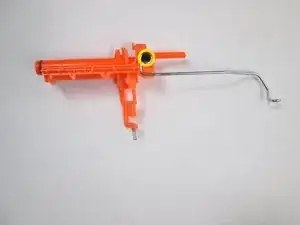
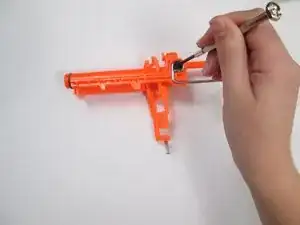
    • With the hammer rod side of the bullet chamber facing you, unscrew the 5 mm phillips screw holding the hammer rod in place.

  16. mgmeaxGOZCCekMUL
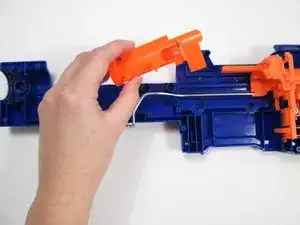
    • Remove the hammer rod.

Abschluss

To reassemble your device, follow these instructions in reverse order.

Elizabeth Coffey

Mitglied seit: 26/01/14

404 Reputation

0 Kommentare