Einleitung
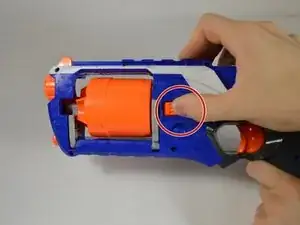
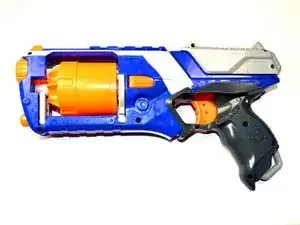
In cases where the unloading button fails to release the loading barrel, you may need to open your Strongarm up for inspection. Follow these steps to verify the button is in proper working order.
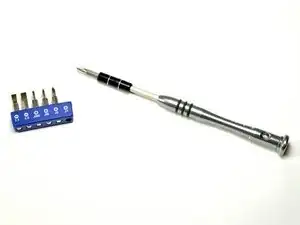
Werkzeuge
-
-
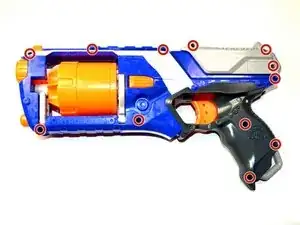
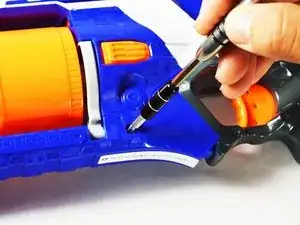
Locate the 12 Philips head screws and remove them: Head Diameter= 4.3mm, Thread Pitch= 1mm, Screw Length= 8mm
-
-
-
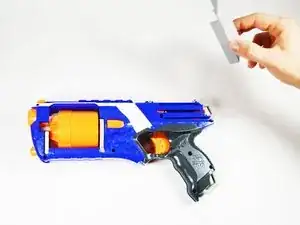
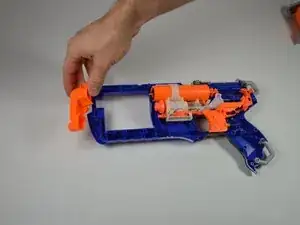
Before removing the cover, make sure to first remove the cover for the cocking mechanism. The top half is freely removable.
-
-
-
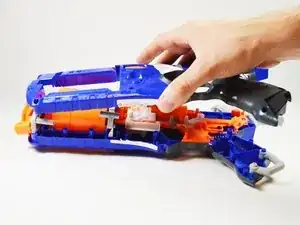
Once the screws have been removed, lift the top half of the gun off.
-
Take care and try not to lose any smaller pieces as you open it up.
-
Locking tab for attachments.
-
-
-
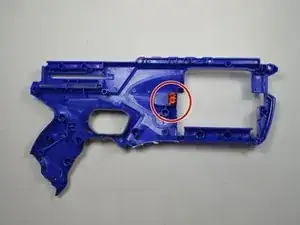
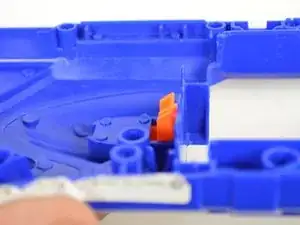
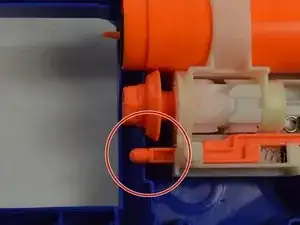
Look inside the top cover of the blaster and locate the tab extending from the unloading button. It shouldn't be too hard to find as pictured since it will be the only orange piece.
-
Inspect the button's location for signs of debris impeding its operation. Replace if necessary.
-
Ensure the unloading button has a 45 degree angle contact surface.
-
-
-
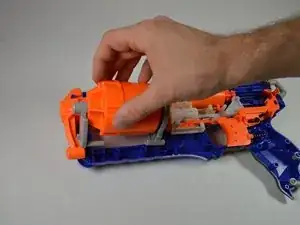
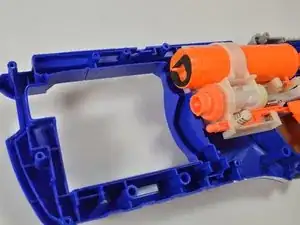
To make the relevant pieces accessible, remove the barrel from its position on the bottom half of the blaster cover.
-
-
-
On the bottom half of the blaster, ensure the tab from the button makes contact with the barrel assembly.
-
Clear out any debris in the way, or replace the button as necessary.
-
-
-
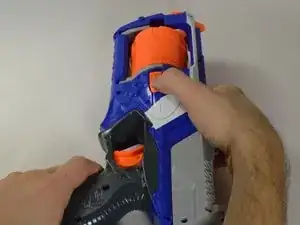
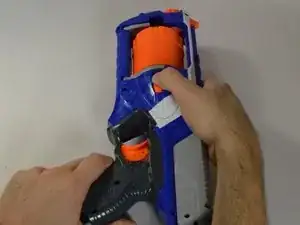
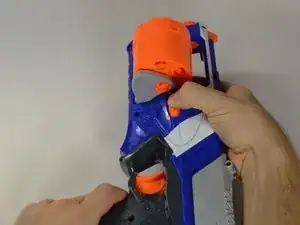
Reassemble and test the unloading button's functionality. The button should correctly lock and release the blaster's dart barrel!
-
To reassemble your device, follow these instructions in reverse order.
