Einleitung
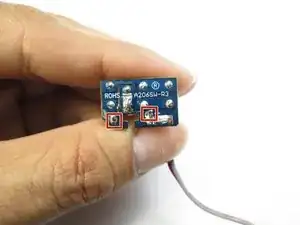
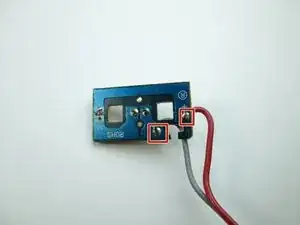
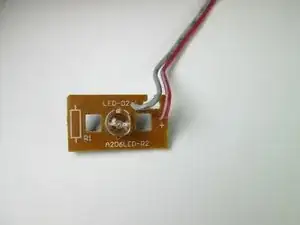
You will learn how to remove and replace the wires connecting the batteries to the LED. This guide does involve soldering so please take the time to learn how to solder or bring it to someone who knows how to.
Werkzeuge
Ersatzteile
-
-
Use a #1 Phillips screwdriver to remove the 10 -mm screw that secures the battery plate, then remove the battery cover using your hands.
-
-
-
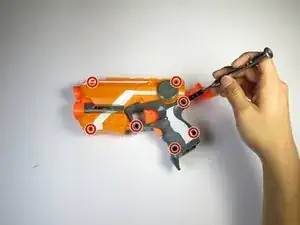
Remove the seven 10-mm black Phillips screws from the blaster casing with a #1 Phillips Screwdriver.
-
-
-
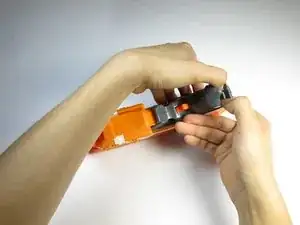
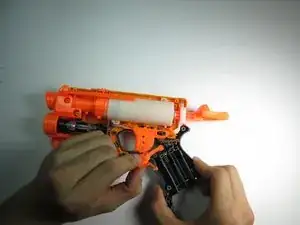
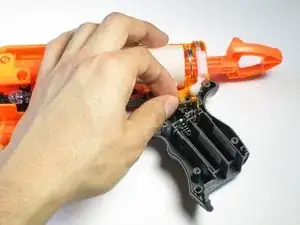
Slowly pull apart the blaster casing, starting at the battery location.
-
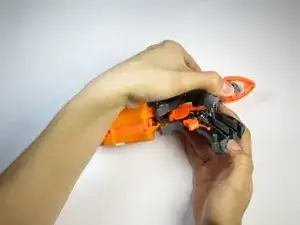
Keep pulling apart slowly until it separates completely. Be cautious as to not send the internal components flying.
-
-
-
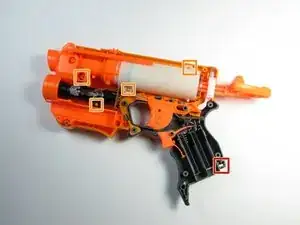
Remove the firing trigger by grabbing the trigger with your fingers and pulling it up and out.
-
-
-
Remove the laser trigger by grabbing the trigger with your fingers and pulling it up and out.
-
-
-
Gently pull up on the circuit board located near the gun handle until it separates from the gun.
-
-
-
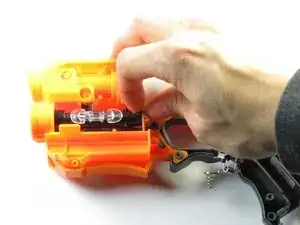
Grip the circuit board located at the base of the laser with your fingers; rotate it towards the ammo compartment on the blaster until the guide hole is clear of the guide pin.
-
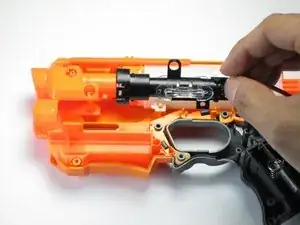
Slide the laser assembly out.
-
-
-
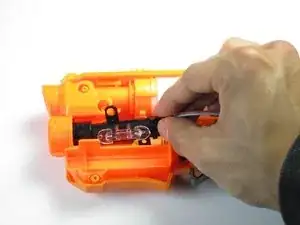
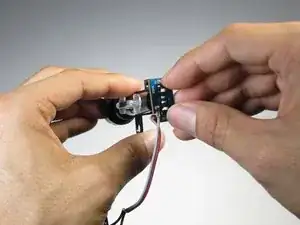
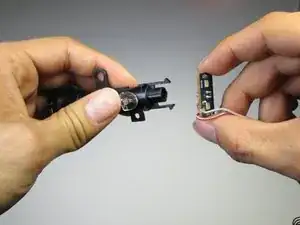
Pinch the clips holding the circuit board to the laser assembly and remove the circuit board.
-
To reassemble your device, follow these instructions in reverse order.

This should be step 1
Samuel Garcia -