Einleitung
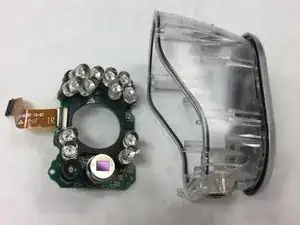
A quick and simple guide for replacing the infrared LED board in the Netgear Arlo security camera.
Werkzeuge
Ersatzteile
-
-
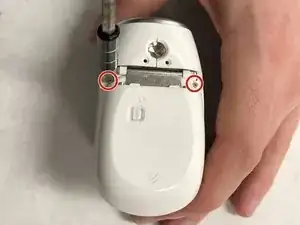
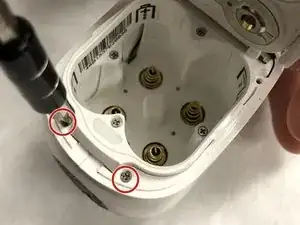
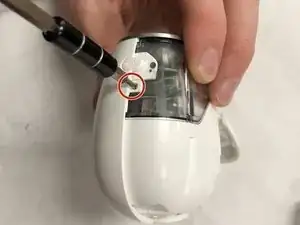
Slide the unlocked battery cover forward to remove 2 (3.5mm) screws, that are behind the cover.
-
-
-
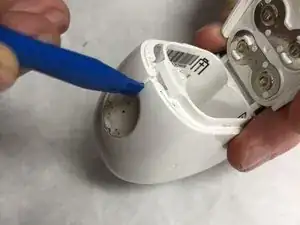
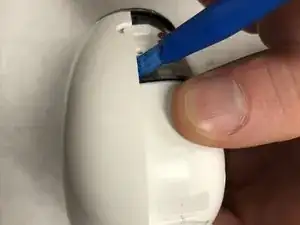
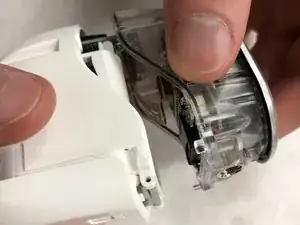
Use a plastic opening tool to start separating the plastic housing from the front side of the battery cover.
-
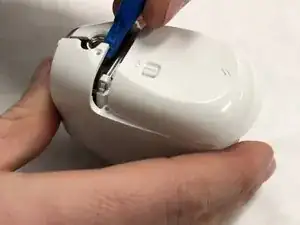
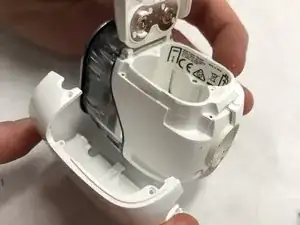
Next, start separating the plastic cover from the rear of the plastic housing, and work your way down the seam line.
-
-
-
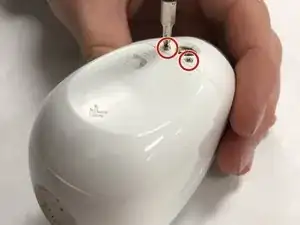
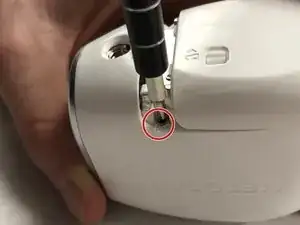
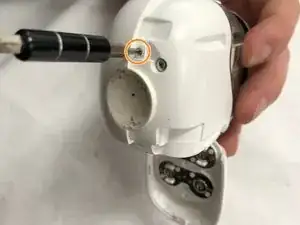
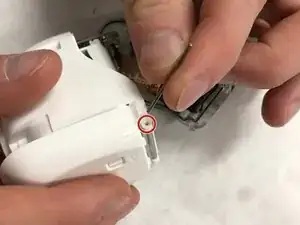
Remove the screw (3.5mm) near the sync button holding the opposite side of the camera on.
-
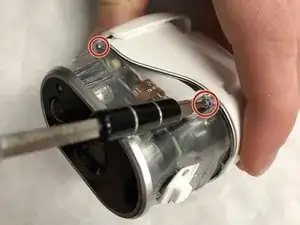
Remove the second screw (3.5mm) on the back of the camera to remove the second housing.
-
Once the screws are removed use an opening tool to pry back the second plastic mount.
-
-
-
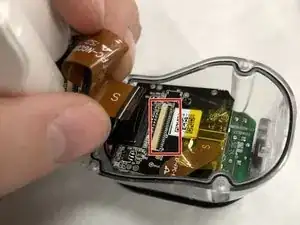
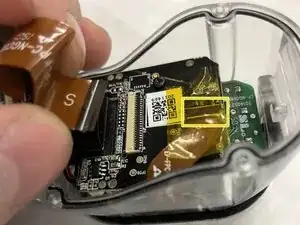
Remove Large ribbon cable first to disconnect front of camera from main body.
-
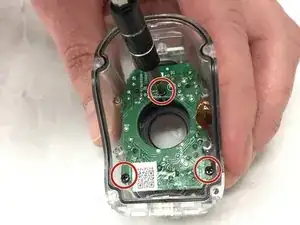
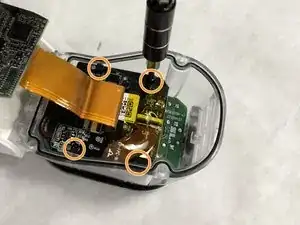
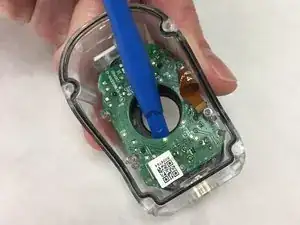
Remove 4 (3.5mm) small black screws from motherboard of the camera unit.
-
Remove smaller ribbon cable from underneath yellow tape.
-
-
-
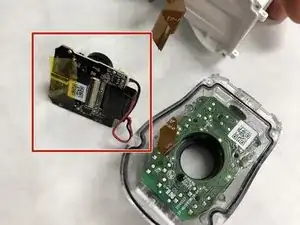
Once all ribbon cables are removed, remove the motherboard and camera assembly by pulling up on the black camera motherboard.
-
To reassemble your device, follow these instructions in reverse order.
3 Kommentare
Great tutorial, thanks a lot.
I have a problem with infrared, Netgear isn’t able to help me without seeing the camera.
I would like to ask you….
In the night the red leds light on but you see all black, there is no light entering in the lens system. I think there is a problem in the diaphragm… what do you think?
The first months it works correctly (except once when I see all pink, I fix it restarted the camera).
Thank you!
Matteo
matteor84@hotmail.it
Where can you buy the board and other parts?
I’d like to know too. This repair guide is no help if you can’t buy the parts needed to complete the repair.
