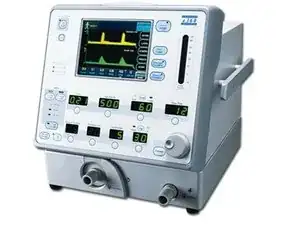
Einleitung
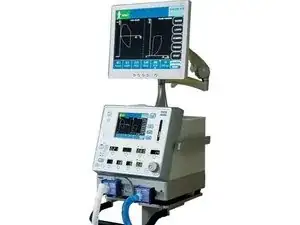
The top cover is used as the housing unit for the wiring and electronics in the inside of the ventilator. In order to access the inside of the ventilator the top cover needs to be removed. The following steps are not difficult but be sure to thoroughly read all the steps.
For more information on removing the top cover, please refer to page 4-3 in the service manual.
Werkzeuge
Ersatzteile
-
-
Turn off the Ventilator before starting this repair.
-
Shut off or disconnect he air and oxygen gas supplies.
-
-
-
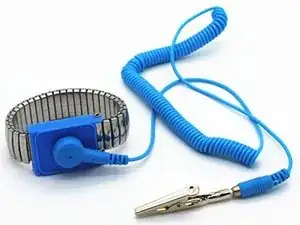
For your safety put on an electrostatic discharge (ESD) wrist strap.
-
To adviod damage to the ventilator always used standard ESD precaustions while performing any service.
-
-
-
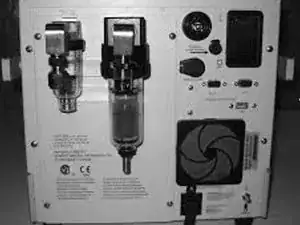
Rotate the device so that the back face is facing you.
-
The back face will look like the picutre.
-
-
-
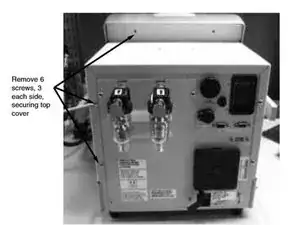
Locate and remove the 6 screws (Philips size 1) that secure the cover.
-
The picture locates 3 screws on the left side. The other 3 screws are found at the same location on the right side.
-
To reassemble your device, follow these instructions in reverse order.
