Einleitung

With this guide you will be able to successfully remove the damaged or old battery pack.

  1. qEcR6YKF4buDDWvc
    qEcR6YKF4buDDWvc
    mXLLOf6vRbARSQwK
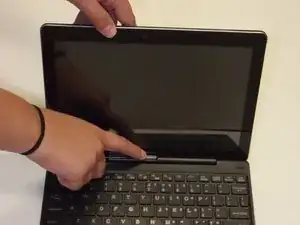
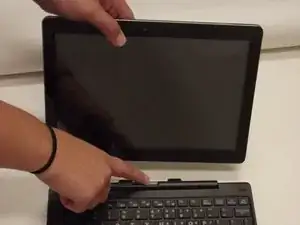
    • To begin, remove the screen from the keyboard.

    • Open the 2-in-1, and hold the screen.

    • Press the silver button at the top of the keyboard.

    • When the screen lifts up, gently lift the screen away from the keyboard.

  2. IbK6PXnXCfYUlHku
    IbK6PXnXCfYUlHku
    pgfl66n3QMfAH2iC
    TfAwGTyMsRvFGwLt
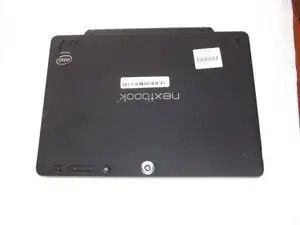
    • Removing the back cover will invalidate your warranty.

    • You may use your fingers, or a spudger. Be careful not to break your cover OR your fingernail. Removing the cover requires good judgement.

    • The goal is to separate the black from the silver. Start in a corner, or a flat edge -- whichever works best for you. Remember to not use too much force.

    • Once you start the initial separation, keep going until you free one edge. The goal now is to free three edges of the rectangle.

    • If your progress stops on one side of the rectangle, go to the other side and try there.

  3. Ftx1XUZh2E2MstYu
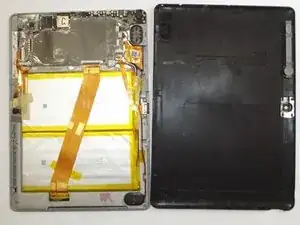
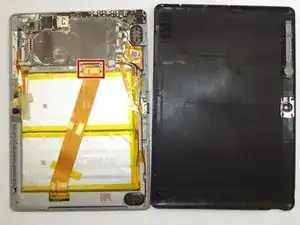
    • Gently pull the back cover from the screen assembly.

    • Keep the plastic cover close. It's great for holding screws!

    • When putting the cover back on, press firmly around to outside edge with the screen facing down on a flat, debris-free surface.

  4. xxKZQvDemkAhWJaF
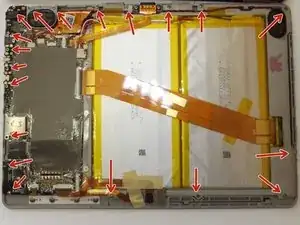
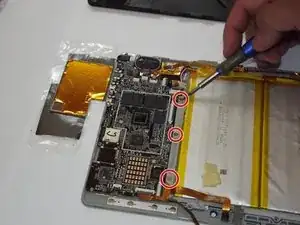
    • Once you have the cover off, remove the screws from the outer perimeter of the board assembly with a small philips head screwdriver. See arrows.

  5. RTauUwmcYQpEtXVX
    RTauUwmcYQpEtXVX
    wTMaLJaQhPMCHCMw
    jBQZcOSHieBWJGxD
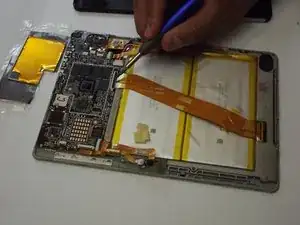
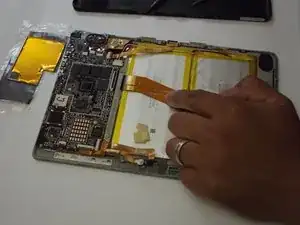
    • Remove the smaller ribbon clip on the right side of the device and top right of the battery.

    • Remove the second clip underneath the ribbon clip.

  6. NKAGpX1jwnU1qguR
    NKAGpX1jwnU1qguR
    TGCXcYR5VK2kog2e
    iDBVM2qFQMj5bROj
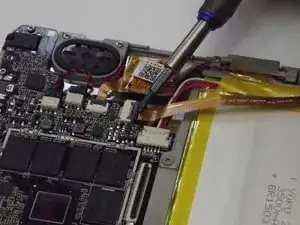
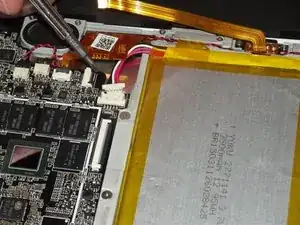
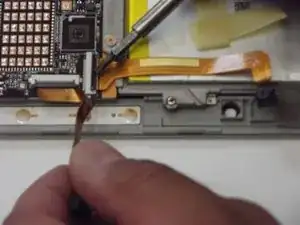
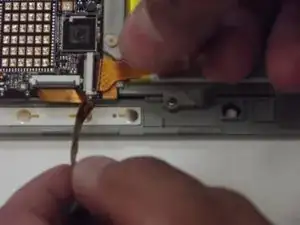
    • When removing the second cable clip use a small flat head screw driver to lift the latch.

    • when removing be careful not to damage the ribbon cable.

  7. vFYDqcmHrEtSRiS6
    vFYDqcmHrEtSRiS6
    UurSx3EX4KPETNQl
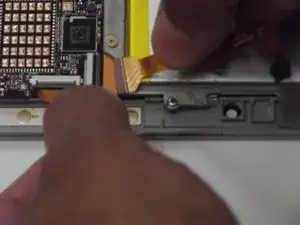
    • Repeat step 6 for the large ribbon cable.

  8. EXMUxTwhZXbnMl1m
    EXMUxTwhZXbnMl1m
    23pC1xhjPbgAibUO
    XHjohKRKwHMZghKZ
    • To remove the battery section of the device from the circuit board remove, use the small Phillips head screwdriver for the 3 small screws near the top.

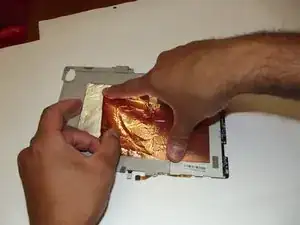
    • To get the battery pack completely away from the circuit board there is copper foil on the back of the battery.

    • be careful not to rip the copper foil. Pull the foil slowly an evenly.

  9. BDZwKKeVKJxRC4Tb
    BDZwKKeVKJxRC4Tb
    3HSWFNlmQH1BXHNZ
    iVVuj4vD5wTDSjQC
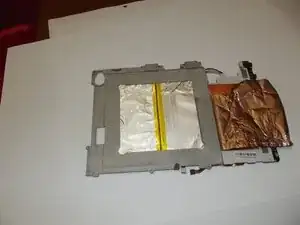
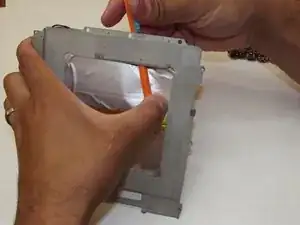
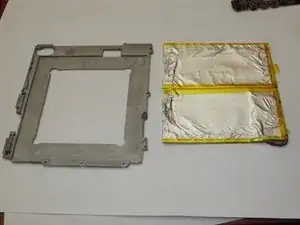
    • Now that the battery is all by itself find a non-sharp and thin object to help pry the battery from its base.

    • Move slowly and carefully to not puncher the battery casing.

    • FINALLY you have successfully removed the battery from your device.

    Please tell me where you can get a replacement battery. Cameron Sino has batteries for other versions of this laptop but not the NXW101QC. They have sent me two wrong batteries. I need a new one. Please tell. Ed

    Edward Sweeney -

    This is really hard to find, I was not able to find spare part for the laptop models number you specified. I only could find a battery approaching the one shown in the pictures on this iFixit tutorial with the same manufacturer, voltage, capacity and battery model number : YUKU 2771141 3.7v and 3500 mAh but I cannot grant it will work, as the circuitry on the battery can be different / incompatible as this same exact battery manufacturer and battery model number have been used by another laptop manufacturer for other laptop models.

    If your batteries are the same as the one shown in the picture above, you can try to find YUKU 2771141 on Google as this exact manufacturer / battery model can be found as spare part for laptops with manufacturer “Casper” and model number “N240” or “N220”.

    But I cannot grant compatibility, especificaly concerning the protection circuitry (BMS) or connector. You may need to keep the old battery connector in order to soldering instead of of the new battery connector.

    It also might not work at all.

    Brendan -

Abschluss

To reassemble your device, follow these instructions in reverse order.
Jeremiah Fredere

Mitglied seit: 02/10/17

171 Reputation

0 Kommentare