
Einleitung
Werkzeuge
-
-
Time to gram the trusty Ifixit Kit
-
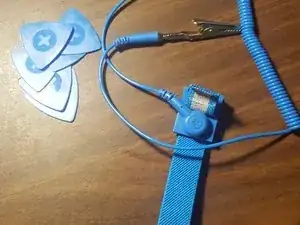
Always properly ground yourself when working on small electronics..
-
-
-
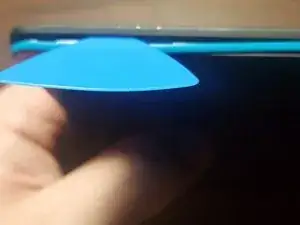
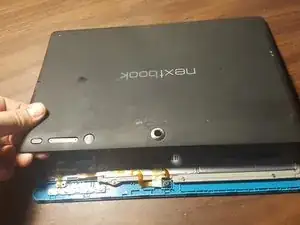
Picture one and two: Seperate back wall and blue mid frame. You are releasing about 8 or 10 clips accross the top.
-
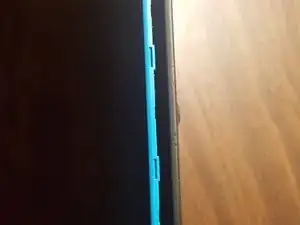
Picture three : Lay tablet flat and lift at camera side, while sliding the back wall away from you. This will keep you from breaking the clips around the keyboard docking area.
-
-
-
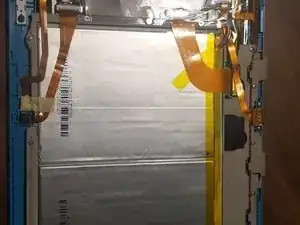
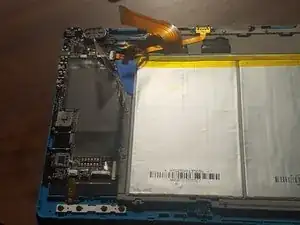
Picture 1 : Now your in the beast
-
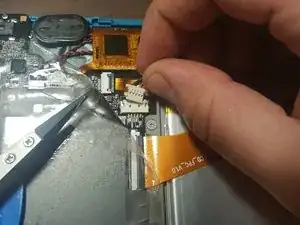
Picture 2 : First you want to peel back this tape and expose the battery connector. Remove the battery connector before anything else.
-
Picture 2: Next remove the ZIF connector directly underneath of the battery connector.
-
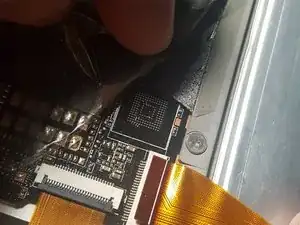
Picture 3 : Finally remove the 2 ZIF connectors at the bottom of the battery. These cameras can be pulled out of your way to have access to the battery
-
-
-
Picture 1: Once the battery is free you will want to apply heat by either a hot plate, or a heat gun, to ease the removal of it. Only use FLAT ifixit plastic pry picks. DANGER: Puncturing battery can lead to fire, damage to your device, or even personal injury. PLEASE BE CAREFUL and Happy fixing
-
ifixit and the creator of this walthrough is not responsible for any damages to your device or self. All repairs are done at your own risk
-
Once battery is removed, follow these steps in reverse to reassemble.
-
To reassemble your device, follow these instructions in reverse order.