Einleitung

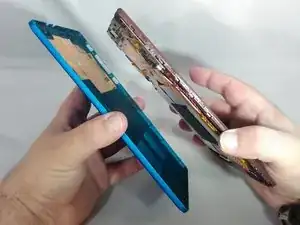
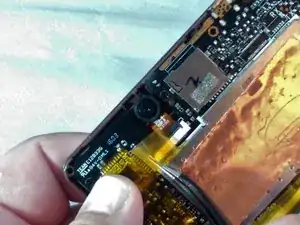
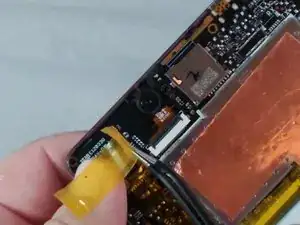
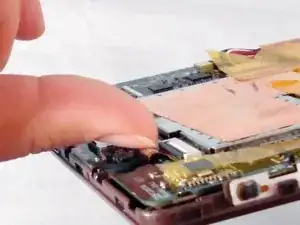
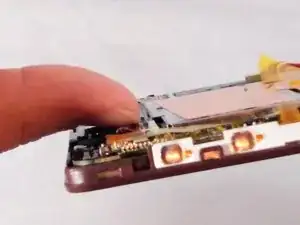
If your pictures are blurry or losing quality, the front camera may need to be replaced. This guide will take you through the steps to replace the front camera which is quite easy. First you will disconnect the battery, then remove the front camera. The most difficult part will be removing the back cover, so please follow the steps carefully. The entire process is moderately difficult and will take you approximately 15 minutes to complete.

  1. ElsgOTUyKrnnFnPQ
    ElsgOTUyKrnnFnPQ
    3gXRxARxkPIXyKBj
    LvOuaT6TxKmEIZxl
    • If you see any leakage coming from the tablet do not open the back cover!

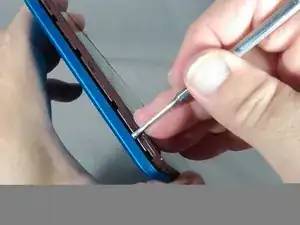
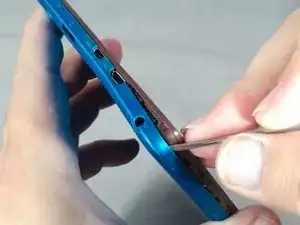
    • Ensure you do not pry around the buttons. This could result in damage and render them inoperable.

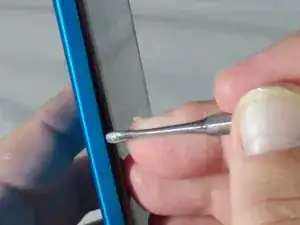
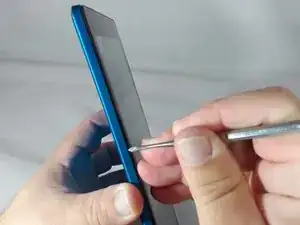
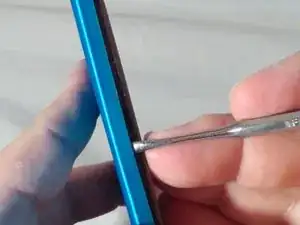
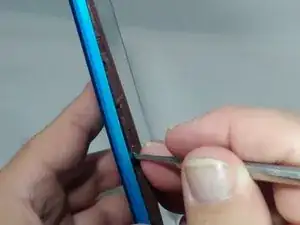
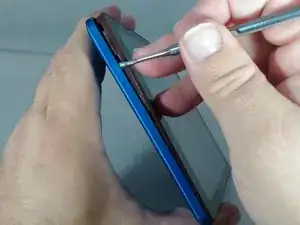
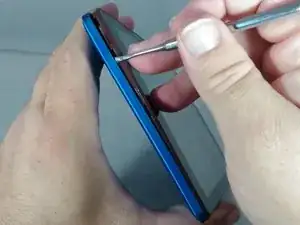
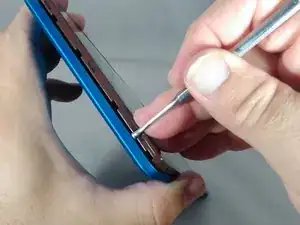
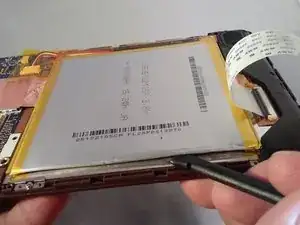
    • •With the tip of the thin metal spudger in place, use a prying motion to work the spudger down the side to the corner of the device.

  2. NBgydC3aYJtEsKKZ
    NBgydC3aYJtEsKKZ
    xIlD4lQHBr2g2TZt
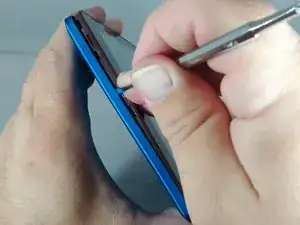
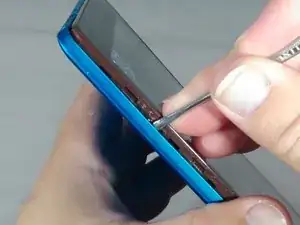
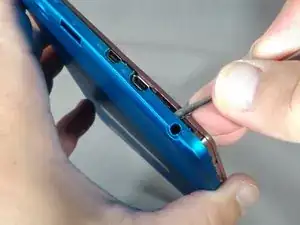
    • Continue working the spudger downward and pry with the spudger until the bottom left-hand corner of the tablet is reached.

  3. 4TOIQVrJHLPy24Sq
    4TOIQVrJHLPy24Sq
    BE1MptmIKw3PyNAA
    FdDXDvPOapI2jpdL
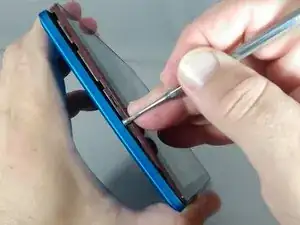
    • Along the bottom of the tablet, keep using a working and prying motion with the spudger to loosen the cover.

  4. LBVNnNwxhsegLd16
    LBVNnNwxhsegLd16
    PG5sofWDQhBoSdkp
    h5rbdS6pKahqhkyu
    • Continue prying motion until the bottom right-hand corner of the tablet is reached.

  5. Nnv6XeSTQXtJUHJQ
    Nnv6XeSTQXtJUHJQ
    HQxWOaKJyIK1yxdl
    • Work the spudger to the upper left-hand corner of the tablet.

  6. nPycdf3TRT6ITNXB
    nPycdf3TRT6ITNXB
    AZFvpJFcavWoFiod
    lFSLO2Jd5mM2udGN
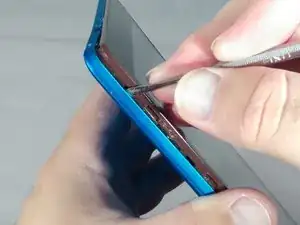
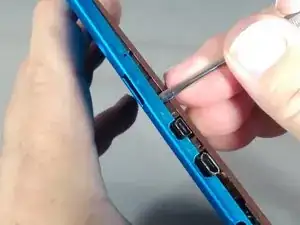
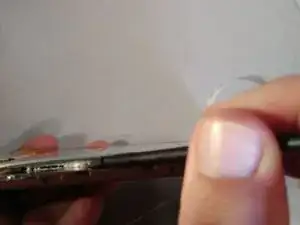
    • Be careful once you get to the top of the tablet with the spudger so as not to damage the headphone jack and other ports.

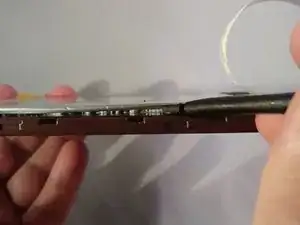
    • When prying along the top of the tablet, try to keep the spudger between 70 to 85 degrees (almost perpendicular) to the tablet screen.

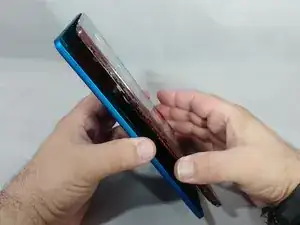
    • Continue working the spudger around the tablet until the cover of the device comes off

  7. dBRxs5IwVgFQiNVn
    dBRxs5IwVgFQiNVn
    utFxRMIQtS1aRD4N
    • Separate from the cover from the tablet.

  8. gKghVbKYnJMtPngg
    gKghVbKYnJMtPngg
    LF3EJHgXw5rpKQkP
    RLCFeQajJDOaochd
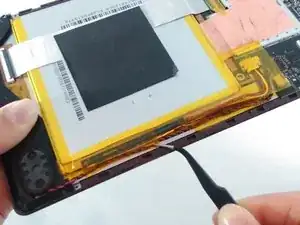
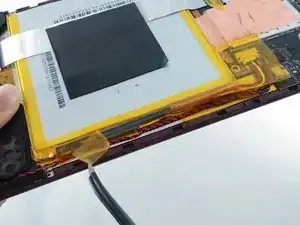
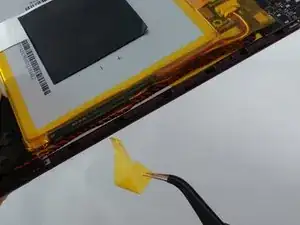
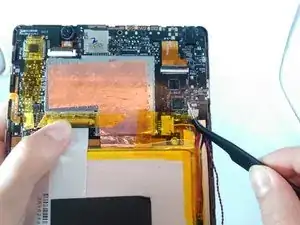
    • Locate and carefully remove the yellow cellophane tape from the red and black speaker wires that connect the speaker to the edge of the motherboard.

  9. nfZ2ELOpvSr6kQAa
    nfZ2ELOpvSr6kQAa
    EXhIQry6bwkcFTX2
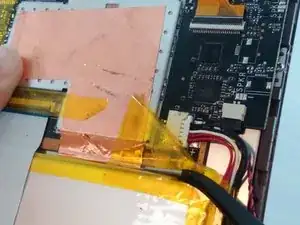
    • Locate and carefully remove the yellow cellophane tape with tweezers from the battery connector and black and red speaker wires on the edge of the motherboard.

  10. vgJAijreaAUgypPN
    vgJAijreaAUgypPN
    oh4WZUaBYwpUPWrg
    AyKcQTywQPRM61qH
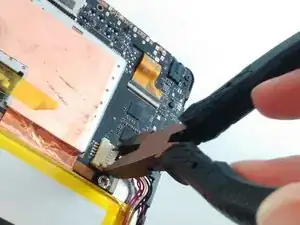
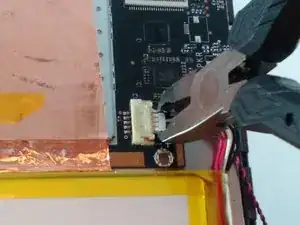
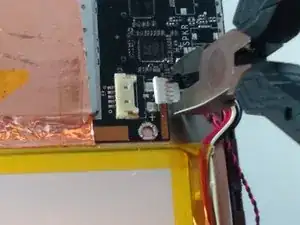
    • Using small pliers, carefully disconnect the male battery connector from the motherboard.

    • If you are only replacing the front camera, skip to step 17 in the camera replacement guide and continue.

  11. CHnL5AXLgDyYZMRB
    • If the battery is leaking or bulging, stop and get away from it!

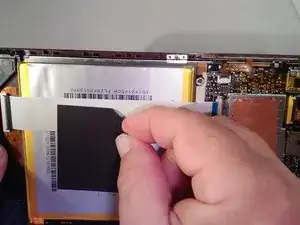
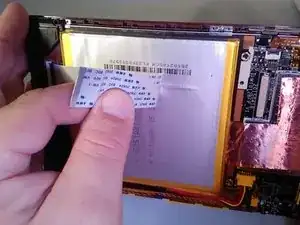
    • Carefully remove the gray square pad glued to both the white ribbon cable and the battery by pulling slowly.

  12. qHTDxO1FQb5pZYLx
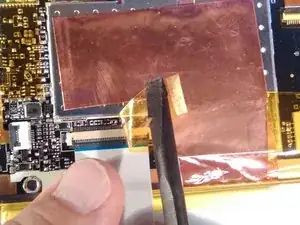
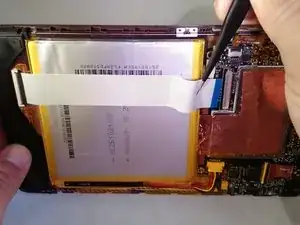
    • Locate the white ribbon cable Zero Insertion Force (ZIF) connector between the battery and the motherboard, and peel the yellow cellophane tape off the connector.

  13. ZTtLlBOdIUUcAn1Y
    ZTtLlBOdIUUcAn1Y
    OOnWAOTP2McfUQGx
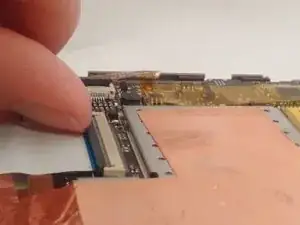
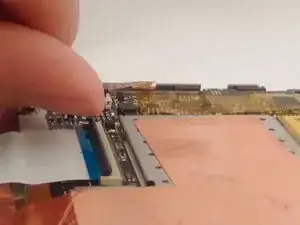
    • Flip up the gray retainer clip on the white ribbon cable ZIF connector on the motherboard with your fingernail. If you do not have fingernails long enough, carefully use a black plastic spudger.

  14. xwomAixwItBSPgOP
    xwomAixwItBSPgOP
    sfLZY14fe6KpkB3v
    x2MNuixutjnANOXV
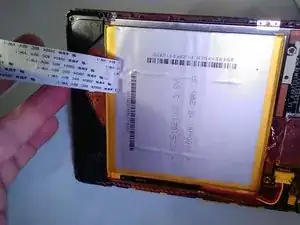
    • Remove the white ribbon cable and carefully peel it off the battery.

  15. RAoQLKOwjBTFNGVo
    RAoQLKOwjBTFNGVo
    SyDNGmnGsiFO1OnN
    OUifdTFCYtLoAmuD
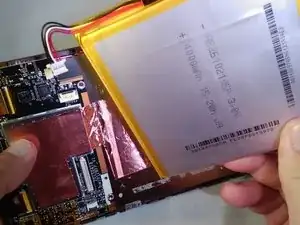
    • Move the spudger in a left-to-right scraping motion to loosen the glue until the battery is separated from the tablet.

  16. cvV6RNtctCFErJ42
    • Remove the battery.

    how can you add a new battery?

    Jose Chavez -

  17. rgdwVnGLWtWplDHR
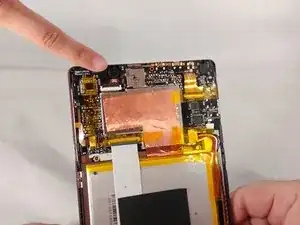
    • Locate the front camera on the upper left-hand corner

  18. PXMg6CYGoxijBPUL
    PXMg6CYGoxijBPUL
    hTModO61J121mOQP
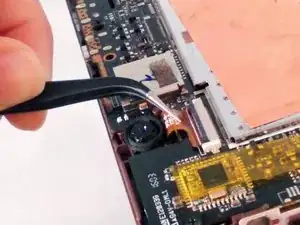
    • Remove the yellow cellophane tape with the tweezers from the ZIF connector.

  19. EYw13iPBpbfGLBIR
    EYw13iPBpbfGLBIR
    NHX6m5M3xq3OKGfm
    • Using your fingernail, flip up the ZIF connector retainer. If you do not have fingernails long enough, use the black plastic spudger.

  20. 2tPGmj6qSF3GOvpQ
    2tPGmj6qSF3GOvpQ
    CZNC6hKHjROLntXX
    • Be careful when removing the camera. The underside of the camera head has adhesive and may be adhered to the tablet. If this happens, use the black plastic spudger to carefully pry up on the underside of the camera head to loosen it from the tablet before pulling on the ribbon cable with the tweezers.

    • Use tweezers to remove the front camera by pulling.

Abschluss

To reassemble your device, follow these instructions in reverse order.
Robert Englehardt

Mitglied seit: 27/09/17

682 Reputation

0 Kommentare