Einleitung

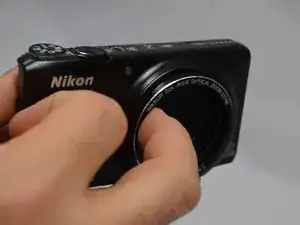
If the lens is not working properly or giving a lens error, you need to take it out to inspect or replace it.

  1. uBe5MtGIvMKQ2J23
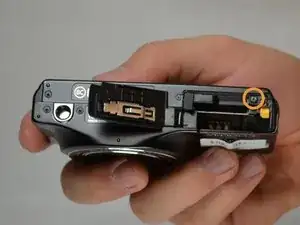
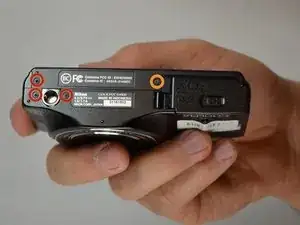
    • Remove the three 4 mm screws from the bottom of the camera using a #00 Phillips screwdriver.

    • Remove the single 3.5 mm screw from the bottom of the camera using a #00 Phillips screwdriver.

  2. fIgm3xhoHANN3H6Z
    fIgm3xhoHANN3H6Z
    ELFZ4nVS2fXZoLt3
    • With the bottom of the camera facing you, slide the latch on the compartment to the left.

    • Swing the battery compartment door open.

    • Remove the 3.5 mm screw from the inside with a #00 Phillips screwdriver.

  3. pEUfh3FXKVOjCau4
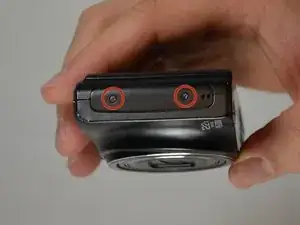
    • With the screen facing you, locate the two 3.5 mm screws on the left face of the camera. Remove them using a #00 Phillips screwdriver.

  4. Z1CDyXIbDXM2KFyZ
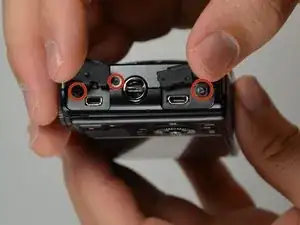
    • With the screen facing you, locate the three 3.5 mm screws on the right face of the camera. Remove them with a #00 Phillips screwdriver.

    • Two of the screws are located under the port tabs.

  5. RCLSAHTtPGhPL4IG
    RCLSAHTtPGhPL4IG
    MTHBqDeEEHi1eidN
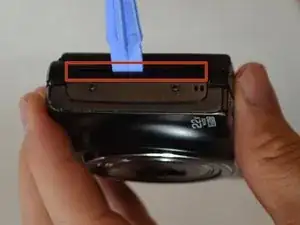
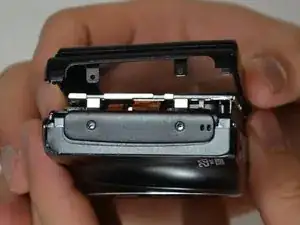
    • Locate the crease where the case comes together.

    • Using a plastic prying tool, pry at the line to remove the camera case.

    • It may take several attempts to remove the case. Remember to pry at all the crease locations on the camera, and not just one spot.

  6. HUKKSawpvJvWOALM
    HUKKSawpvJvWOALM
    FXDBKPMd1rRWvwHB
    VfVTvfAWyRoXQrXp
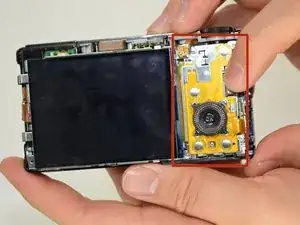
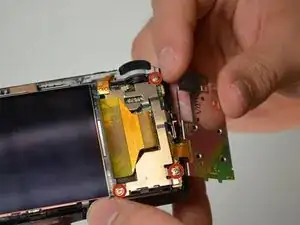
    • Slide the yellow navigation panel to the right so that it can be lifted up.

    • It may take a little pressure to get the panel to separate.

    • Be careful not to damage the ribbon cable that is still attached to the camera.

  7. RyvZAsaOtdPGisOD
    • Remove the three 4 mm screws with a #00 Phillips screwdriver.

  8. k6SOI11JWWARBqVL
    • Locate the magnet and copper tape on the left side of the camera.

    • Gently pull the copper tape off of the metal plate.

    • The copper tape is attached with some glue, so a little force will be needed to detach it.

  9. ASw1FPGhOFW6Cncs
    ASw1FPGhOFW6Cncs
    5WErKmHR6rMVlqXo
    bKwoI6T3YXeXVL2L
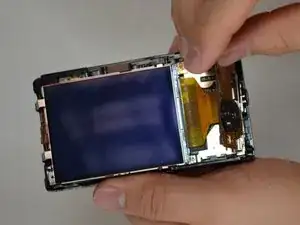
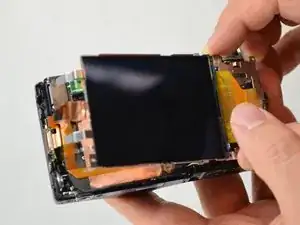
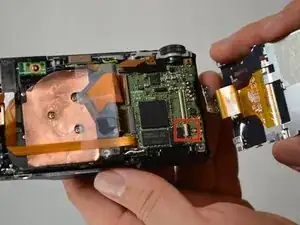
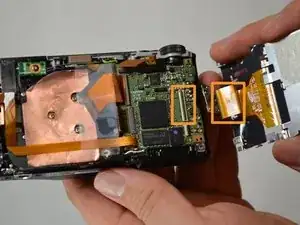
    • Lift the screen up and swing it to the right, exposing the circuit board underneath.

    • The navigation panel should still be attached to the circuit board with a ribbon cable as indicated in red.

    • Detach the ribbon cable that is connecting the LCD screen and the circuit board.

    I had to use some Goo Gone to loosen the glue between the old screen and the aluminum mounting plate.

    Tommy Evans -

  10. VHGwnTcEaZRVouHk
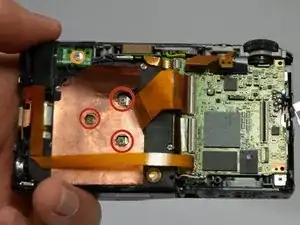
    • Remove the three 4 mm screws using a #00 Phillips screwdriver.

  11. uYl6ikpIY6RUeufB
    uYl6ikpIY6RUeufB
    AQRdCLpvKoEjlBpl
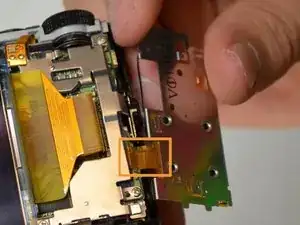
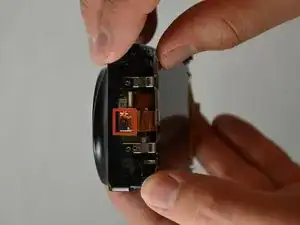
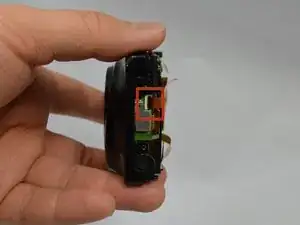
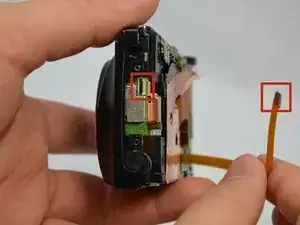
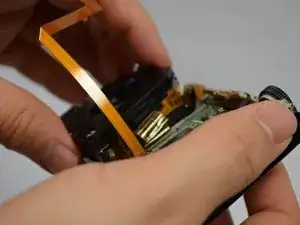
    • Disconnect the ribbon cable from the left side of the camera.

    • You can do this by lifting the small black strip with your nail and rotating it 60 degrees on top of the connector. These connectors are fragile so don't use to much force. Now you can easily take the flat cable out (same for the other connectors).

  12. R6ZTXpOHjypcNTAC
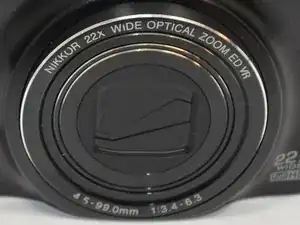
    • Using tweezers, remove the lens cover from the lens.

    • Be sure not to damage this delicate piece.

    If replacing the lens don't forget the soft foam ring which is under the lenscover assembly

    The lenscover assembly contains four parts . Be careful not to touch the small glass.

    Wim -

    These four pieces pop out along with 3 mini washers when you remove the cover. Can someone post a picture or diagram of the correct location of each? Tim

    tim_edwards -

  13. Vx2EmJvW1WKJb2pM
    Vx2EmJvW1WKJb2pM
    cYwKBRWqG2JZDNQW
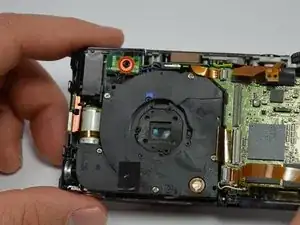
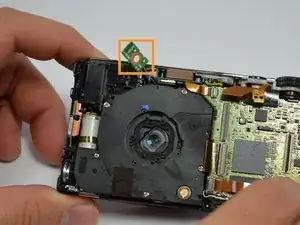
    • Remove the 3.5 mm screw holding down the Wi-Fi card.

    • Move the Wi-Fi card away from the device.

    • The Wi-Fi card is not actually detached yet. Be careful not to damage the wires.

  14. 4uZKVpTuBDemtlpR
    4uZKVpTuBDemtlpR
    CrsMGr5DBLYoXZTx
    • Using your fingers, push the lens from the front of the camera to loosen it.

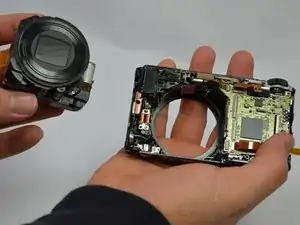
    • Lift the lens unit from the other side so it is free from the case.

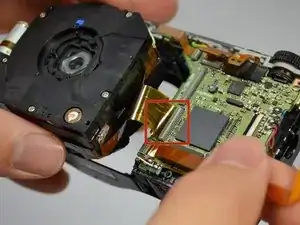
    • The lens unit is still connected by a ribbon cable.

  15. jfTFMoIrO1SOSZ5X
    • Detach the ribbon cable connecting the lens unit and circuit board.

  16. Nw2HFHAvGS5OGOYh
    • The lens can now be removed from the camera.

Abschluss

To reassemble your device, follow these instructions in reverse order.

Jim Bui

Mitglied seit: 20/01/15

811 Reputation

3 Kommentare

So, does this mean that one the camera is put back together the lens open automatically again?

pattimetalika -

Ja, das ist so.

Lothar L. -

Hallo,

bereits das dritte mal habe ich ein Objektiv bei der S9500 ausgebaut und ein Ersatz eingebaut, jedesmal geht die Kamera nicht mehr an.

Was kann das nur sein? Einen Akku Türschalter hat diese Kamera ja nicht.

Habe schon hunderte Nikons zerlegt, passiert mir nur bei dieser Type, da muss doch was verstecktes eingebaut sein?
Lothar L. -