Einleitung
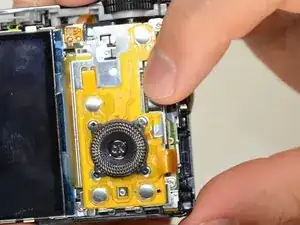
Something is wrong with the Navigation Panel? Try replacing it.
Werkzeuge
-
-
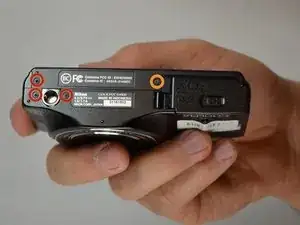
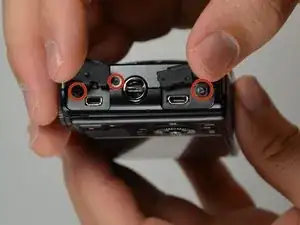
Remove the three 4 mm screws from the bottom of the camera using a #00 Phillips screwdriver.
-
Remove the single 3.5 mm screw from the bottom of the camera using a #00 Phillips screwdriver.
-
-
-
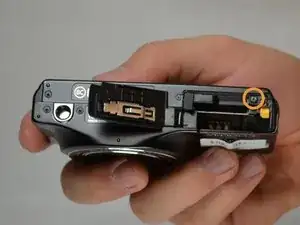
With the bottom of the camera facing you, slide the latch on the compartment to the left.
-
Swing the battery compartment door open.
-
Remove the 3.5 mm screw from the inside with a #00 Phillips screwdriver.
-
-
-
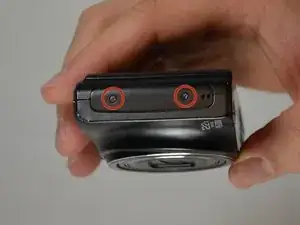
With the screen facing you, locate the two 3.5 mm screws on the left face of the camera. Remove them using a #00 Phillips screwdriver.
-
-
-
With the screen facing you, locate the three 3.5 mm screws on the right face of the camera. Remove them with a #00 Phillips screwdriver.
-
-
-
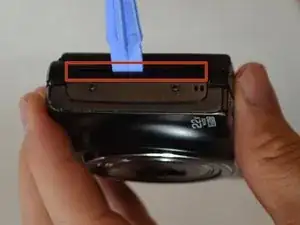
Locate the crease where the case comes together.
-
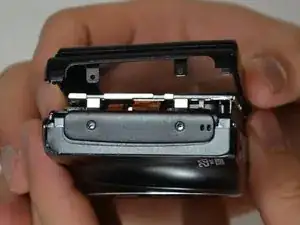
Using a plastic prying tool, pry at the line to remove the camera case.
-
-
-
Locate the magnet and copper tape on the left side of the camera.
-
Gently pull the copper tape off of the metal plate.
-
-
-
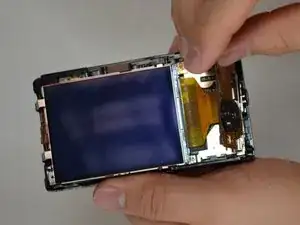
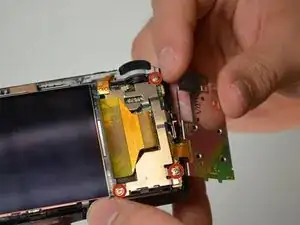
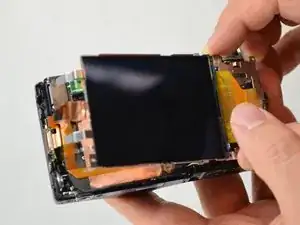
Lift the screen up and swing it to the right, exposing the circuit board underneath.
-
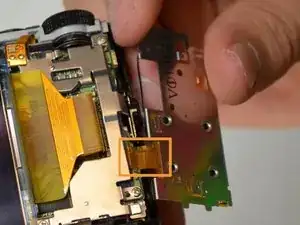
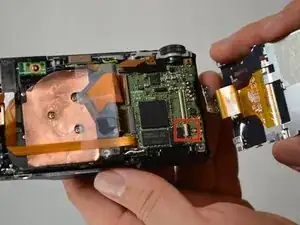
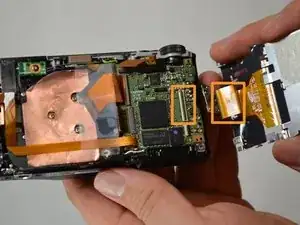
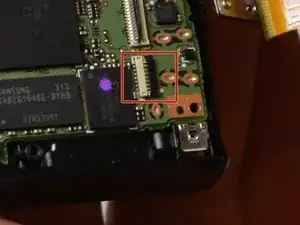
Detach the ribbon cable that is connecting the LCD screen and the circuit board.
-
-
-
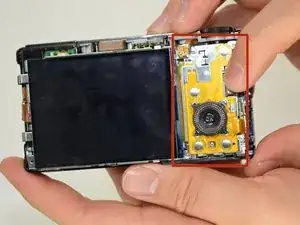
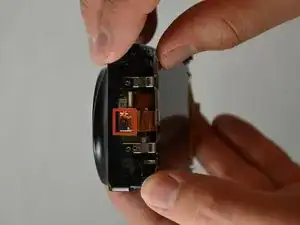
Detach the ribbon cable connecting the navigation panel to the camera.
-
The navigation panel can now be removed.
-
To reassemble your device, follow these instructions in reverse order.
