Einleitung

This guide is to be used to install buttons in the case that the buttons are damage or are no longer functioning properly due to overuse. A Phillips screwdriver will be needed to complete this installation.

  1. YPuPry5uskBsWTRX
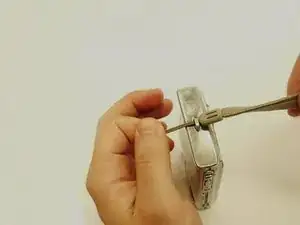
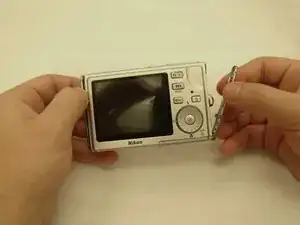
    • Remove the wristlet by untying the strap.

  2. 4qIlvUucC4lYQGf6
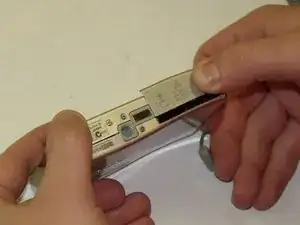
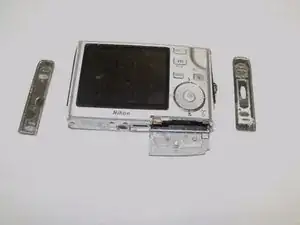
    • Open the SD/Battery cover.

  3. MuUGtKVSXYbPrNLp
    MuUGtKVSXYbPrNLp
    MSNERUkGQByZvPYO
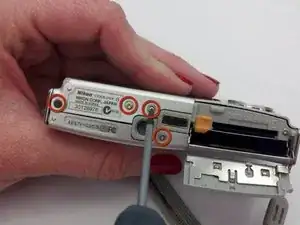
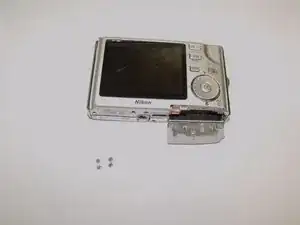
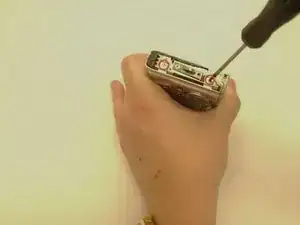
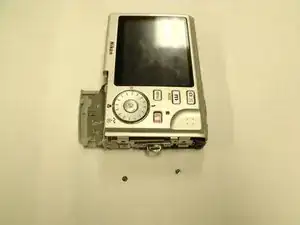
    • Remove the four screws adjacent to the SD/battery opening using a Phillips #00 screwdriver.

  4. 5yOJMNdWPaNWVx6C
    5yOJMNdWPaNWVx6C
    rPXCPYUTjYRCaPQP
    • Remove the side paneling of the camera by prying it off with your hands.

  5. fOEZeGI4gCZD6gVf
    fOEZeGI4gCZD6gVf
    WDZu3FEAJudjHJs5
    • Start on the wristlet side of the camera and use the #00 Phillips screwdriver to remove the two screws that hold the backplate in place.

    • Repeat the removal of the two screws on the other side of the camera.

  6. CdPKXChHG3eT4JGp
    CdPKXChHG3eT4JGp
    IJChEJmmO12c2Xtx
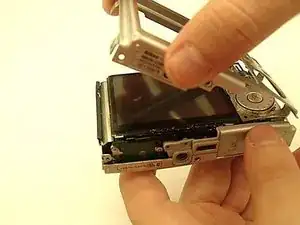
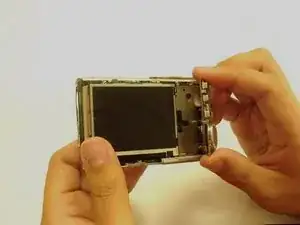
    • Separate the back faceplate from the rest of the camera.

  7. BNji6VFYlEJPMWLS
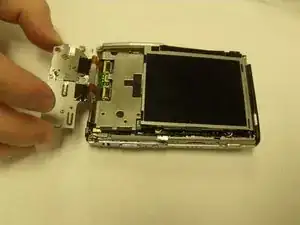
    • Using fingers, lift up button plate on the side closest to the LCD screen.

  8. HYN3LXytDymgn4F1
    • Pull on ribbon cables to disconnect ribbon cables.

Abschluss

To reassemble your device, follow these instructions in reverse order.
Patty Richeson

Mitglied seit: 11/03/13

99 Reputation

0 Kommentare