Einleitung

Do you think your motherboard is fried? This guide can help you walk through the removal of this motherboard for the Nikon Coolpix 775.

  1. iGUq6MW6dYOuqivE
    iGUq6MW6dYOuqivE
    PWEsfkNBLsKAfy6I
    NXtMKMObPYDQWx6S
    • Flip the camera, so the bottom is facing up.

  2. KHShGFNai4ghTVx3
    KHShGFNai4ghTVx3
    jlKm5JLErKdSve1k
    • Slide the gray latch to the open "pac-man" symbol.

  3. UTqSIKJMiJeckpfF
    UTqSIKJMiJeckpfF
    E5OyLOfrUDCJSQgL
    yPJK3CgIiZbPXDKo
    • Flip up the cover and remove the battery inside the slot.

  4. 1q2JwAVstKYmCnGA
    1q2JwAVstKYmCnGA
    IYepuTyUJGMALCmj
    3IKgRICZlwhat4RJ
    • Unscrew the eight 4mm long JIS #00 screws from the bottom, right side, and the left side.

  5. 3drgtq1beWUTReXo
    3drgtq1beWUTReXo
    1kAh2dIkMyhskD15
    5YYkQrWSyhKIbOwv
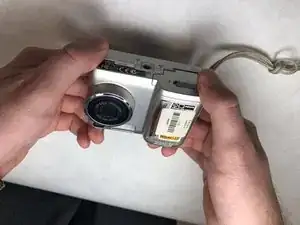
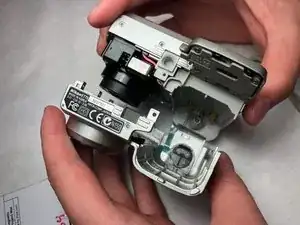
    • Grab the camera with both your hand from the front and the back.

    • Pull the two parts apart.

    • You may have to pull at different angles to get the two parts to separate, but make sure you don't pull too hard because there is a wire connection on the inside.

  6. Am1rSJqUGtQl6eZs
    Am1rSJqUGtQl6eZs
    BTCfNZyAFQDqJRvp
    4UZdioRVluibPYXW
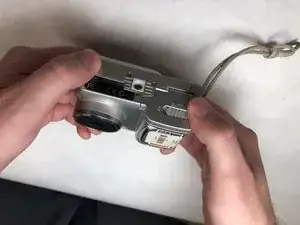
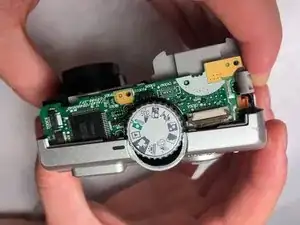
    • Flip the camera back so you can see the top.

    • Pull the ribbon cable out of the socket connecting to the motherboard by using your hands or tweezers.

    • Be careful not to puncture or rip the ribbon cable.

  7. XwOHhgAmDjI1YPHB
    XwOHhgAmDjI1YPHB
    FgWGUfWBI6Yo6xl3
    cMJZ2GdXtRpJNrfE
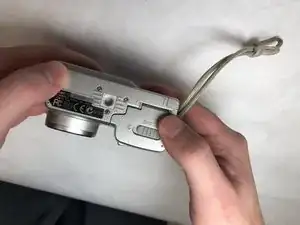
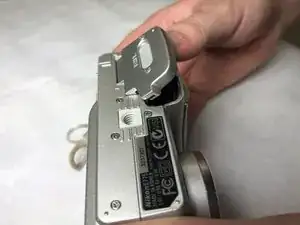
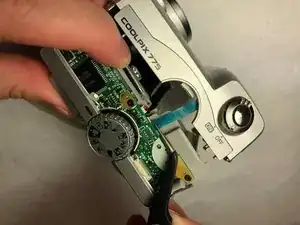
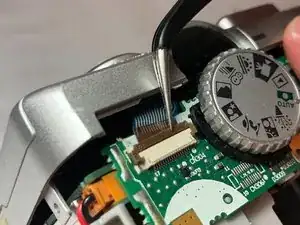
    • Look back to the top of the camera.

    • Flip up the tab that is exposed right by the dial using tweezers.

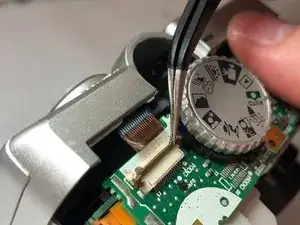
    • Release the ribbon to be able to separate the top part of the back of the camera.

    • Be careful not to rip the ribbon cable.

  8. 5yZrRQfBcXorWJdj
    5yZrRQfBcXorWJdj
    fAyecUn15KMAw1EM
    uZlAm33FVuZ2NWSc
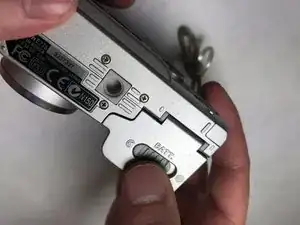
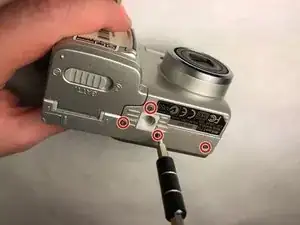
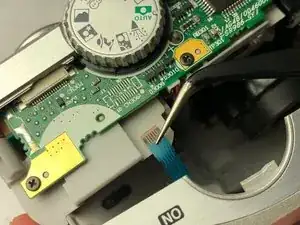
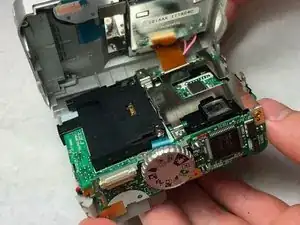
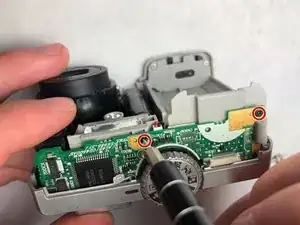
    • Look at the top side of the camera.

    • Unscrew the two 4mm Phillips #00 screws.

    • Unscrew the 2mm JIS #00 screw as well.

  9. LC25NlDFigDX5EHT
    LC25NlDFigDX5EHT
    VFZswtHLZWps5wgR
    RuWsMoQFTTpq2TQU
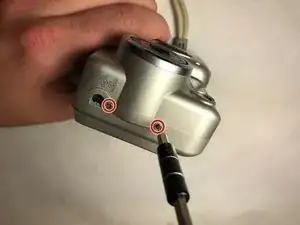
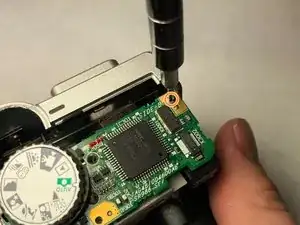
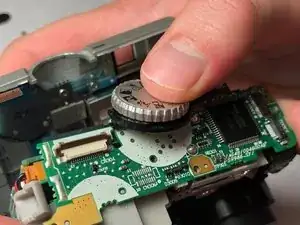
    • Push or slide the the top dial toward the backside of the camera to unclip from the motherboard.

  10. wrMipWxEIXecSdbx
    wrMipWxEIXecSdbx
    AaFRXLOiDo2nrNZO
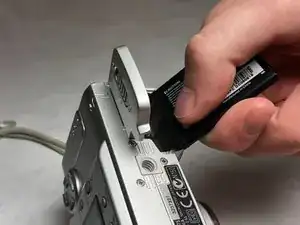
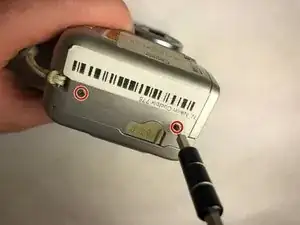
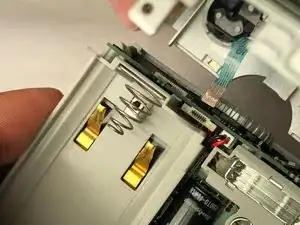
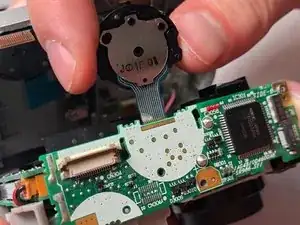
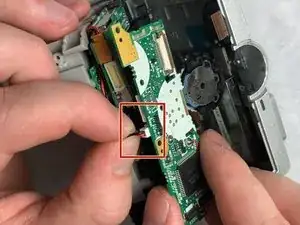
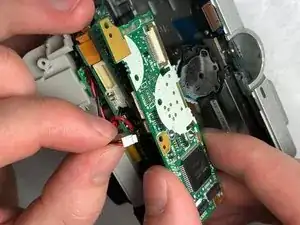
    • Pull the red and black wire out of the socket on the motherboard.

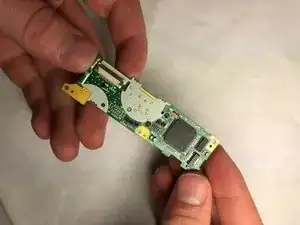
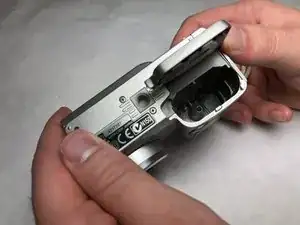
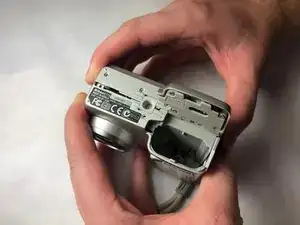
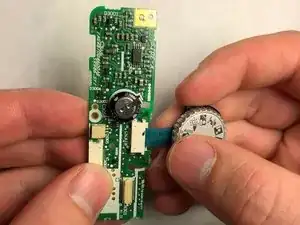
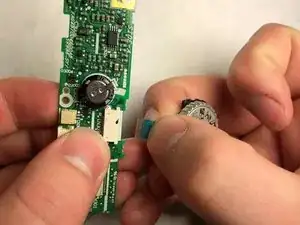
    • Pull motherboard up out of camera.

  11. HMsOUjBbabROHnSM
    HMsOUjBbabROHnSM
    QucgLoiUPUBvtWNH
    pePh6suCqwEmP1ZK
    • Pull the ribbon connected to the dial off the motherboard.

    • Be careful not to rip the ribbon cable.

Abschluss

To reassemble your device, follow these instructions in reverse order.

Suketu Patel

Mitglied seit: 05/11/18

303 Reputation

0 Kommentare