Einleitung
Use this guide to replace the LCD.
Werkzeuge
-
-
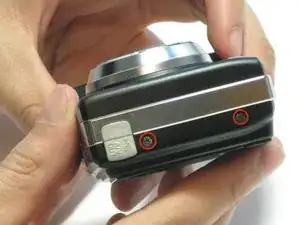
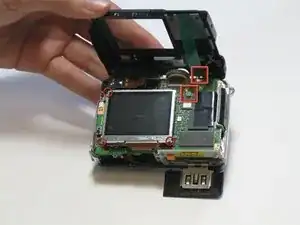
Remove the two 3.0mm screws on the left side of the camera near the memory card compartment.
-
-
-
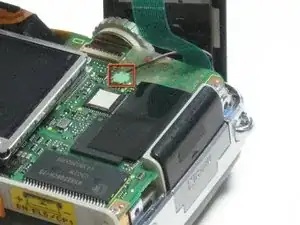
Disconnect the cable by pulling the head upward along the green circuit board. If you only are changing the LCD, skip this step.
-
-
-
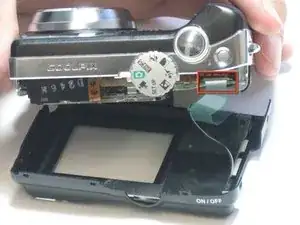
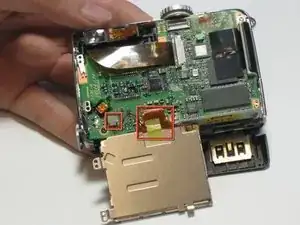
Disconnect the ribbon cable by grabbing the two handles and pulling it directly out of the socket. If you are only changing LCD, skip this step.
-
-
-
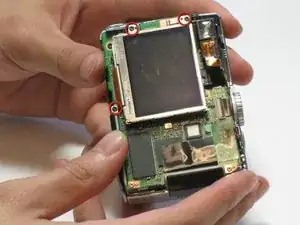
First remove the three 2.5mm screws securing the LCD screen to the substrate. Make sure not to keep hold of the little metal connector by the top left screw!
-
Carefully flip the screen down to reveal the back of the screen
-
-
-
Disconnect the ribbon cable and gray connector with red and black wires.
-
Depending on your spare part, you may now need to carefully pry the screen back cover off. It is held by a double sided sticky tape on the inside. Be gentle!
-
To reassemble your device, follow these instructions in reverse order.
