Einleitung
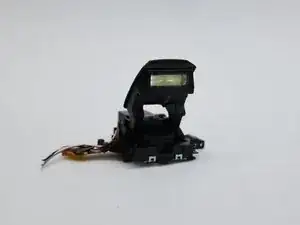
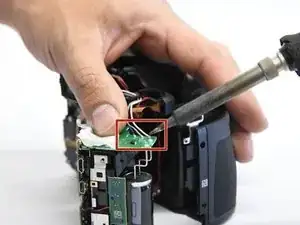
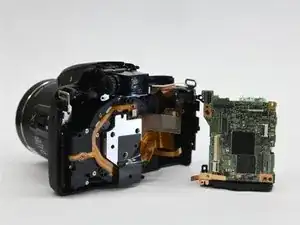
This guide shows how to replace the flash assembly on a Nikon Coolpix B700 when the bulb stops working.
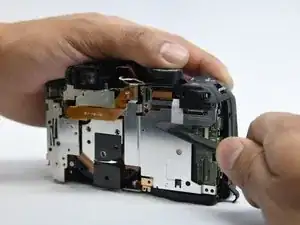
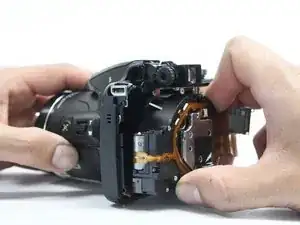
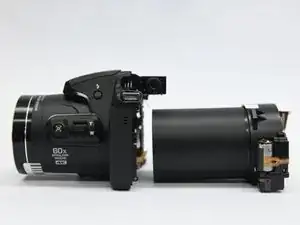
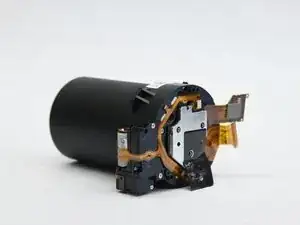
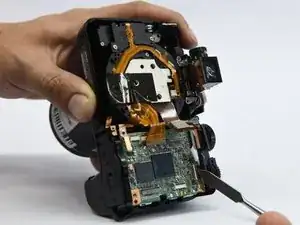
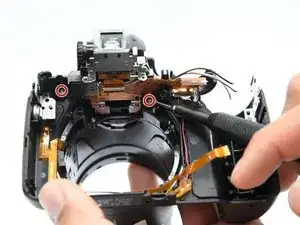
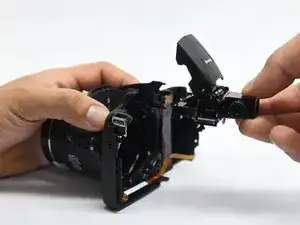
We have to separate the Nikon Coolpix B700 camera starting with the back frame, then we can open the camera and take internal parts out. After that, you can see the flash unit from inside and replace it easily. Make sure to remove the battery before beginning the work on the flash unit.
For the old flash unit, you can see https://www.epa.gov/recycle/electronics-... so you could recycle
Werkzeuge
-
-
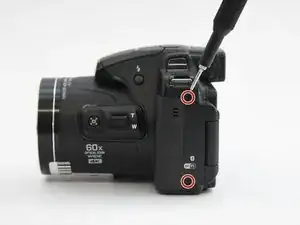
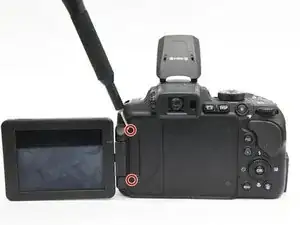
Use the Phillips screwdriver to remove the two 5.5 mm screws on the left side of the camera.
-
-
-
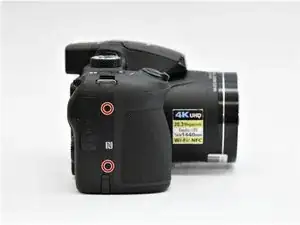
Use the Phillips screwdriver to remove the two 5.5mm screws on the right side of the camera.
-
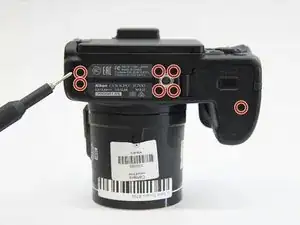
Open the HDMI flap to remove a 5.5mm screw.
-
-
-
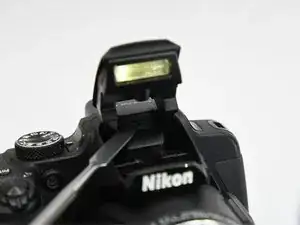
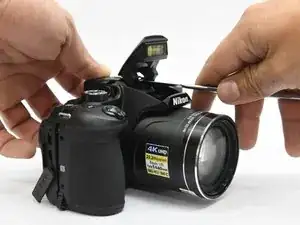
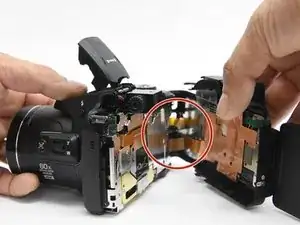
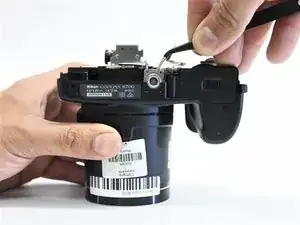
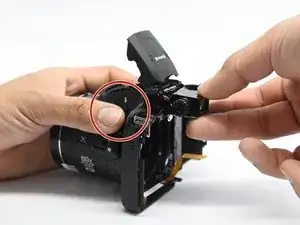
Open the flash assembly and insert the spudger into the slot under the flash unit and twist.
-
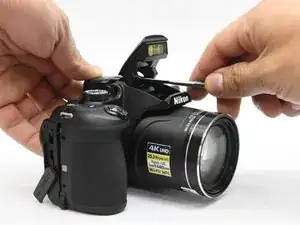
While twisting, pry apart the shell to split the camera in half.
-
-
-
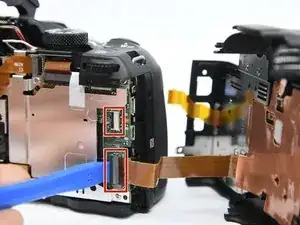
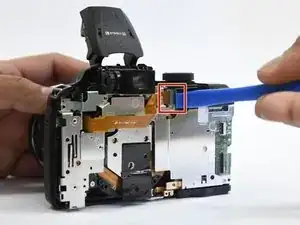
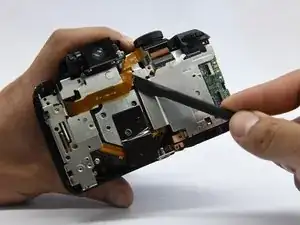
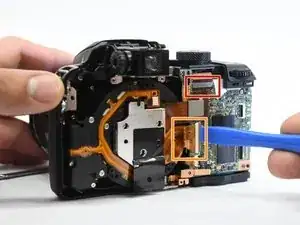
Place the pry tool under the black latch. Lift gently until the latch flips up.
-
Gently pull the ribbon away from the latch.
-
-
-
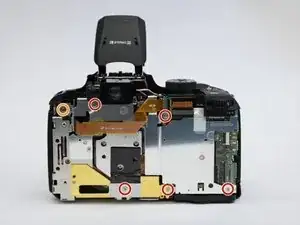
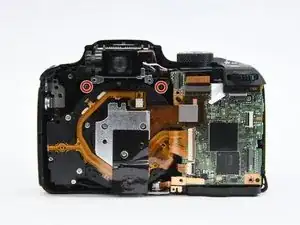
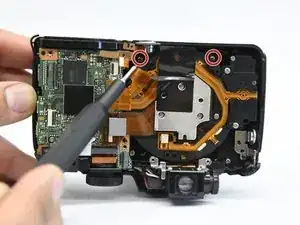
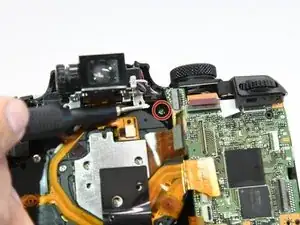
Use the Phillips screwdriver to remove the remaining five 5.55mm screws.
-
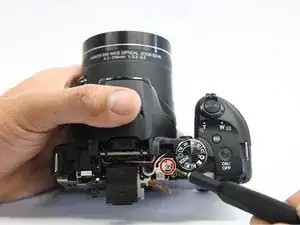
Remove the single 6mm screw.
-
-
-
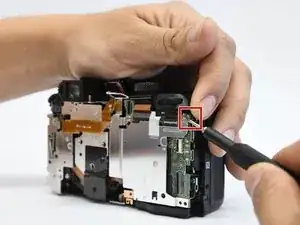
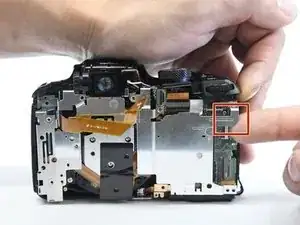
With the spudger tool gently pry off the white tap holding in the bracket.
-
Use the same tool to remove the glued-on ribbon.
-
-
-
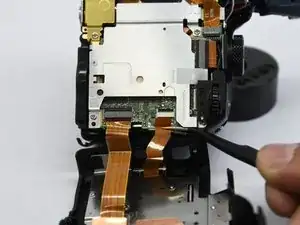
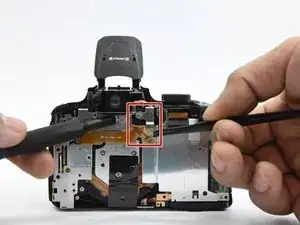
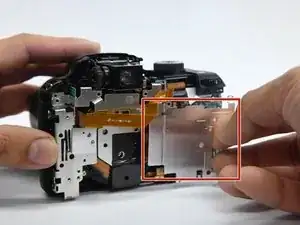
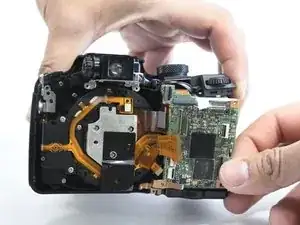
With the pry tool gently lift up the latch and pull the cable toward the lens assembly.
-
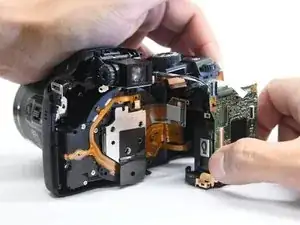
Use the pry tool again and place it under the ribbon and lift straight up to disconnect the ribbon.
-
-
-
Use the Phillips screwdriver to remove the four 6 mm screw that hold on the bracket housing.
-
To reassemble your device, follow these instructions in reverse order.
