Einleitung

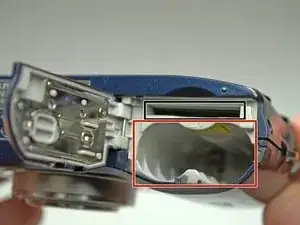
In order to reach the internal elements of the camera (lens, flashbulb, etc.), the following steps will tell you how to remove the front cover.

  1. Ktyt1fWbXV6AJYJE
    • Remove the memory stick from the camera.

    • Remove the batteries from the camera.

  2. EUwGbyEfVQPCnChp
    EUwGbyEfVQPCnChp
    CHkYFqffwacltGUe
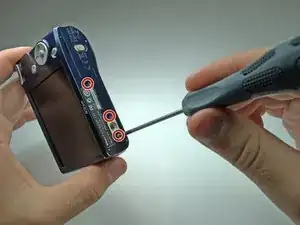
    • Remove all six 4.3mm silver screws along the perimeter of the camera using the Phillips #00 screwdriver.

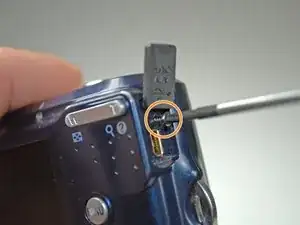
    • There is one screw hidden under the AV cover that also needs to be removed.

  3. L41AWC2qg2hU6p3i
    • Pry the back cover from the left side of the camera. Remove the cover gently.

  4. EDfWLKvnPwqKVqDY
    • This is where energy for the flash is stored. Even with batteries removed, if you touch these connections, you can be shocked, depending on if the flash capacitor has a stored charge. It may not have a stored charge, but work around this assuming it does.

    • Newer cameras of decent quality usually have a bleeder resistor to drain the flash capacitor. This may not work anymore and the flash capacitor may still have a charge.

  5. wcOgwbbQ1RmwVAbN
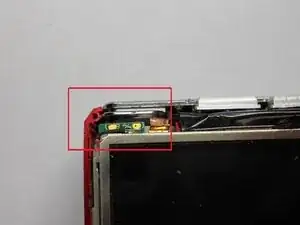
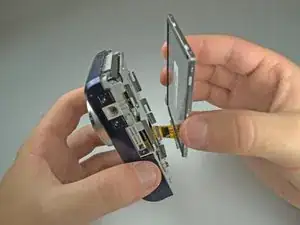
    • Remove the tape on the right side of the LCD screen.

    • Gently lift the LCD screen from its base.

    • Don't tug on the screen because it is still connected to the motherboard.

    Be very careful not to touch the flash capacitor on far left when lifting the LCD!! It WILL shock you.

    Mark Fraylick -

    Getting the LCD ribbon back "in" is my problem -- hints or suggestions?

    richardkujawa -

    I can't get a feel for how the black clip holds the ribbon - insert the new one at an angle?

    richardkujawa -

    I practiced a few times with the "bad screen" and managed to figure this out. Unfortunately I can't explain how I did it... if some other person can explain how to make the ribbon connection/clip re-install more predictable I think it'd help anyone else who tries the repair.

    richardkujawa -

  6. qyFGICNoBrvepiGV
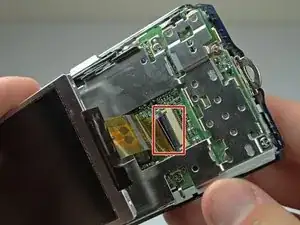
    • Lift the black latch connecting the LCD ribbon to the motherboard.

    • Gently pull the LCD ribbon out.

  7. wka5ZPByBvlc15AS
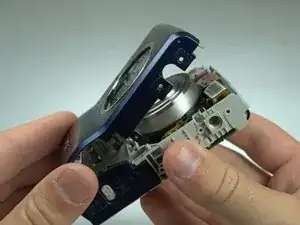
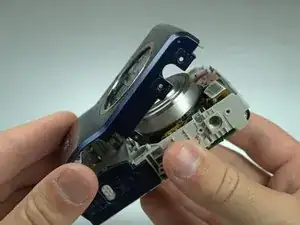
    • Pry back the front cover of the camera starting from the right side.

Abschluss

To reassemble your device, follow these instructions in reverse order.
Andrea Govea

Mitglied seit: 11/10/10

360 Reputation

0 Kommentare