Einleitung
To repair these parts of the camera, you will need to use a screwdriver and a spudger tool. This guide is necessary if you want to repair other parts of the camera such as the LCD screen. There are many screws in this camera, so always check to make sure you found all of them as you work on it.
Werkzeuge
-
-
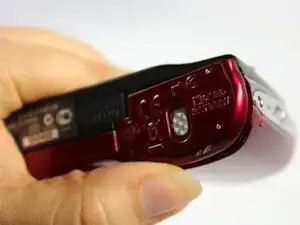
Remove the batteries from the battery compartment by sliding the white battery compartment switch up and then move the panel toward the right.
-
-
-
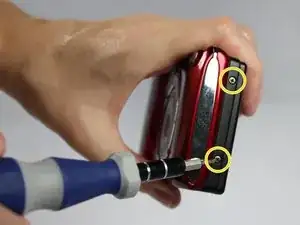
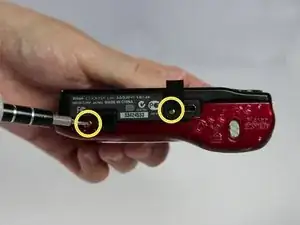
Using the Phillips #000 screwdriver, unscrew the two 2mm screws next to the battery compartment on the right side of the camera.
-
-
-
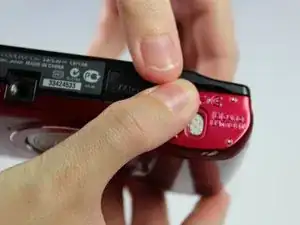
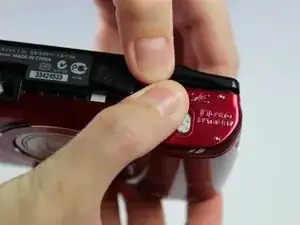
Flip over the rubber AV cover at the bottom of the camera. Unscrew the last two 2mm screws on the bottom of the camera.
-
-
-
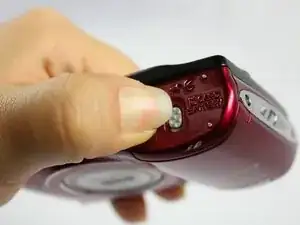
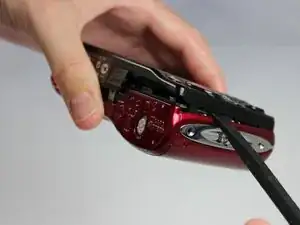
Using your hands, open the camera slightly by using the indentation above the camera compartment.
-
-
-
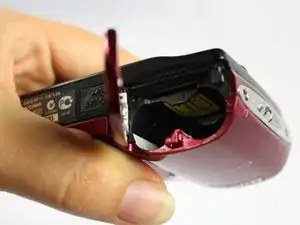
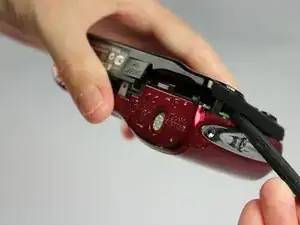
Wedge the flat end of the spudger in between the front and back cover. Carefully push the spudger downward, which will lift the back cover off the camera.
-


To reassemble your device, follow these instructions in reverse order.

3 Kommentare
my battery compartment will not close. can I buy a new one
Thanks. I appreciate the help, but… The pin seems to be the toughest item to remove. You didn’t get that far.
This worked for the pin. I’m guessing it pushes through the front of the body behind the screen. I didn’t get that far. It for sure will not pull out of the back. I cut the pin and pulled it out (yes it did damage the plastic). I cut a small nail (brad) the put it through the cover and placed the brad in where the old pin was and placed a bit of super glue on it to hold it in place (don’t get any on the new cover). In a while I will assemble the camera and add more super glue. Yes, the super glue will be visible, but it will take some searching to find it and will look much better that a tie-wrap or tape. I hope that helps.