Einleitung
Follow this guide to replace a cracked or not working LCD screen for the Coolpix L340.
Werkzeuge
-
-
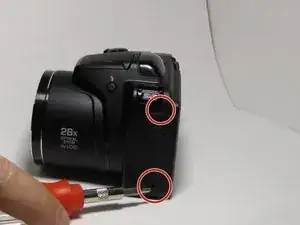
Remove two 5 mm Philips #000 screws on the left hand side of the camera located on the side where the batteries are inserted.
-
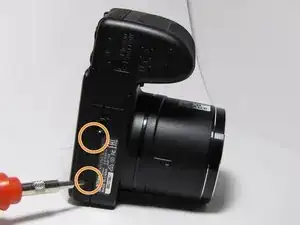
Remove two 5 mm Philips #000 screws on the bottom of the camera.
-
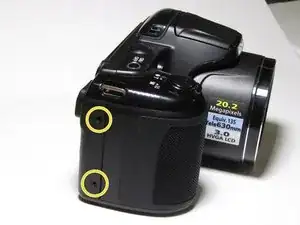
Remove two 5 mm Philips #000 screws on the left hand side of the camera located near the power button.
-
-
-
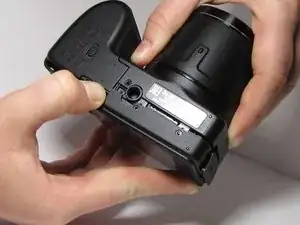
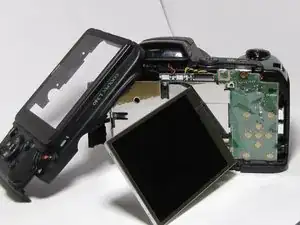
After removing all six screws, you should be able to remove the plastic cover that holds the buttons and keeps the LCD screen in place.
-
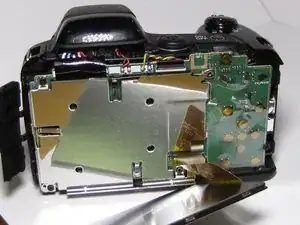
Once you remove the back cover you should be able to access the bracket piece that holds the LCD screen.
-
-
-
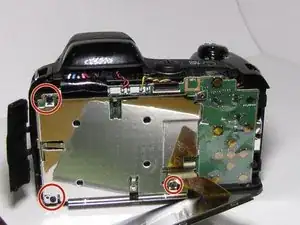
In order to get to the motherboard to disconnect the old LCD screen, you need to remove three 5 mm Phillips #000 screws that connect the bracket piece to the motherboard.
-
-
-
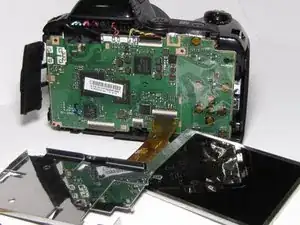
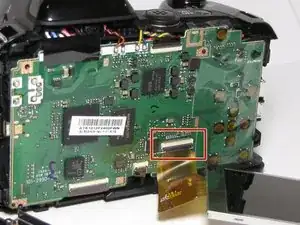
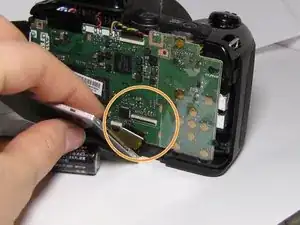
To remove the old LCD screen from the motherboard, there is an off-white ribbon on the motherboard that, the thin black ZIF (Zero Insertion Force) connector that needs to be lifted up so that the circuit piece connected to the LCD screen can be pulled out.
-
To reassemble your device, follow these instructions in reverse order.
2 Kommentare
Is there a plastic cover as part of the rear cover on the L340? Trying to determine what exactly is cracked
Very helpful. Thanks
