Einleitung
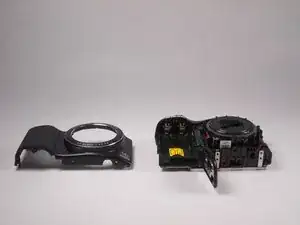
In this guide, one would have to take the camera apart. After taking the camera apart, one will need to remove the screws from the control panel and remove the ribbon for it.
Werkzeuge
-
-
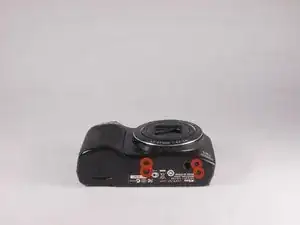
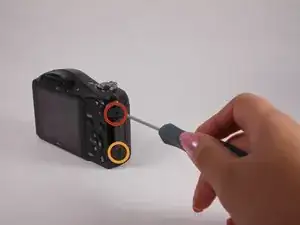
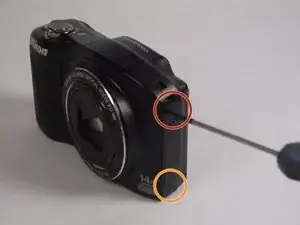
Remove the top (4.10 mm) Phillips #00 screw adjacent to the battery compartment.
-
Remove the bottom (3.20 mm) Phillips #00 screw adjacent to the battery compartment.
-
-
-
Remove the top (4.20 mm) Phillips #00 screw adjacent to the mic side of the camera and opposite the battery side.
-
Remove the lower (3.20 mm) Phillips #00 screw adjacent to the mic side of the camera and opposite of the battery side.
-
-
-
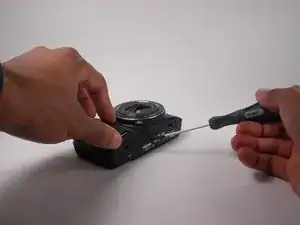
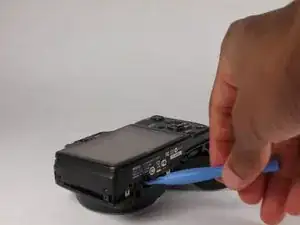
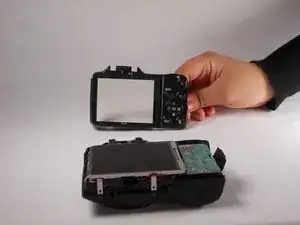
Separate the case using the plastic prying tool. This can be done by placing the tool in the position that is shown and in the position on the left side of the camera.
-
-
-
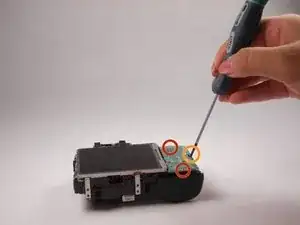
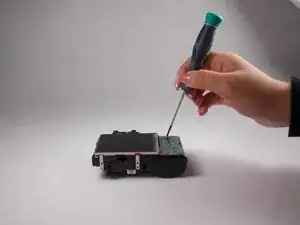
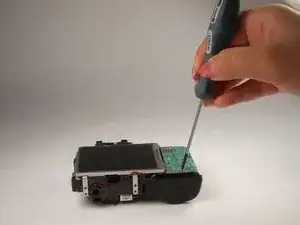
Carefully unscrew and remove the top and bottom (2.25 mm) screws from the control panel.
-
Carefully unscrew and remove the middle (3.20 mm) screws from the control panel.
-
-
-
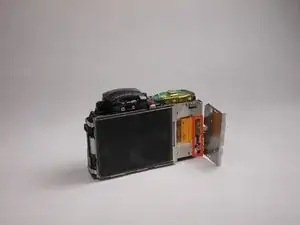
Carefully remove the ribbon connecting the control panel to the camera. The latch can be removed by sliding it down and pulling the ribbon down.
-
To reassemble your device, follow these instructions in reverse order.
