Einleitung
We will show the you as the reader how to disassemble the Nikon L610 LCD screen and replace it with a new one. We do this carefully removing the screws, keeping careful track of all the pieces removed and attaching a new screen to the motherboard of the camera.
Werkzeuge
-
-
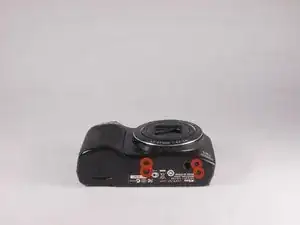
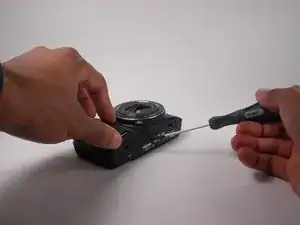
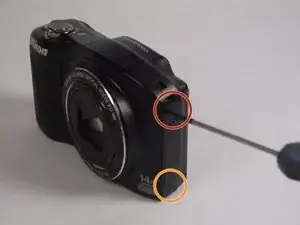
Remove the top (4.10 mm) Phillips #00 screw adjacent to the battery compartment.
-
Remove the bottom (3.20 mm) Phillips #00 screw adjacent to the battery compartment.
-
-
-
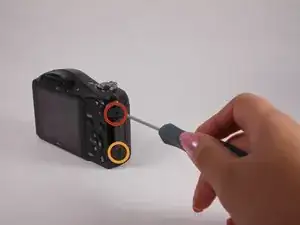
Remove the top (4.20 mm) Phillips #00 screw adjacent to the mic side of the camera and opposite the battery side.
-
Remove the lower (3.20 mm) Phillips #00 screw adjacent to the mic side of the camera and opposite of the battery side.
-
-
-
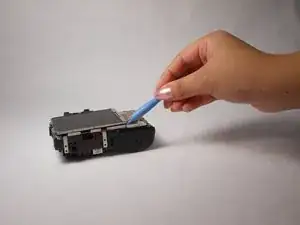
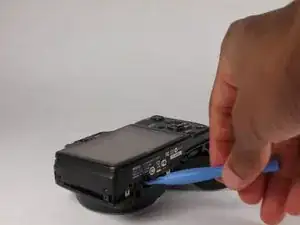
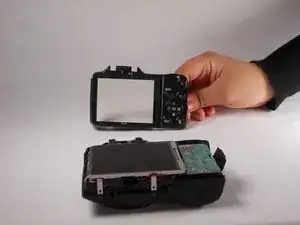
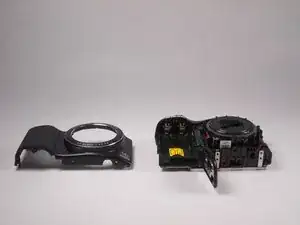
Separate the case using the plastic prying tool. This can be done by placing the tool in the position that is shown and in the position on the left side of the camera.
-
-
-
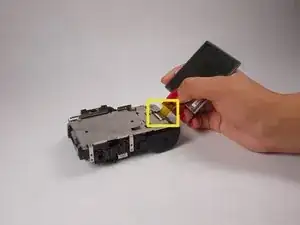
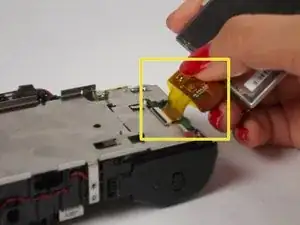
While the LCD screen is loose and unattached, there is a latch that is holding the ribbon in place. Slide the latch down and pull the ribbon out.
-
To reassemble your device, follow these instructions in reverse order.
