Einleitung
This guide will lead you through the necessary steps to replace the settings buttons.
Werkzeuge
-
-
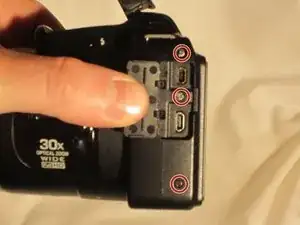
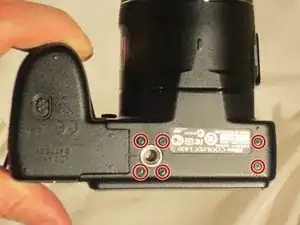
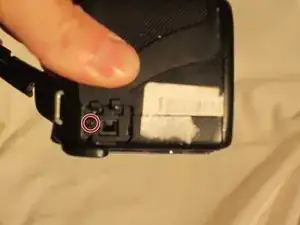
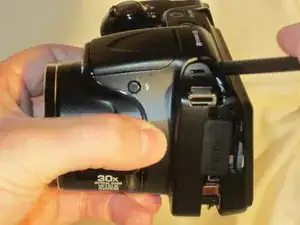
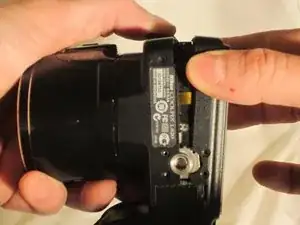
Use a Phillips #0 screwdriver to remove the screws on the front casing. There are ten screws, three on the left side, two on the bottom, and one on the right side of the camera.
-
-
-
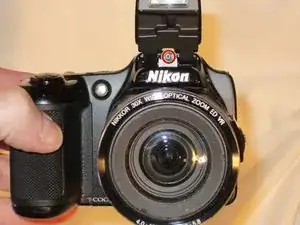
Remove the front top Phillips screw with the screwdriver.
-
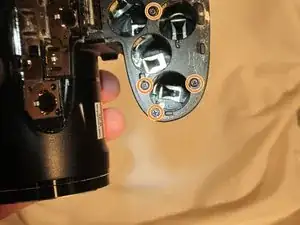
Open the empty battery slot on the bottom of the camera, revealing four additional screws.
-
Unscrew the four Phillips screws with the screwdriver.
-
-
-
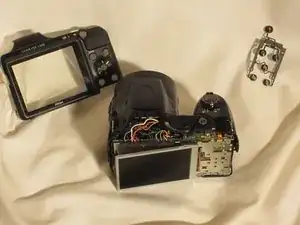
Using the spudger, move around the casing, carefully separating the rear housing from the camera assembly.
-
Once the rear housing is separated, the settings buttons will be accessible for replacement.
-
Abschluss
To reassemble your device, follow these instructions in reverse order.
