Einleitung
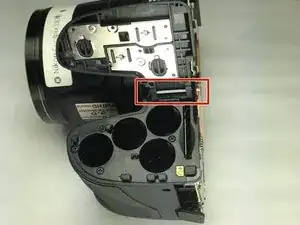
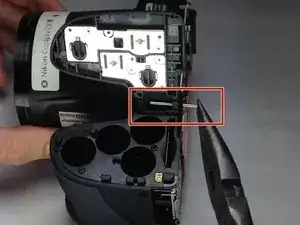
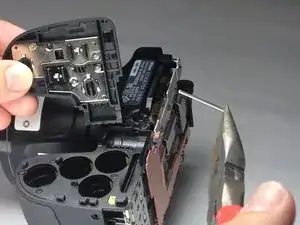
If the battery cover on your Nikon Coolpix L830 is broken, replacement is necessary. Following these steps will allow you to replace the broken battery cover with a new one to allow your camera to stay powered and prevent the environment from affecting their performance.
Werkzeuge
-
-
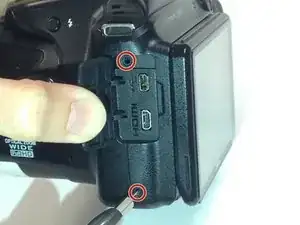
Use a Phillips #000 screwdriver to unscrew the two 3.0mm Phillips screws located on the side of the camera with the HDMI port.
-
-
-
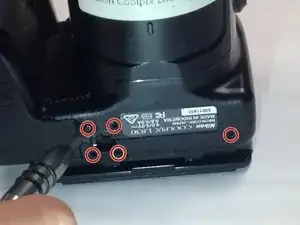
Unscrew the five 3.0mm Phillips #000 screws that are located on the bottom side of the camera.
-
-
-
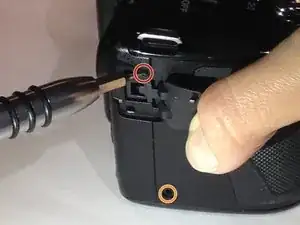
Unscrew the 4.0mm Phillips #000 screw located underneath the grey flap on the side of the camera with the "DC IN 5.0 V" marker.
-
Unscrew the exposed 3.0mm Phillips #000 screw on the same side.
-
-
-
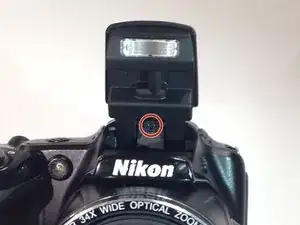
Press the flash button to open the flash component.
-
Remove the 3.0mm Phillips #000 screw located directly in-between the two arms.
-
-
-
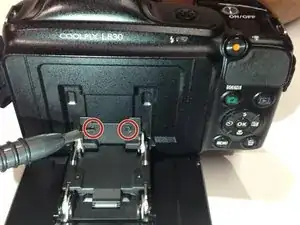
Open the LCD monitor to reveal two 2.0mm Phillips screws.
-
Remove the 2.0mm Phillips #000 screws.
-
-
-
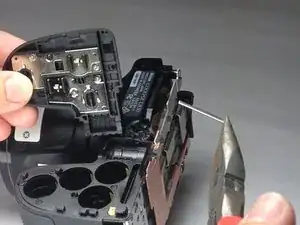
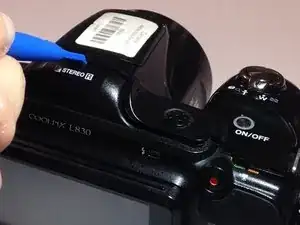
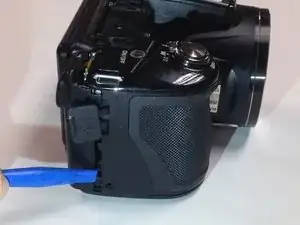
Insert a plastic opening tool between the back and front surface components of the camera.
-
Wiggle the plastic opening tool backwards and forwards along the top edge until the back surface comes off.
-
-
-
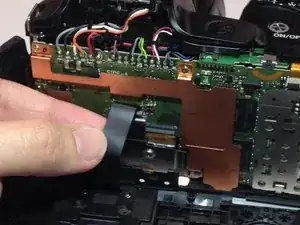
Gently pull the LCD ribbon connector up to allow the back casing to be completely removed.
-
To reassemble your device, follow these instructions in reverse order.
3 Kommentare
I did it!!! Sweat bullets, nearly damaged the LCD ribbon connector (a really difficult task pulling this up, be careful!!) but now camera is back in 1 piece and works. Thank you for your tutorial. I know I will NOT start a career changing these for others. Too nerve racking !!
I have a messed up usb port. I’m sure I could change it out . Where could I find a replacement usb/HDMI assembly?
How can you remove the battery compartment? Mine has battery leakage and the center battery tube is full of electrolyte. I need to get that housing out and the center contact clean. Any ideas?
