Einleitung
This guide outlines the steps necessary to replace the circuit board of the camera. Many parts involved in this replacement are delicate, so it is important to be careful in their handling.
Werkzeuge
-
-
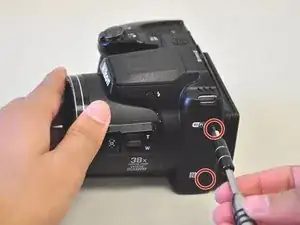
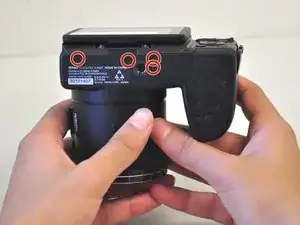
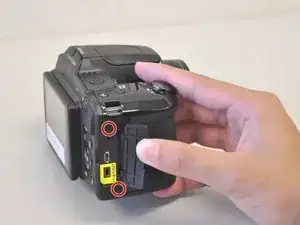
Unscrew all eight black, 4mm screws with a Philips 000. (The top-most screw shown in the third image can be accessed by lifting the cover flap off.)
-
-
-
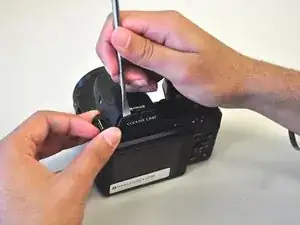
Pry case open with a metal spludger by slipping the spludger between the back and front case of the camera and wiggling the spludger forwards and backwards.
-
-
-
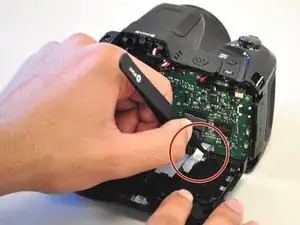
Carefully unhook the silver strip with tweezers. Get a grasp of the sides of the silver strip with the tweezers, and pull upwards and out.
-
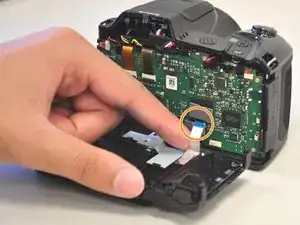
The strip may also be identified by its blue tip, which becomes more visible once pulled out.
-
To reassemble your device, follow these instructions in reverse order.
Ein Kommentar
I was trying to find how to replace the CCD lens sensor on the Nikon Coolpix L840