Einleitung
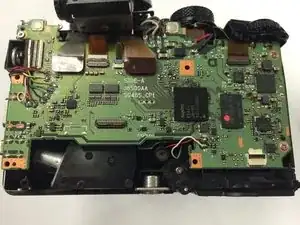
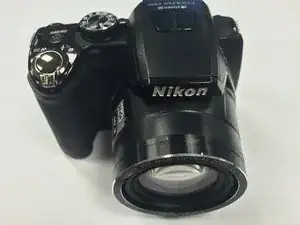
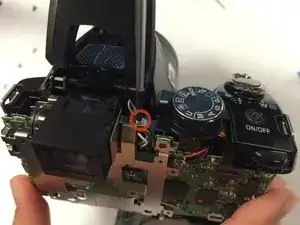
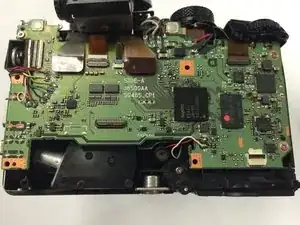
This guide provides a step by step process on how to access the motherboard on the Nikon Coolpix P100 digital camera.
The motherboard allows all parts of your camera to receive power and communicate with one another. Common symptoms of a faulty motherboard include the screen not receiving any information to display or a quickly draining battery. Before disassembling your Nikon Coolpix P100, be sure to remove any dust or debris from the camera. Keeping your motherboard clean will lessen the probability of any motherboard damage.
Before beginning, be sure to power off your camera and disconnect it from any external power source.
Werkzeuge
-
-
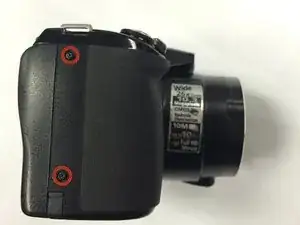
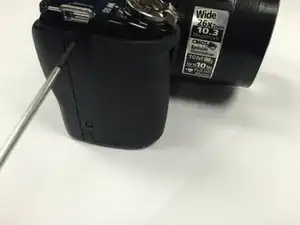
On the left side of the camera, use a Phillips #00 Precision Screwdriver to remove the two marked screws.
-
-
-
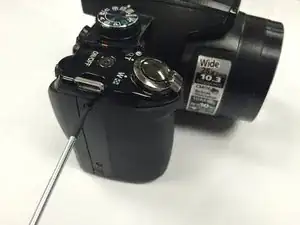
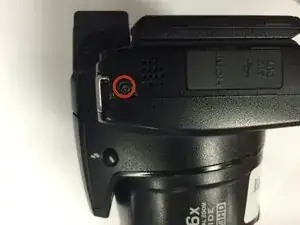
On the right side of the camera, remove the first visible screw above the HDMI and A/V OUT cover.
-
-
-
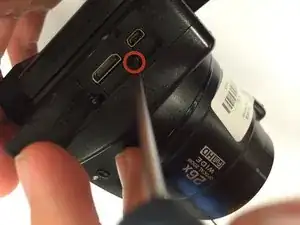
Lift the HDMI and A/V OUT cover to access the hidden screw between the two ports.
-
Remove the screw
-
-
-
Turn the back of the camera toward you.
-
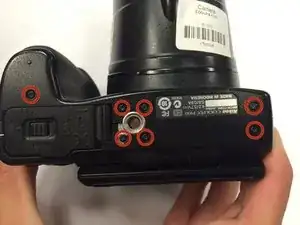
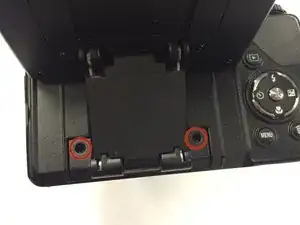
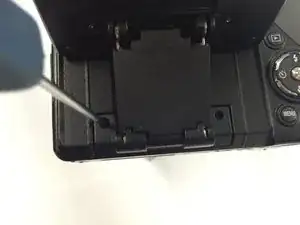
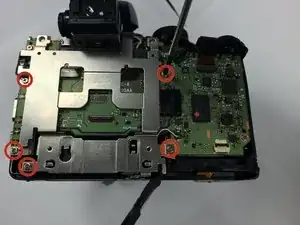
Lift the display panel and remove the two marked screws
-
-
-
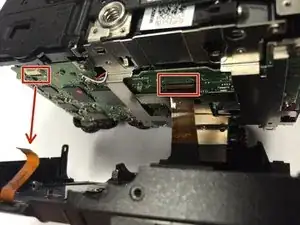
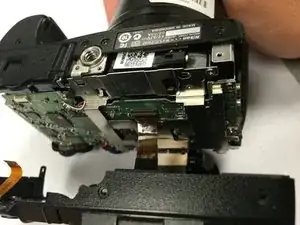
Before fully opening the camera, identify the two marked ribbon cables
-
Properly detach the ribbons before proceeding
-
-
-
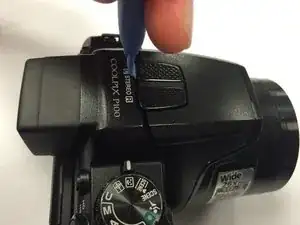
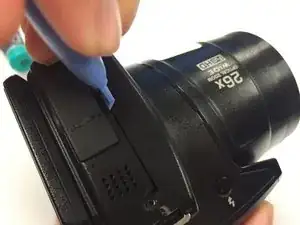
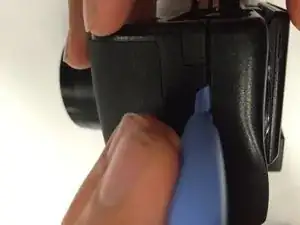
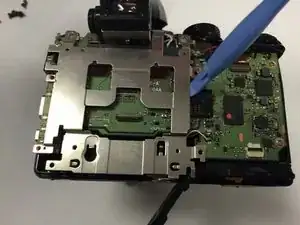
Use a plastic iFixit opening tool to carefully loosen the metal plate.
-
Remove the metal plate to access the camera's motherboard.
-
To reassemble your device, follow these instructions in reverse order.
Ein Kommentar
y como cambia el lente si se atasca
