Einleitung
Werkzeuge
-
-
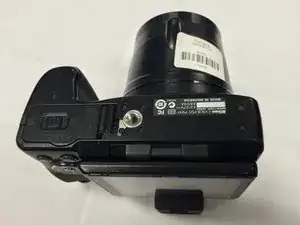
Flip the camera upside down so that the side with the serial number is face up.
-
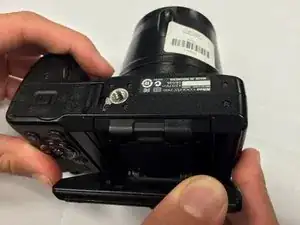
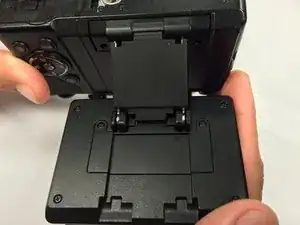
Pull back the display panel. Orient the panel so that you are able to view the back of it.
-
-
-
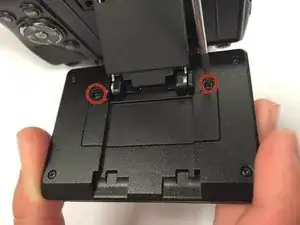
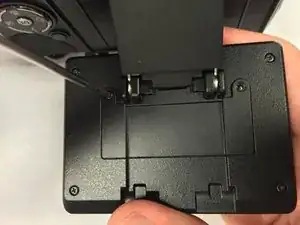
Remove the two screws closest to the piece connecting the panel to the camera with a Phillips #1 screwdriver.
-
-
-
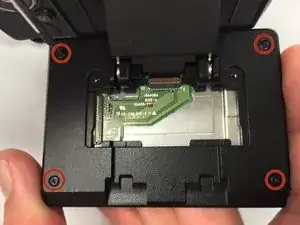
Remove the remaining four screws on the outermost corners of the panel using a Phillips #1 screwdriver.
-
-
-
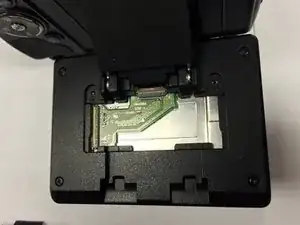
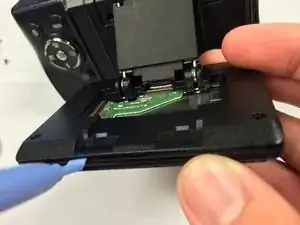
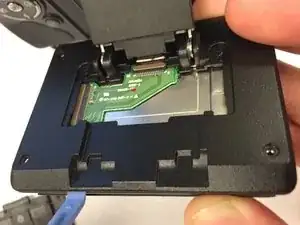
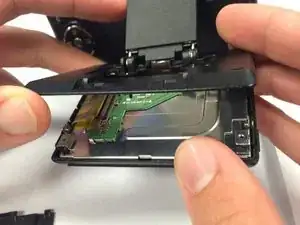
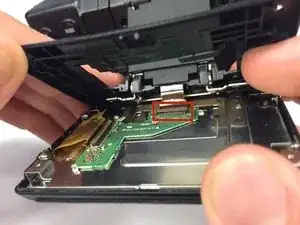
Carefully unhook the ribbon that attaches the panel to the camera.
-
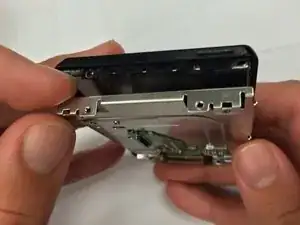
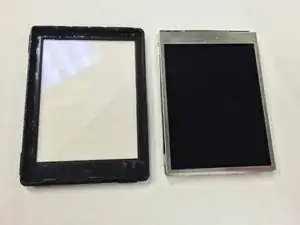
Remove the top black panel cover.
-
-
-
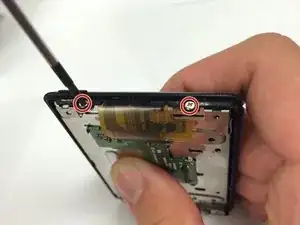
Remove the two screws on the panel that are closest to the ribbon cable using a Phillips #1 screwdriver.
-
-
-
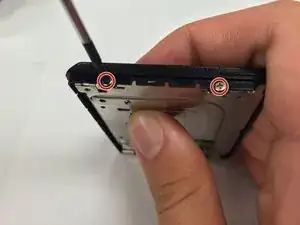
Remove the other two screws on the opposite side of the panel using a Phillips #1 screwdriver.
-
-
-
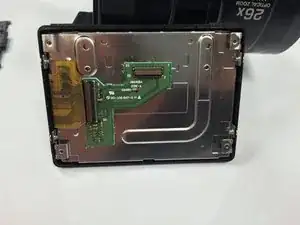
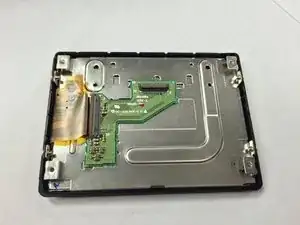
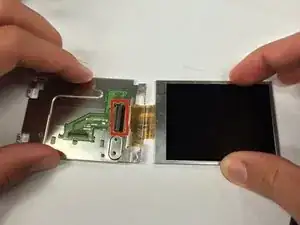
Carefully remove the ribbon connector cable from the metal portion of the display.
-
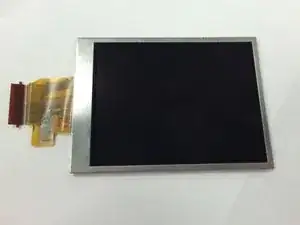
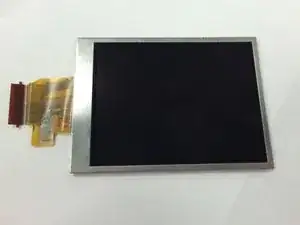
Remove the display from the rest of the device.
-
To reassemble your device, follow these instructions in reverse order.
3 Kommentare
This guide help me to change my screen on Nikon P100 with out to much trouble, however I found step 7 unnecessary.
Hello, I've a problem during the re-mount of the display. Someone can help me? Thanks in advance! Mark
cwmark56 -
I can't reconnect the connector on the step 10. Can you help me?
cwmark56 -
