Einleitung

If you are having issues with your LCD, this guide will help you replace it with a minimal effort. This part is easy to get to, and easy to replace. Other than a screwdriver and a plastic opening tool, nothing else is needed to accomplish this.

  1. sTCCFaWJchXp2ljN
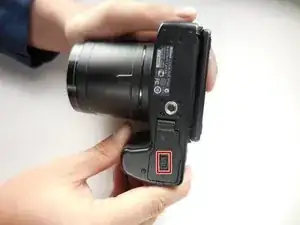
    • Flip the camera over and push the tab on the battery cover to open the battery compartment.

  2. HBW2IjPokeJ1IHtO
    HBW2IjPokeJ1IHtO
    GAn24Jf1ugGFBlPx
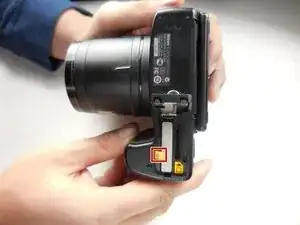
    • Push the little yellow tab to allow the battery to slide out.

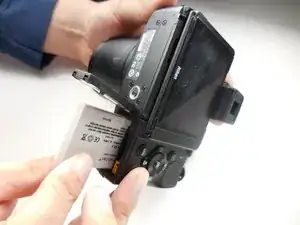
    • With the tab pushed out, pull the battery out.

  3. 53B5jHAZZv2SoHF4
    53B5jHAZZv2SoHF4
    5EWcngHHJ3ggHXwq
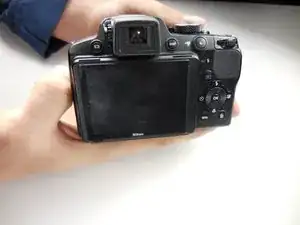
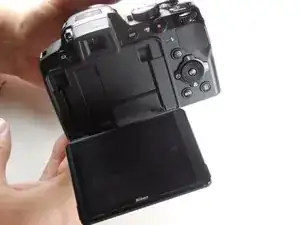
    • Extend the LCD screen out and turn the camera upside down to get access to the screws on the bottom.

  4. Hamsfp2TiK4JSA6a
    Hamsfp2TiK4JSA6a
    HYXQptPtFcgXsboX
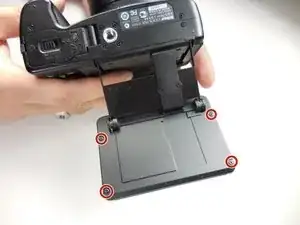
    • Take the four 4mm PH00 Phillips screws out.

  5. OFTr2LvbCoJ1WyI2
    OFTr2LvbCoJ1WyI2
    AKhFQMOwj6oXFK1w
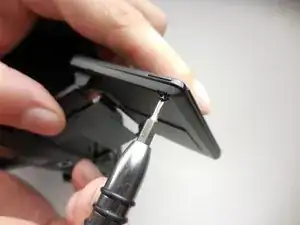
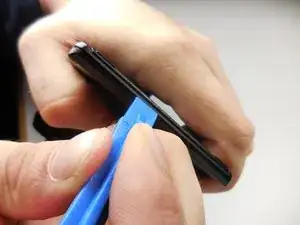
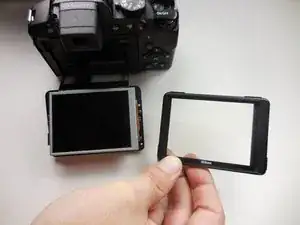
    • Use a plastic opening tool to trace around the screen to pop the front and back section apart.

    i would not rate this as easy, you need patience and a steady hand for the replacing of the ribbion cable, it will test your patience and don’t for get to take the protective film on the replacement lens the i didn’t and had to take it apart again

    terry welles -

  6. SgB6DaHCVOJ5Pvwb
    SgB6DaHCVOJ5Pvwb
    SfJHXO1xjTharkCA
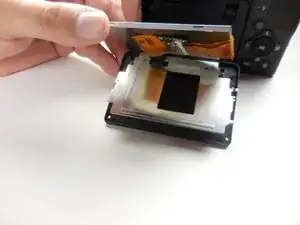
    • Tilt the LCD up to get access to the back of it.

  7. CIvcmswx4HAlCEIZ
    CIvcmswx4HAlCEIZ
    2QI1lYkLg6XyBMRL
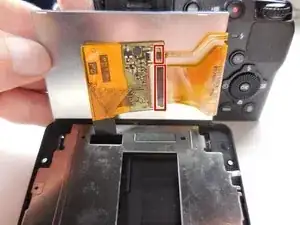
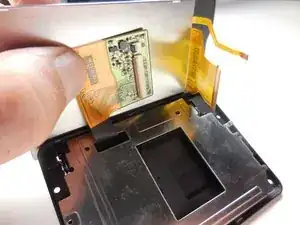
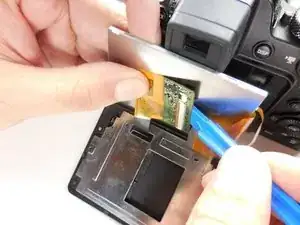
    • Unplug the ribbon cables on the side of the chip under the LCD by simple pulling lightly on them.

  8. qZTRcS2DI1mkPESk
    • The chip has an adhesive on it to keep it attached to the LCD, and you will need to use a plastic opening tool to get it off.

    • It may take a little bit of pressure to get the chip off. Be gentle to make sure you don't break the chip.

    A hair dryer (not a heat gun) is good for getting the adhesive loose. Use a playing card under the circuit board to loosen the bond. If its not coming up apply more heat. The board has parts soldered to it so it is not a good idea to bend the board much since this may break component connections.

    One further point. When reinstalling the larger ribbon cable (it has two rows of contacts) make sure the cable is pushed into the connector as far as possible. I used a pocket knife blade edge on the stiff black part to force it into the connector. If it is not installed fully you will see the backlight but no display. Very discouraging..

    Make sure display and window are both clean and dry before reassembly.

    John LaCourse -

Abschluss

To reassemble your device, follow these instructions in reverse order.
Brian Hulsey

Mitglied seit: 01/04/15

1434 Reputation

0 Kommentare