Einleitung

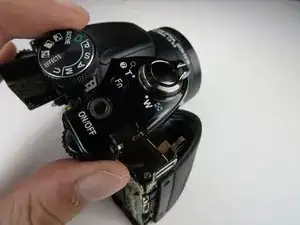
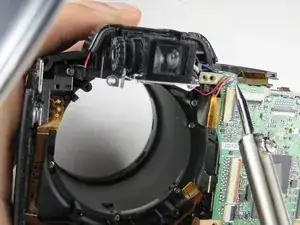
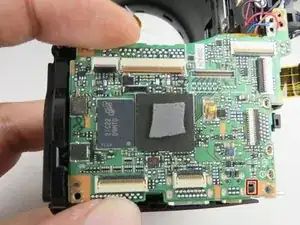
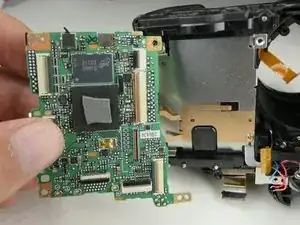
This guide will take some time and is very hard to do. Once the camera is apart you have to unsolder several wires and post on the motherboard to get it off. Putting it back together will be even more of a challenge, as it uses micro soldering to reconnect the wires. Only experienced solders should do this.

  1. sTCCFaWJchXp2ljN
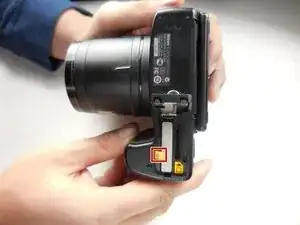
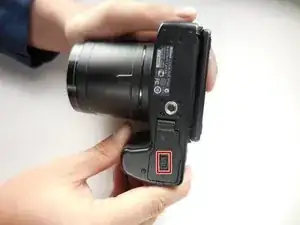
    • Flip the camera over and push the tab on the battery cover to open the battery compartment.

  2. HBW2IjPokeJ1IHtO
    HBW2IjPokeJ1IHtO
    GAn24Jf1ugGFBlPx
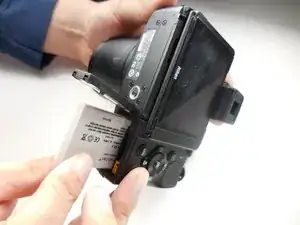
    • Push the little yellow tab to allow the battery to slide out.

    • With the tab pushed out, pull the battery out.

  3. hHwd6kDcFWEBeRHI
    hHwd6kDcFWEBeRHI
    UpfEyjcZbuFKjeZn
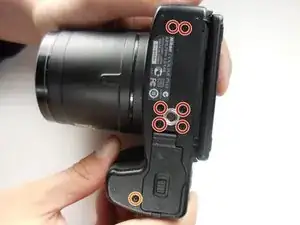
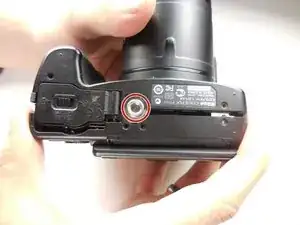
    • Flip the camera upside down and remove six 3mm PH00 Philips screws with a Philips screwdriver.

    • On the thumb grip, remove the one 4mm PH00 Philips screw.

  4. rOQ3CT2yryFLIZXI
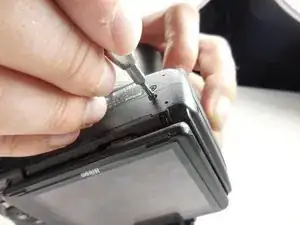
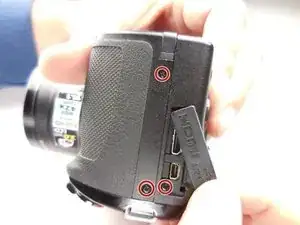
    • With the camera upside down, remove the three 3mm PH00 Philips screws on the left side.

    • One of the screws are under the HDMI and A/V Out cover.

  5. vSGlBN6JOg1uxMME
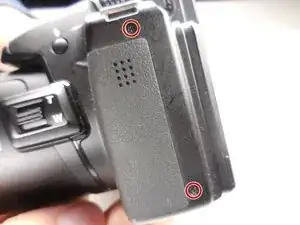
    • On the opposite side of the camera, remove the two 3mm PH00 Philips screws.

  6. qwVcpDHSlmOhMGHk
    qwVcpDHSlmOhMGHk
    PeCFWCrKUDn4hwLJ
    G5KMgtM2naumX252
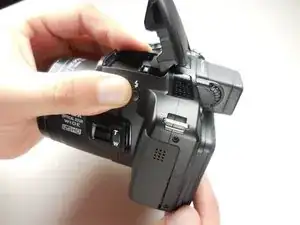
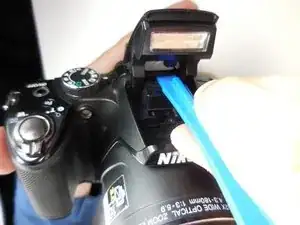
    • Open the flash and use a plastic opening tool to pop the tab under it as shown.

    • Now pull the casing apart.

    • The tripod attachment may fall out on its own, or you will need to pull it out.

  7. VmDt3bX3UeYfEVl3
    VmDt3bX3UeYfEVl3
    ifeFW6hPt3EI22rD
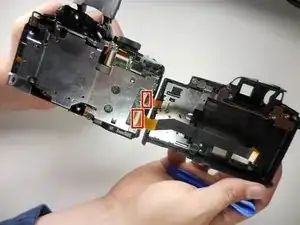
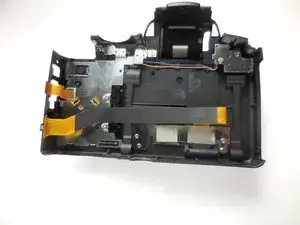
    • Unplug the two ribbon cables to completely detach the back.

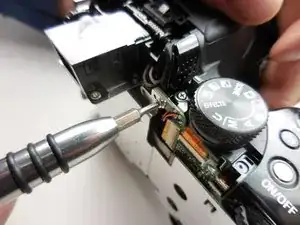
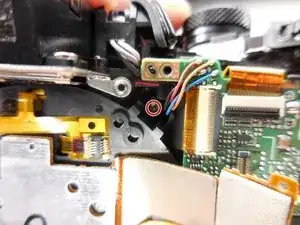
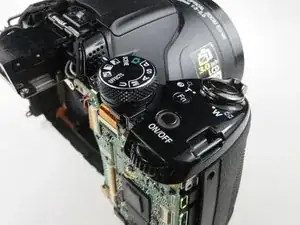
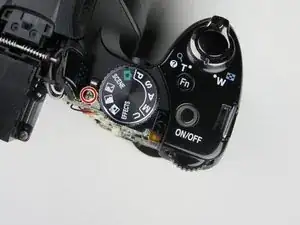
    At this stage (or even before unplugging the ribbon cables if you're careful), you can remove the silver screw next to the mode selector, and ease out the button assembly. Having done that, I was able to fix an intermittent shutter release by giving it a blast with switch cleaner.

    mikecdraper -

  8. 2LlM14bIO26TlQmG
    2LlM14bIO26TlQmG
    u5ZTfPlEEUsJNw6C
    joNhrgnw3eAI1PfQ
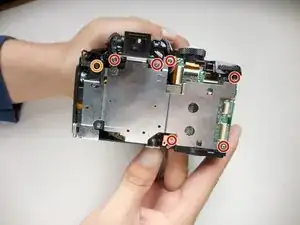
    • With the back separated, you need to remove six 3mm PH000 Philips screws with a Philips screwdriver.

    • Remove one 5mm PH00 Philips screw

    • To remove the top right corner screw, you may need to lift the corner of the case to gain access to it.

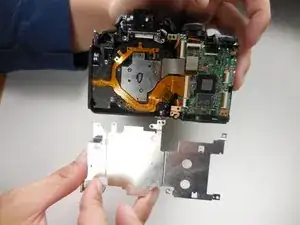
    • With all the screws out, the metal plate should simply lift off.

  9. TCrHFDWGTOCDEqAH
    TCrHFDWGTOCDEqAH
    AtOvUyVW6GGQaRGu
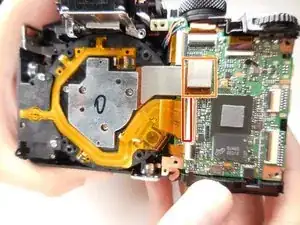
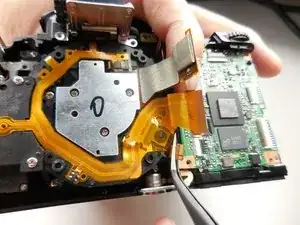
    • With the metal plate off, unplug this ribbon cable from the motherboard.

    • To remove the flat-topped connector, you simply lift it up to unplug it.

  10. hfpBKgpVXboNGCoL
    hfpBKgpVXboNGCoL
    51UL12drUoV3edSM
    UyQaMqmKRyYoSfHM
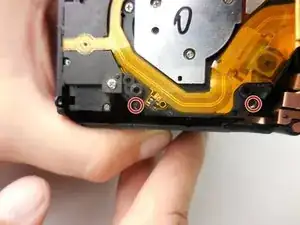
    • To get the lens assembly out, you need to remove four 6mm PH00 Philips screws

  11. IpyMccRp1hqSbJYl
    IpyMccRp1hqSbJYl
    U1SfJIUQOtXEUIUR
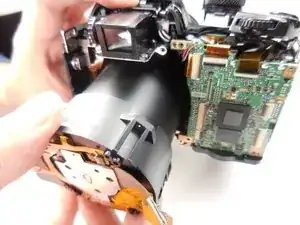
    • With the support screws out, you can simply slide the assembly out of the casing.

  12. bWNRRl1JAgMpCvPs
    bWNRRl1JAgMpCvPs
    QvwOpOxGsFsLy6v5
    UEdxGslm3UUVdSd3
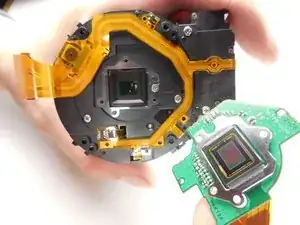
    • If you are moving on to take the lens casing off, you do not need to do this step.

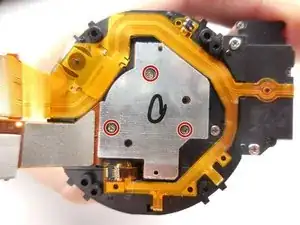
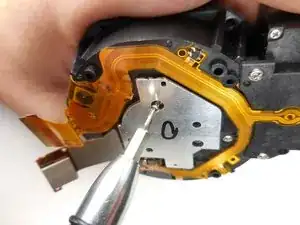
    • With the assembly out we need to take of this last piece by removing the three 3mm PH000 Philips screws.

  13. WbOoOnqItncPF6aC
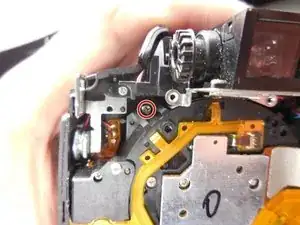
    • Looking from the top of the camera, remove the 3mm PH00 Philips screw.

  14. 2SmIOZRise1aBRmK
    2SmIOZRise1aBRmK
    vU2BtRbudyTj2uyf
    • Now grab the top panel of the thumb grip and pop it off.

  15. 5RSHbpeJVZDRLNve
    5RSHbpeJVZDRLNve
    BeZjqyPYQx3aJBLP
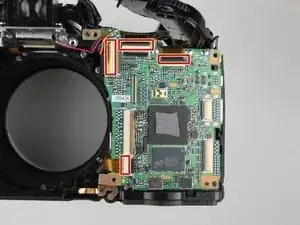
    • Now looking at the motherboard, unplug all four ribbon cables on it.

  16. HJAnfLQqrainhN4m
    HJAnfLQqrainhN4m
    jvYdcZYI4AlWi2ER
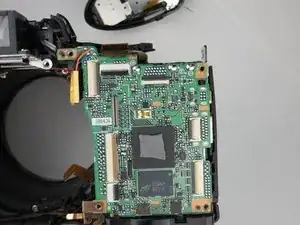
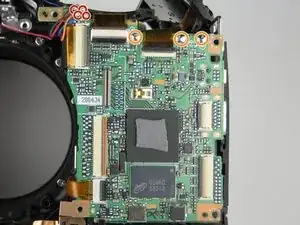
    • There are four wires that need to unsoldered.

    • There are also three post that need to be unsoldered.

  17. tYtqxnFWbbsfZcKa
    tYtqxnFWbbsfZcKa
    f2VjAwPrENiBHNVI
    • before you can pull the board off, there is a tab that must be pushed back.

Abschluss

To reassemble your device, follow these instructions in reverse order.

Brian Hulsey

Mitglied seit: 01/04/15

1434 Reputation

2 Kommentare

This is a wonderful presentation! My P510 got in saltwater; worked erratically; I disassembled and cleaned with alcohol and blew out sand and dried and reassembled and it worked! The copper thingy in pic 17B was left over. I mostly disassembled and reassembled and again, it worked! I found the dial on the back upper right was catchy so I partly disassembled again to blow out that dial. After assembly, the dial was free, but it would not power on! I’ve checked all my cable connections and still can’t get it to power on. Anybody have something for me to check? This presentation is still wonderful.

Dave Dbarc -

Excellent guide - it gave me the courage and knowledge to partially strip my P510 and sort out an intermittent shutter release. Thank you!
mikecdraper -