Einleitung
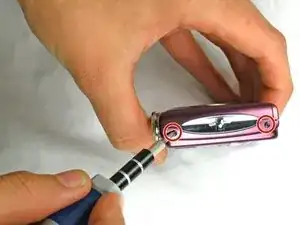
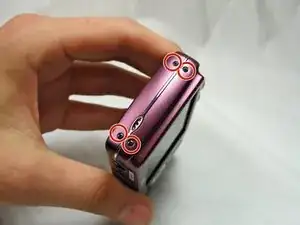
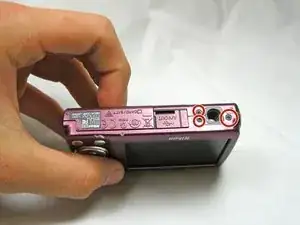
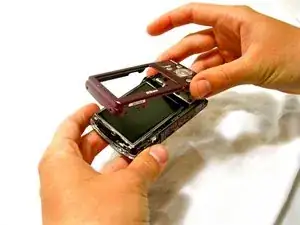
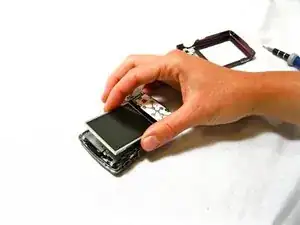
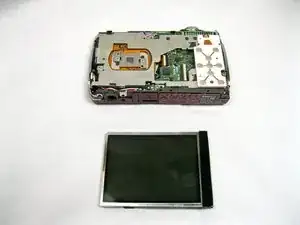
This guide will show the reader how to remove the LCD Screen in case it needs to be replaced.
Werkzeuge
-
-
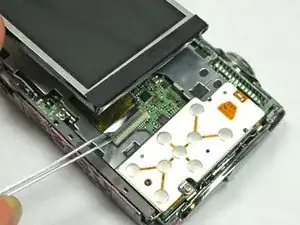
Use the tweezers to lift the ZIF connector which is holding the ribbon cables that connect the LCD screen to the motherboard.
-
To reassemble your device, follow these instructions in reverse order.
2 Kommentare
Where did you obtain the replacement LCD screen? I have two of the Coolpix's with broken LCD screens. I found your page looking for the dreaded "lens error", which the pulling on the lens idea helped me fix and now I would like to replace the cracked LCD screen in that camera. I had never thought it economically feasible. Thanks.
Got my replacement LCD from eBay seller for very reasonable price.
The guide has you removing a couple, maybe 3 screws from the front side case, which I believe could have been left in place, but otherwise it is a good repair guide. If I had known how easy and cheap this repair was going to be, I would have done it over a year ago. I thought that I was going to have to find a repair shop (even looked and they wanted $90 per hour just for labor and did not have a price for the part(s). Glad I found the LCD on eBay and did it myself. Only took 5 minutes and IIRC, the LCD screen was less than $20 including shipping.

