
Einleitung
Is the LCD screen on your Coolpix S230 cracked or damaged? This guide will walk you through how to replace it.
-
-
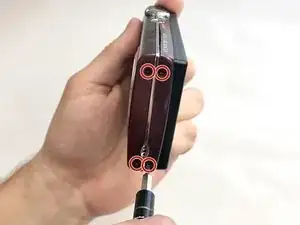
Using a Phillips #000 screwdriver, remove the four 2-mm screws from the side of the camera.
-
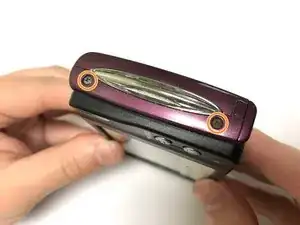
Remove the two 3-mm screws from the other side of the camera.
-
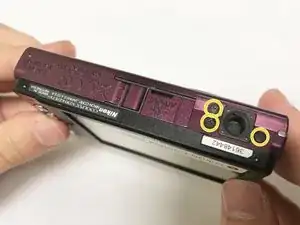
Finally, remove the three 4-mm screws from the bottom of the camera.
-
-
-
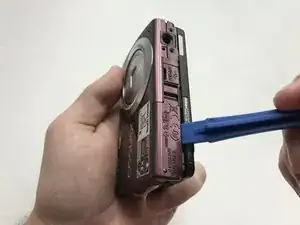
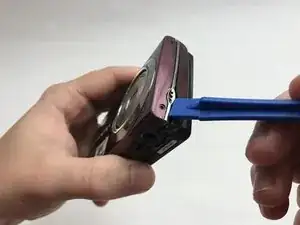
Insert the plastic opening tool into the seam where the front and back parts of the case meet on the bottom of the camera, and slide it along the bottom. Continue along the next side to separate the back part of the case.
-
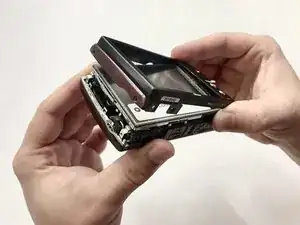
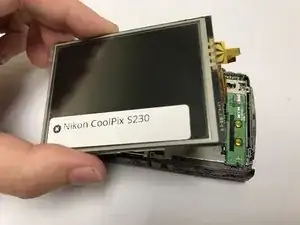
Lift the back off of the case.
-
-
-
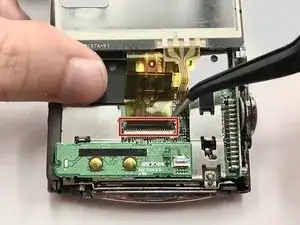
Carefully lift the LCD screen to reveal two orange ribbons connecting the screen to the camera.
-
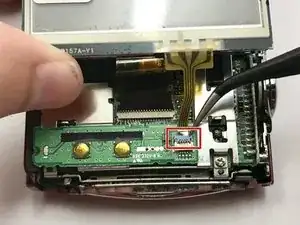
Use tweezers to carefully lift the blue retaining flap holding down the orange ribbon cable. (Flap can be seen open in the second photo)
-
Slowly wiggle the ribbon cable back and forth while pulling away from the zero insertion force (ZIF) connector to disconnect the cable.
-
-
-
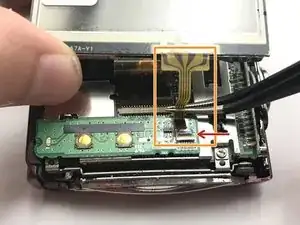
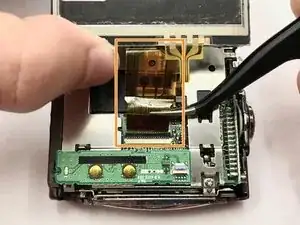
Using tweezers, lift the black retaining flap holding down the larger orange ribbon cable.
-
Carefully remove the ribbon cable from the ZIF connector as before.
-
To reassemble your device, follow these instructions in reverse order.