Einleitung
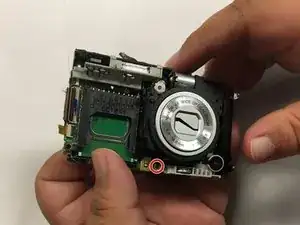
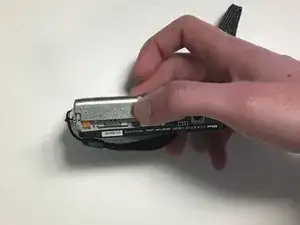
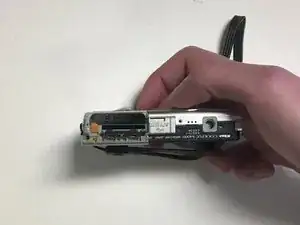
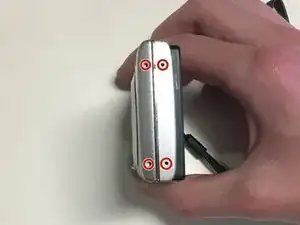
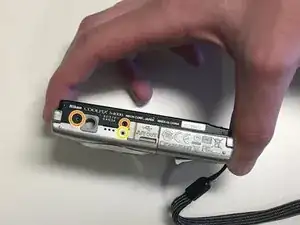
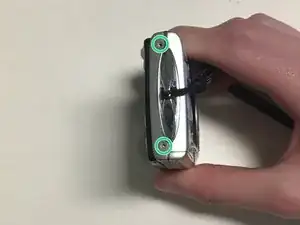
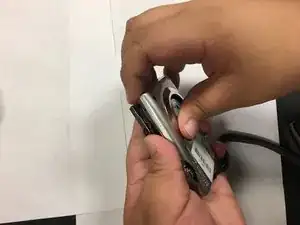
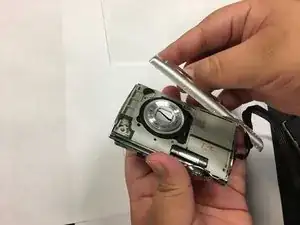
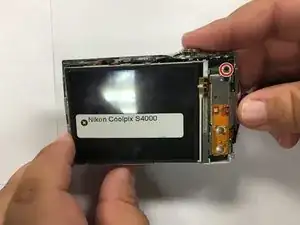
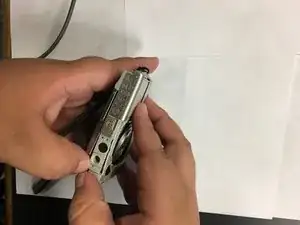
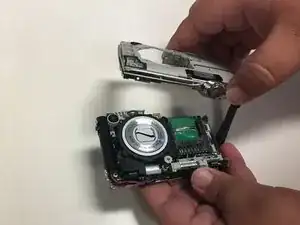
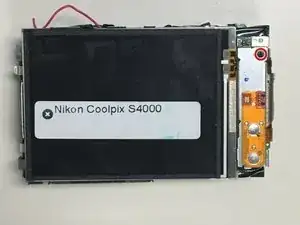
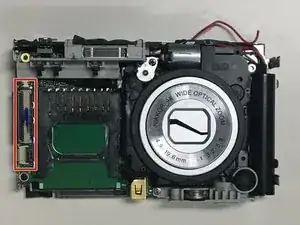
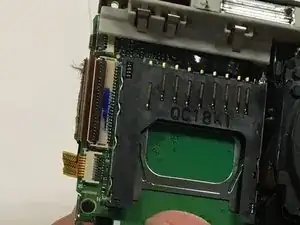
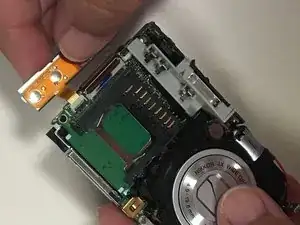
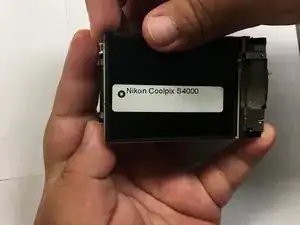
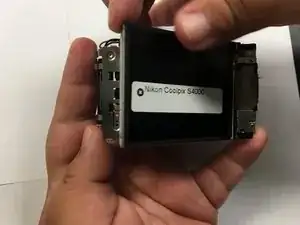
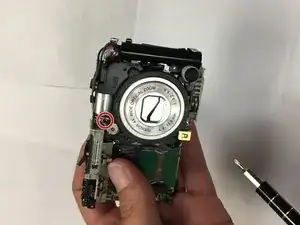
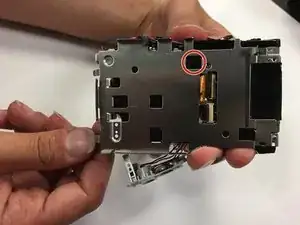
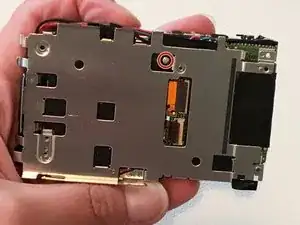
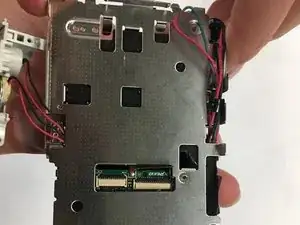
If the lense on your camera is malfunctioning we suggest first checking out our troubleshooting guide. If you have determined that the lense itself needs replacing please follow this guide to replace it.
Please note that this guide will require the use of a soldering tool to replace the lens completely.
Werkzeuge
-
-
Remove four 2mm Phillips #000 screws.
-
Remove two black 3mm Phillips #000 screws.
-
Remove one 4mm Phillips #000 screws.
-
Remove two silver 3mm Phillips #000 screws.
-
-
-
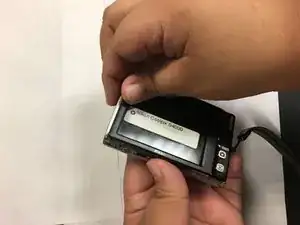
Use your fingers, or a spudger, to lift up one end of the casing and then pry the two pieces apart.
-
-
-
Turn the camera over.
-
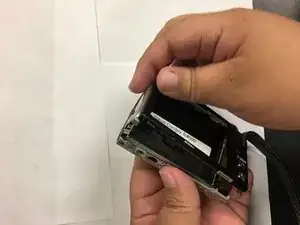
Use your fingers, or spudger, to lift one end of the back casing and pry it apart from back of the camera.
-
-
-
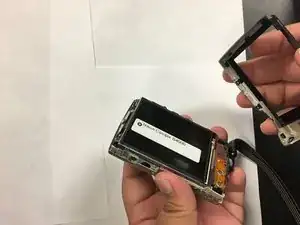
Turn the camera over and pry the lens casing off by slipping your fingers, or spudger, under the lip of the casing.
-
Desolder the two wires connecting the casing to the motherboard.
-
-
-
Use the flat end of a spudger to lift up the black tabs on the ZIF connectors.
-
Pull the ribbon cables out of the ZIF connectors.
-
-
-
Grabbing the top left corner of the screen, pull it up until the screen comes completely off.
-
-
-
Use the flat end of a spudger to flip up the black tabs on the ZIF connectors.
-
Pull the ribbon cables out of the ZIF connectors.
-
-
-
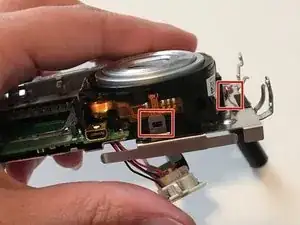
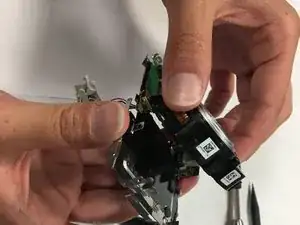
Use the flat end of a spudger to pry the lens locking tabs open while pulling the lens away from the camera body.
-
-
-
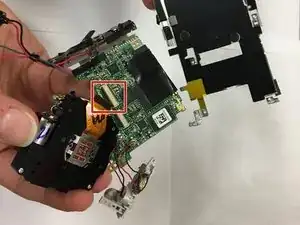
Use the flat end of a spudger to lift up the black tab on the ZIF connector.
-
Pull the orange ribbon cable out of the ZIF connector.
-
Separate the lens from the motherboard.
-
To reassemble your device, follow these instructions in reverse order.
