Einleitung
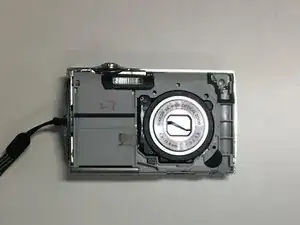
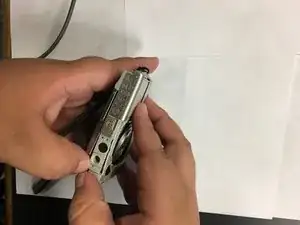
This casing not only protects the lense, but acts as the decorative silver plastic running around the side of the camera, and holds the buttons on top.
It may need replacement in the event a button is broken, or any of the casing is cracked while using the camera.
Werkzeuge
-
-
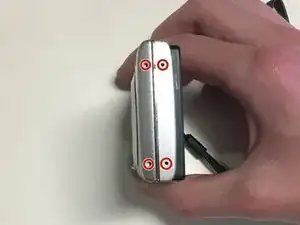
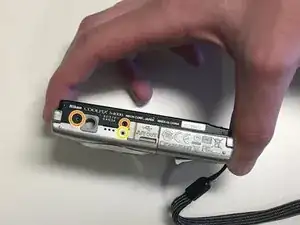
Remove four 2mm Phillips #000 screws.
-
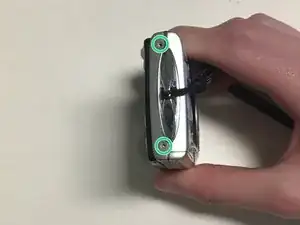
Remove two black 3mm Phillips #000 screws.
-
Remove one 4mm Phillips #000 screws.
-
Remove two silver 3mm Phillips #000 screws.
-
-
-
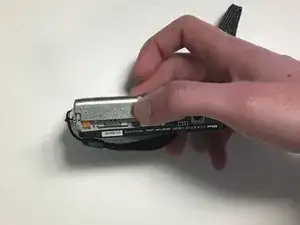
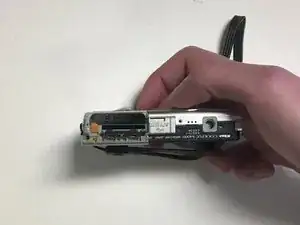
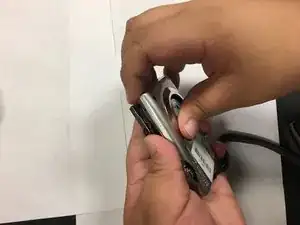
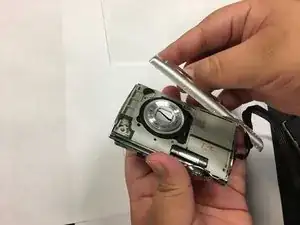
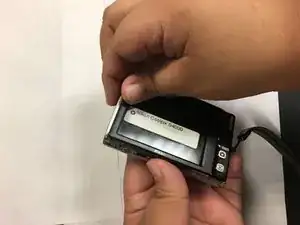
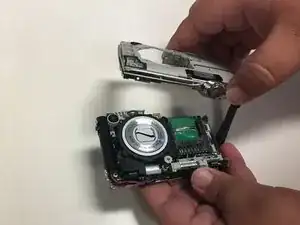
Use your fingers, or a spudger, to lift up one end of the casing and then pry the two pieces apart.
-
-
-
Turn the camera over.
-
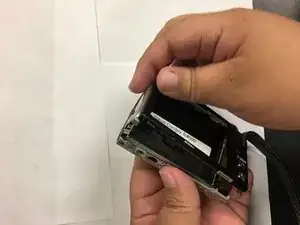
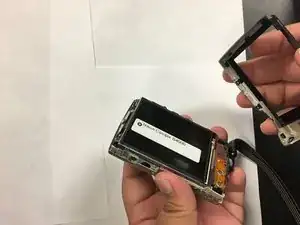
Use your fingers, or spudger, to lift one end of the back casing and pry it apart from back of the camera.
-
-
-
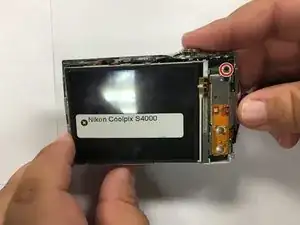
Turn the camera over and pry the lens casing off by slipping your fingers, or spudger, under the lip of the casing.
-
Desolder the two wires connecting the casing to the motherboard.
-
To reassemble your device, follow these instructions in reverse order.
