Einleitung
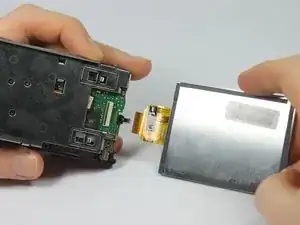
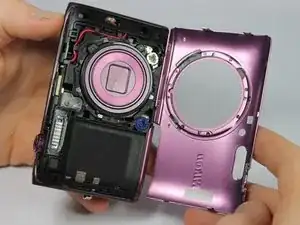
The purpose of this guide is to replace the LCD screen. This guide will provide the necessary information to:
- Disassemble the camera.
- Replace the screen.
- Properly reassemble the components involved.
Werkzeuge
-
-
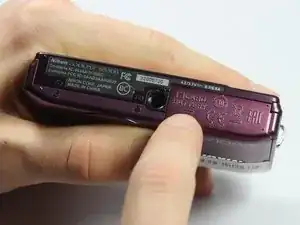
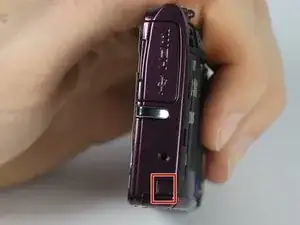
Turn the camera upside down and locate the battery compartment.
-
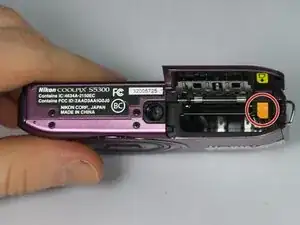
Slide the compartment open following the direction of the arrow.
-
-
-
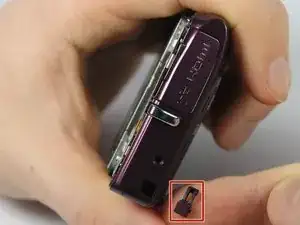
Press the orange release button to release and remove the battery.
-
Replace or insert battery in it's respective terminals
-
-
-
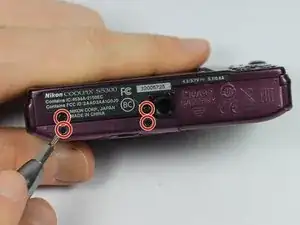
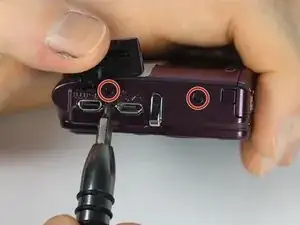
Remove the four 0.1mm screws from the bottom of the camera using the phillips head screwdriver
-
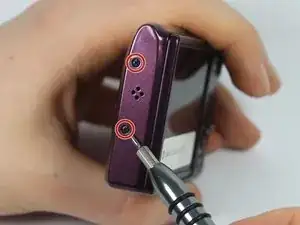
Using the same screwdriver, remove the 2 screws on the side of the camera.
-
Remove the 2 screws from the other side of the camera.
-
-
-
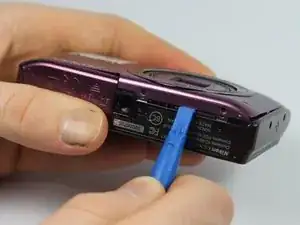
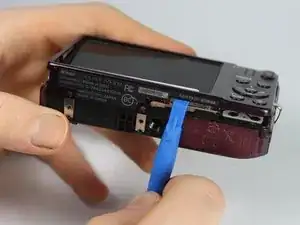
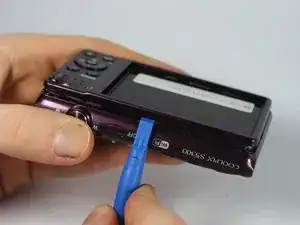
Use the plastic opening tool to carefully separate the cover from the camera.
-
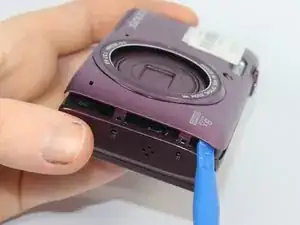
Work the plastic opening tool around all the edges of the front plate.
-
Pull the purple plastic cover off gently from the screen.
-
-
-
Turn the camera over so the LCD screen is facing you.
-
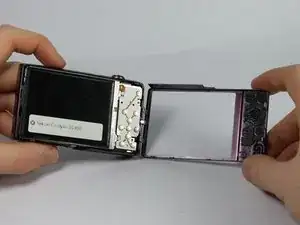
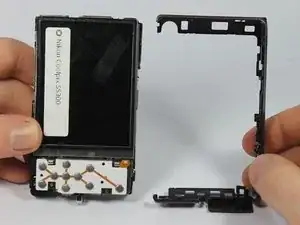
Carefully remove the front shell by gently prying around the corners with the plastic opening tool until it releases.
-
-
-
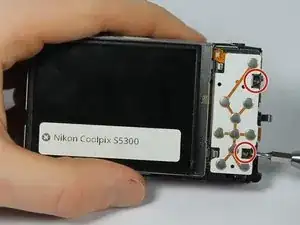
Remove the 2 screws on the silver plate
-
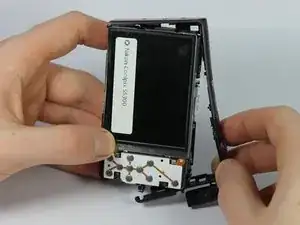
Gently lift the screen and silver plate away from the internal components.
-
-
-
Carefully move the button panel away from the silver plate.
-
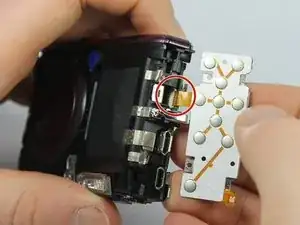
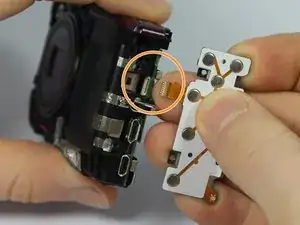
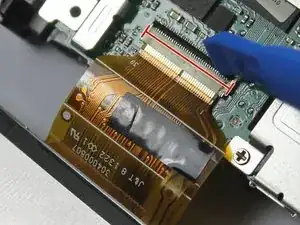
To disconnect the ribbon cable, use the tip of a plastic opening tool or your fingernail to flip up the small retaining flap.
-
Safely pull the ribbon cable out and then remove the button panel.
-
-
-
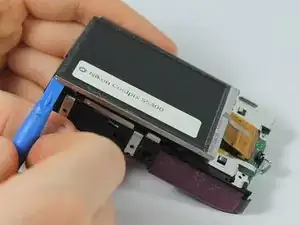
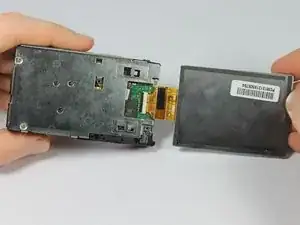
Carefully remove the screen away from the silver plate.
-
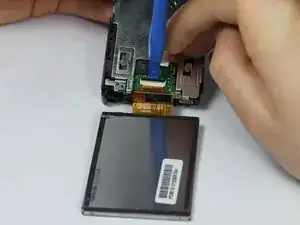
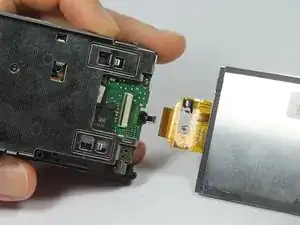
Carefully fold the screen over exposing the latch for the ribbon cable.
-
-
-
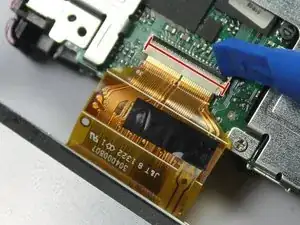
To disconnect the ribbon cable, use the tip of a plastic opening tool or your fingernail to flip up the small retaining flap. Then, you can safely pull the ribbon cable out.
-
To reassemble your device, follow these instructions in reverse order.
