Einleitung
After following the prerequisite guides, the gear can reached by removing the lens apparatus. When the primary gear is exposed, it can simply be lifted out of the camera and inspected.
Werkzeuge
-
-
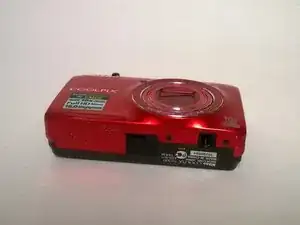
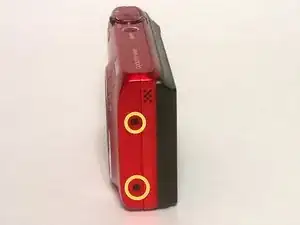
Place the camera facing upwards.
-
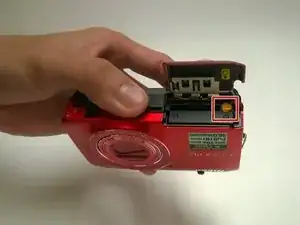
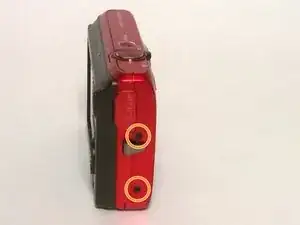
Press down on the battery cover and slide towards the front face of the camera.
-
-
-
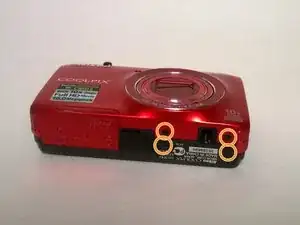
Locate the eight outer PH 2mm screws on the device.
-
Using the PH00 screwdriver remove all of the screws from the camera.
-
-
-
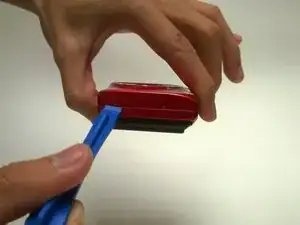
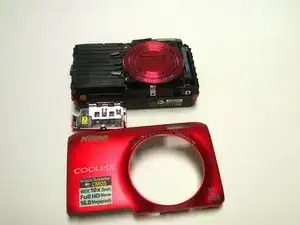
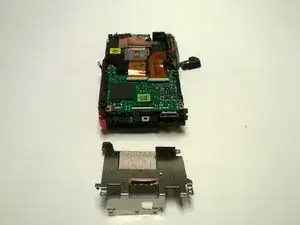
Using a plastic opening tool, gently pry off the front and rear plates.
-
Be patient with this step, do not force the clips holding the plates together.
-
-
-
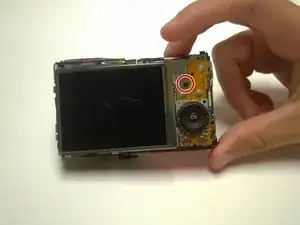
Using a Phillips #00 screwdriver, remove the PH 2mm screw located to the right of the screen, above the OK dial.
-
-
-
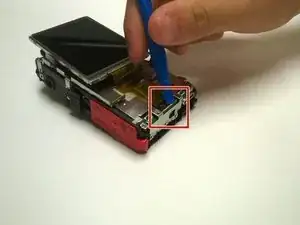
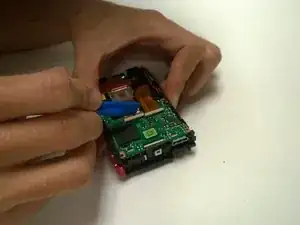
Remove the clasp from the ribbon cable using the plastic spudger.
-
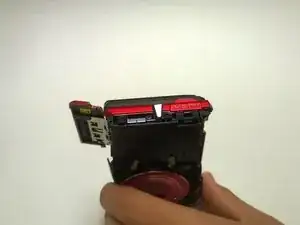
You may now remove the display.
-
-
-
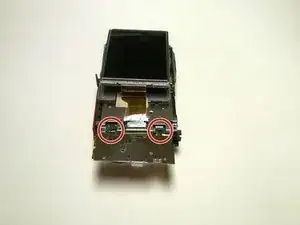
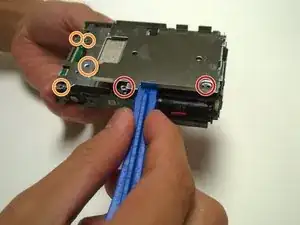
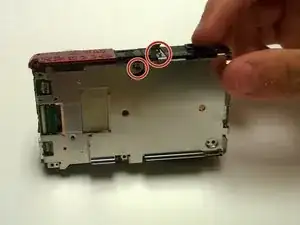
Remove the four PH00 2.5 mm screws around the edges of the display plate.
-
Remove the three PH00 2 mm screws from the sides of the buttons plate and the 2.5 mm screw from the center of the buttons plate.
-
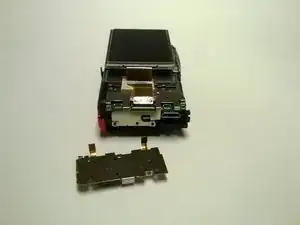
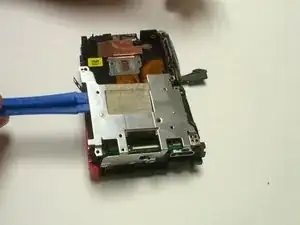
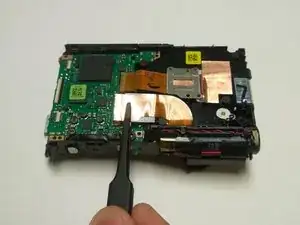
Lift the buttons plate out of the camera with the plastic tool.
-
Lift the display plate out of the camera with the plastic tool.
-
-
-
Use the plastic opening tool to gently flip the white folders at the end of the ribbon cables.
-
Use this tweezers to gently pull the cables out of the holders.
-
Lift the lens apparatus out of the rest of the camera by pushing the front of lens up from the bottom.
-
-
-
Use the plastic opening tool to flip the two white clips holding the ribbon cables.
-
Use tweezers to pull the cables from clamps.
-
Use the PH00 screwdriver to remove the three 2 mm screws around the first lens area.
-
-
-
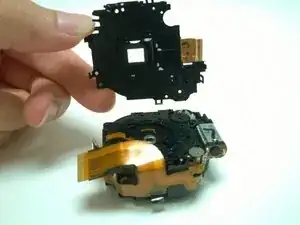
Lift the first lens from the rest of the lens apparatus.
-
Use thin tweezers to left and remove the polarizing lens from the apparatus.
-
-
-
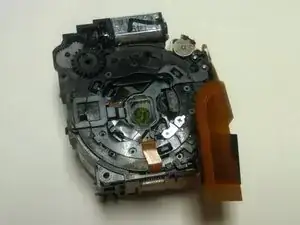
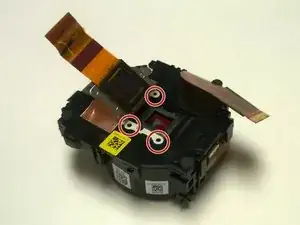
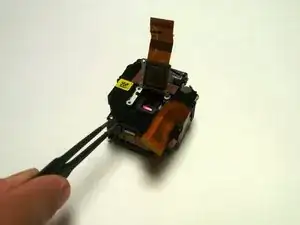
Check to see if there are any items stuck inside the gear.
-
Carefully remove items using tweezers.
-
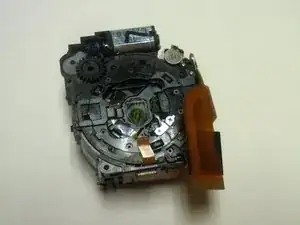
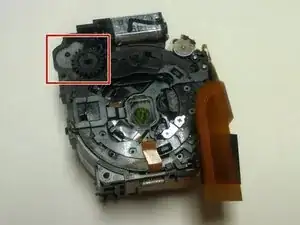
If the gears are popped out of place, carefully push the gears back into its original position shown in the picture
-
To reassemble your device, follow these instructions in reverse order.
Ein Kommentar
Attention rester sur une table, et bien suivre le tutoriel. En effet, il y a des pilles, Pas la batterie: donc si vous touchez le haut de l'appareil, il y a un peux d’électricité max 4w , ce qui surprend....C'est pas dangereux mais cela surprend. Pas toucher le haut de l'appareil..... Ferreria J-C
a420mf -