Einleitung
If you've noticed your buttons are no longer functioning, or missing altogether, it may be time to replace them. This guide will take you through the steps to replace the navigation buttons for this particular camera.
Werkzeuge
-
-
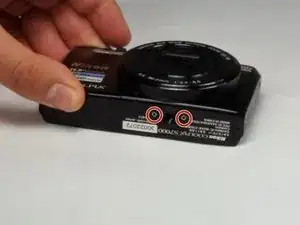
Turn the camera so the bottom side is facing you. Locate the two 40 mm, Phillips head screws on it.
-
Using a Philips #J000 Screwdriver, carefully remove each screw.
-
-
-
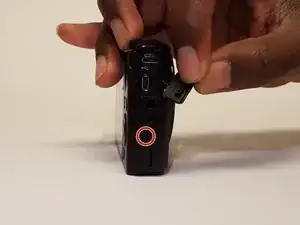
Turn the camera to its right side.
-
Locate the lone 40 mm, Phillips head screw and remove it.
-
-
-
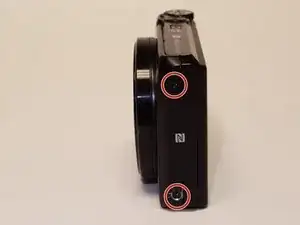
Turn the camera so that the left side is facing you.
-
Locate and remove the two 40 mm, Phillips head screws.
-
-
-
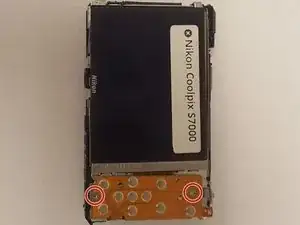
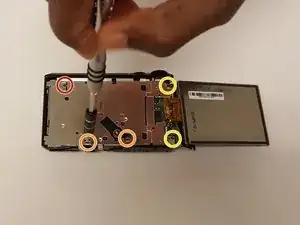
Locate the two 20 mm, Phillips head screws on the keypad.
-
Remove the screws while making sure the keypad doesn't fall off afterwards.
-
-
-
Locate the 30 mm, Phillips head screw in the upper-left corner of the midplate and remove it.
-
There are two 30 mm, Phillips head screws on the bottom side of the midframe. Locate and unscrew them.
-
There are two more 30 mm, Phillips head screws hidden on the right side of the midframe. Locate them and carefully remove them.
-
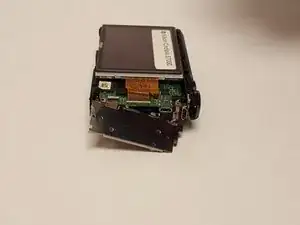
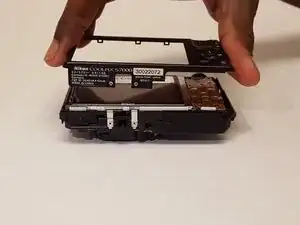
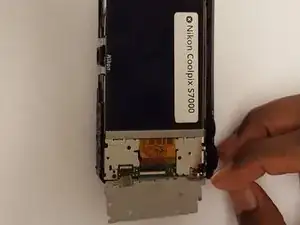
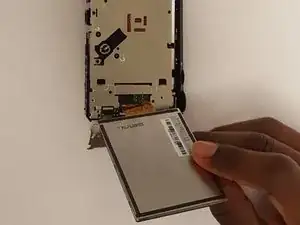
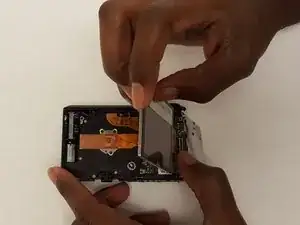
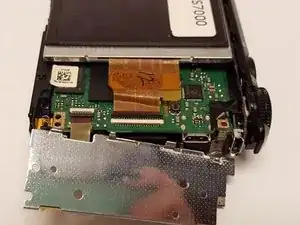
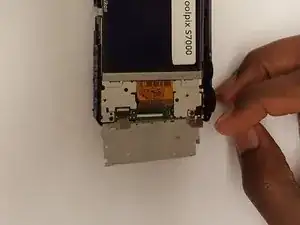
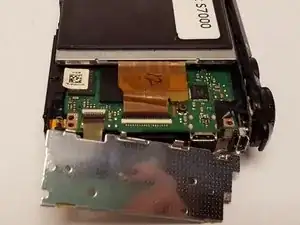
Once all the screws have been removed, gently lift the midframe to reveal the circuit.
-
-
-
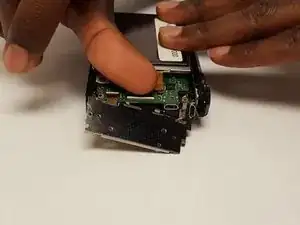
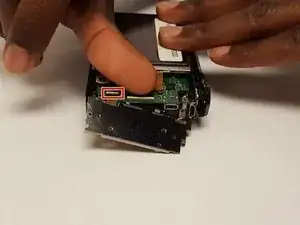
If you haven't already, with your fingernails, gently flip the tabs connecting to the button pad's ribbon.
-
To reassemble your device, follow these instructions in reverse order.
Ein Kommentar
Didn't show navigation button replacement? I believe two of the screws (I forget which) from Steps 1-3 are different lengths.
