Einleitung
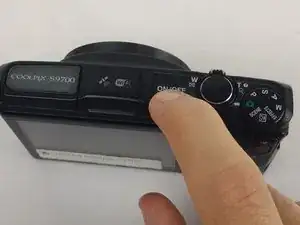
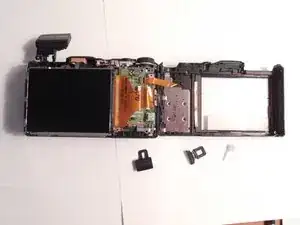
Has some of the buttons on the S9700 become worn down from use? Do you have a large scratch on your screen? Both of these scenarios might require that you remove the back panel. The back panel gives you access most of the internal components and buttons of the S9700. It will take some time and patience, but once it is removed, every replacement you need to make will be possible!
Werkzeuge
-
-
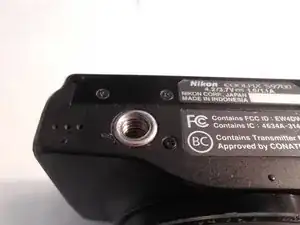
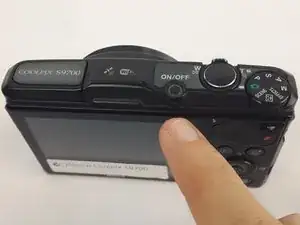
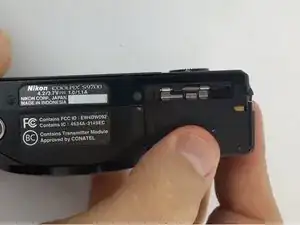
Place the S9700 upside down
-
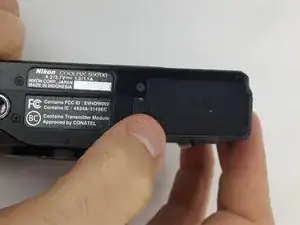
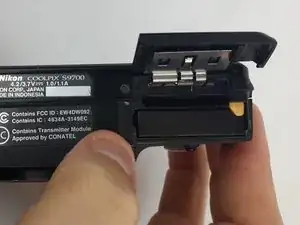
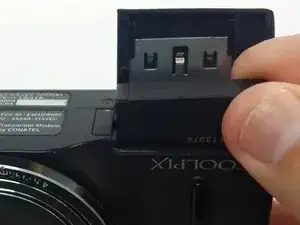
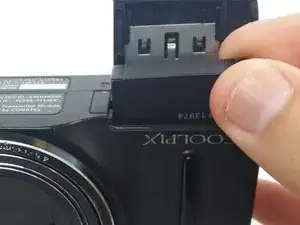
Place your finger on the battery compartment cover and gently push toward the front of the S9700.
-
The cover will open up by itself.
-
-
-
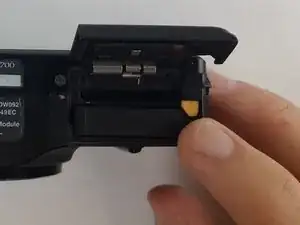
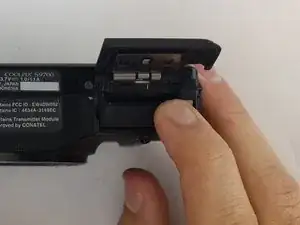
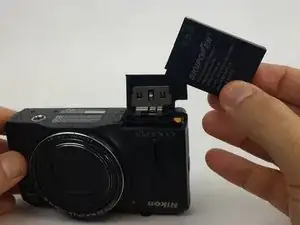
Push the yellow tab inside the battery compartment in the direction of the arrow. This will allow the battery to spring up.
-
-
-
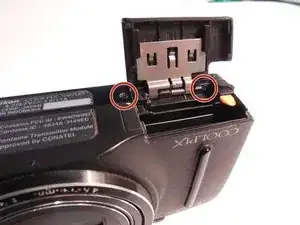
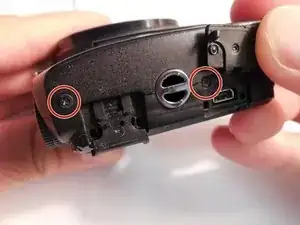
Remove the two 4-mm and three 3-mm J000 screws from the bottom of the S9700.
-
Three 3-mm screws are on the side opposite the battery compartment.
-
Two 4-mm screws are on the side with the battery compartment. One of these screws is in the battery compartment. Open it up for access.
-
-
-
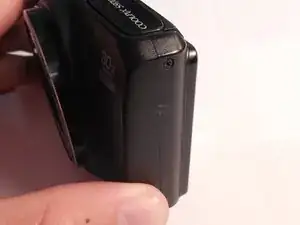
Remove the one 3-mm J000 screw on the left side of the S9700 (side with no ports).
-
Remove the two 3-mm J000 screws on the right side (side with HDMI and charging ports).
-
One of these screws is underneath the HDMI port cover. Lift the port cover up to access.
-
-
-
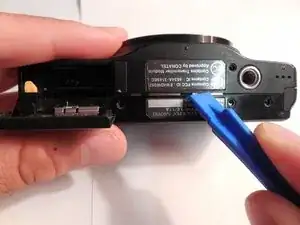
Insert the plastic opening tool on the bottom of the S9700 between the front panel and the back panel.
-
Twist the plastic opening tool so that both halves separate.
-
-
-
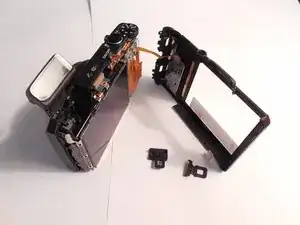
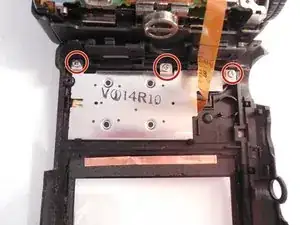
Remove the three silver 3-mm J000 screws on the back panel holding the silver button / dial component to the panel and ribbon.
-
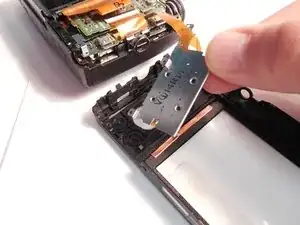
Gently remove the back panel.
-
To reassemble your device, follow these instructions in reverse order.
