Einleitung
With this guide you will be able to replace any of the buttons around the rear LCD screen. Buttons get worn and connections break. This guide will help you disassemble the camera so you can replace the buttons. Be careful not to strip the screws when disassembling the camera.
Werkzeuge
-
-
Locate the screws on both sides of the camera.
-
Remove the four 6.3 mm Phillips screws using a PH00 screwdriver.
-
-
-
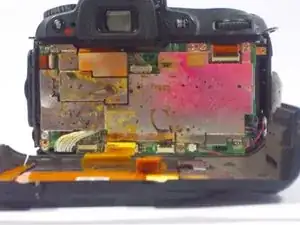
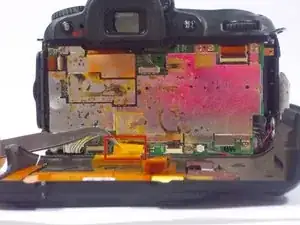
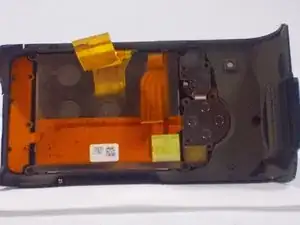
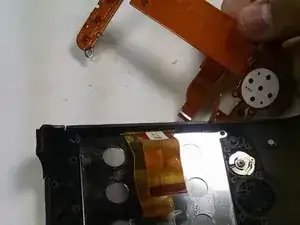
After, remove the two orange ribbon connectors attached to the interior of the camera with tweezers.
-
-
-
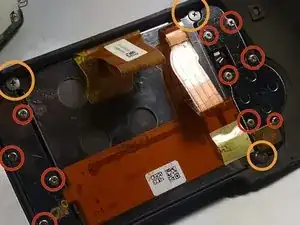
Remove the screws from the back assembly with a Phillips (PH00) head screwdriver.
-
Remove the ten 5.3 mm Phillips screws.
-
Remove the three 4.3 mm Phillips screws.
-
-
-
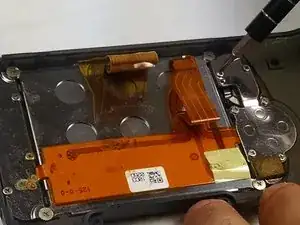
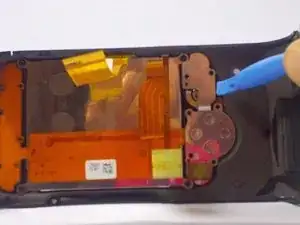
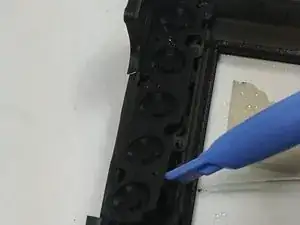
Use a plastic opening tool to separate the buttons from the casing.
-
Remove the 4.3 mm Phillips screw from the knob using a PH00 screwdriver.
-
To reassemble your device, follow these instructions in reverse order.
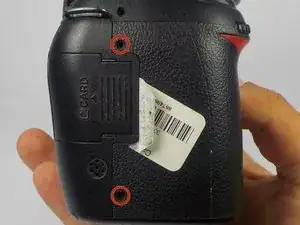
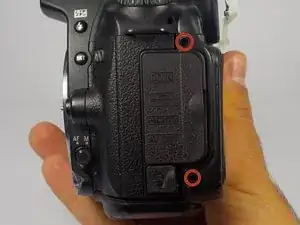
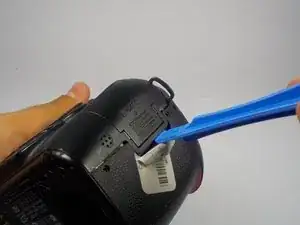

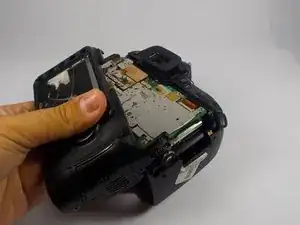
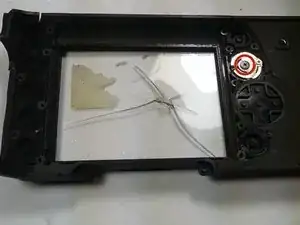
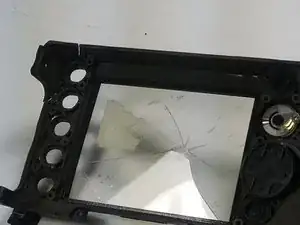
there are two small screws below the viewfinder that also need to be removed to be able to remove the rear casing.
Erik -