Einleitung

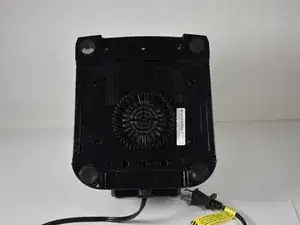
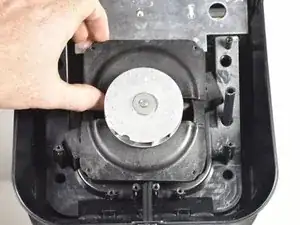
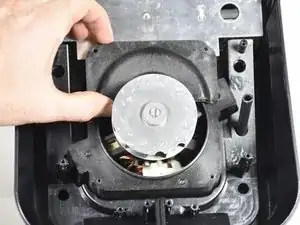
This guide will demonstrate how to remove the plastic vent.

  1. EJCc5paOFjDRuwPs
    EJCc5paOFjDRuwPs
    b4jDw5tfjR1h3QIU
    HuR5bQqJgQvO5Jdf
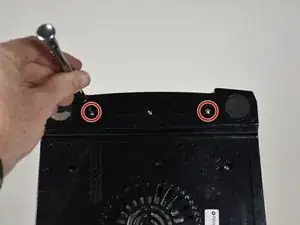
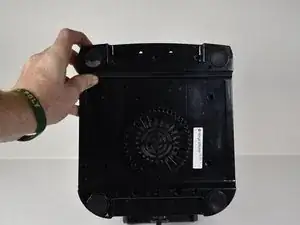
    • Unscrew the Phillips #0 11mm screws.

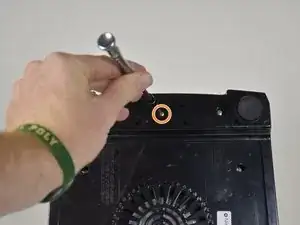
    • Unscrew the Torx Security #10 11mm screw.

  2. rJpigGQYJr2EYg1D
    rJpigGQYJr2EYg1D
    AaOlgMSfdKnTreWC
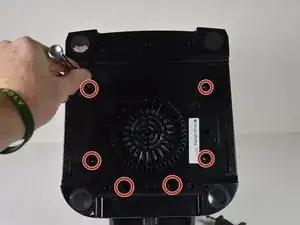
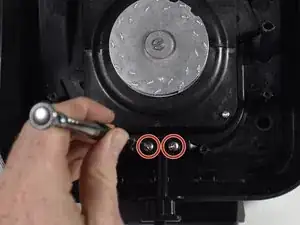
    • Unscrew the six Phillips #2 11mm screws from the remainder of the bottom plate.

    • Pull the bottom covering off of the blender.

  3. aexHMY3UjvfVF4X5
    aexHMY3UjvfVF4X5
    QJvrtOsEnHvQVFam
    • Unscrew the two Phillips #2 9mm screws.

    • Remove the plastic block.

  4. KCMooOMkI5yW65Ua
    KCMooOMkI5yW65Ua
    q4TN3H53ZHkWHh4o
    Sf1clI1cQYoxslWE
    • Unscrew the four Phillips #2 11mm screws.

    • Remove the plastic covers.

    • Removing the top cover and then rotating the bottom cover into the same orientation works best.

  5. G41E5PlluCGS1LV1
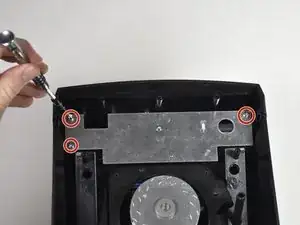
    • Unscrew the three Phillips #2 9mm screws.

    • This metal plate doesn't need to be completely removed, just adjusted to the side to continue working.

  6. dCaniGfHLgrfvjPH
    dCaniGfHLgrfvjPH
    RyPiumAmdalTK2Kb
    ZvTL2Ek2VSsB2H3X
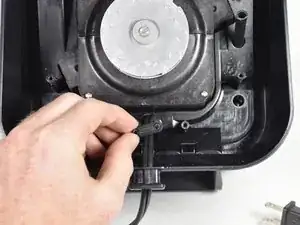
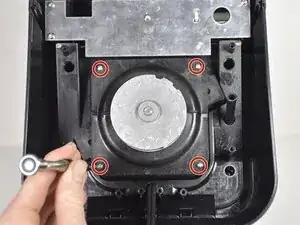
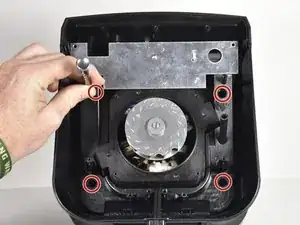
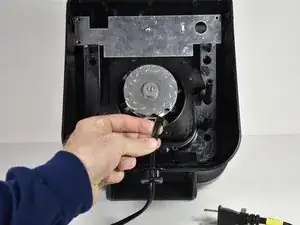
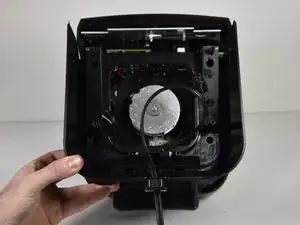
    • Unscrew the four Phillips #2 11mm screws.

    • Pull the power cord through as shown to create slack.

    • Remove plastic casing by lifting upwards.

  7. UMkBdXYdKmcHXEDO
    UMkBdXYdKmcHXEDO
    SwoaoglXOuZAXOW4
    UdOOfDZAinPm6C3s
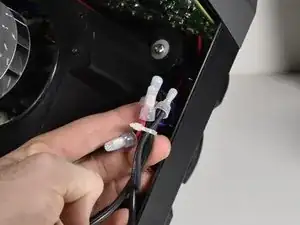
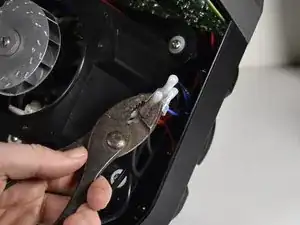
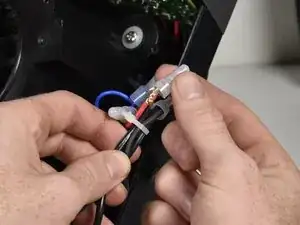
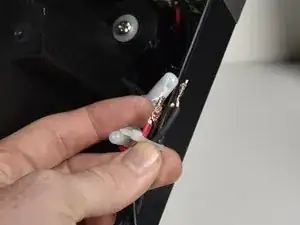
    • Follow the power plug cords to find the right plastic caps.

    • Squeeze the caps with pliers to loosen the grip.

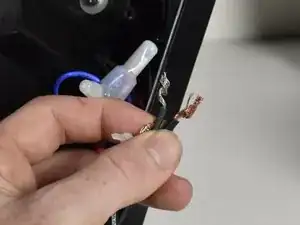
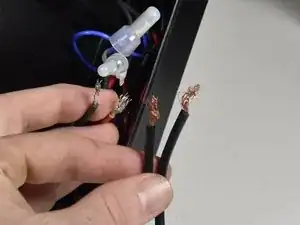
    • Pull the plastic caps off the twisted wires.

  8. AspHptPBLjZZMVRh
    AspHptPBLjZZMVRh
    wG2bNqfTcCGhhcfC
    UISB5coRU5C1D1lK
    • Untwist the two wires from each other and pull the zip tie off.

  9. PFlxSXUVtriyKTaL
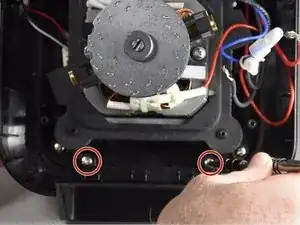
    • Unscrew the 2 Phillips #2 9mm screws.

  10. rsytLaCXTtGTYCcO
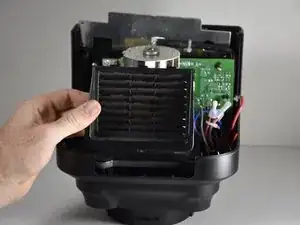
    • Grip the vent on either side and lift it straight in the upward direction.

Abschluss

To reassemble your device, follow these instructions in reverse order.
Ryan James Gilroy

Mitglied seit: 28/09/17

364 Reputation

0 Kommentare