Einleitung

If the phone will not take a charge and it is not a battery related issue, change the charging port.

  1. GCvx512eMY4tIYXH
    GCvx512eMY4tIYXH
    SOiWBEvC642Hpven
    RpS5AYRO2kggutdD
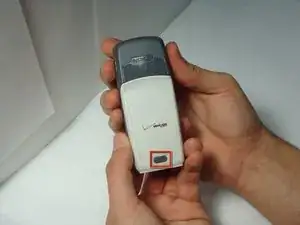
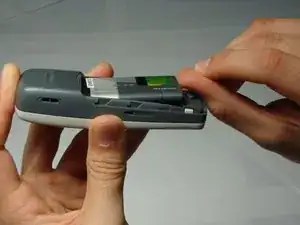
    • Be sure cell phone is off before you begin to disassemble the phone.

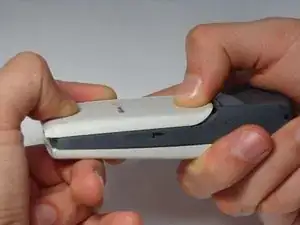
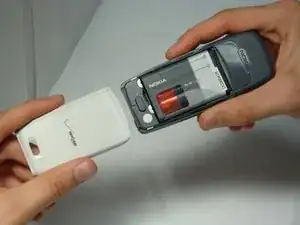
    • Press the button on the bottom of the back of the cell phone.

    • Slide rear panel down and remove it.

  2. 3A2Lq5hiAouVrGy4
    3A2Lq5hiAouVrGy4
    RMTLutfSjkjbldFN
    qa4TvHSYDIJbtYWW
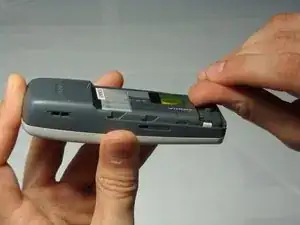
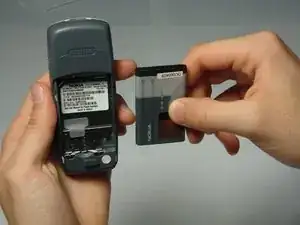
    • Using your fingernail, pry the back of the battery upwards and pull out.

  3. LgSPIZNC4eYORHMj
    LgSPIZNC4eYORHMj
    mRF5eSP2nuWFOrsf
    TUpcXaFow31MNKpQ
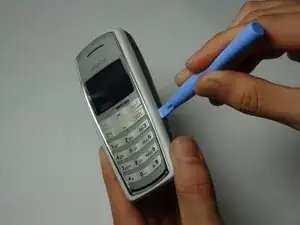
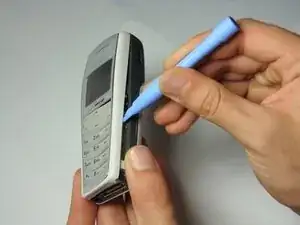
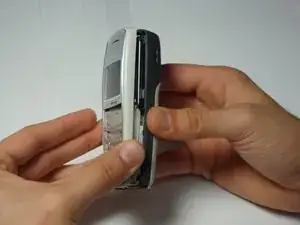
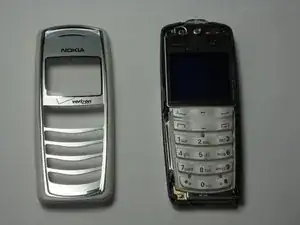
    • Insert the plastic opening tool under the faceplate.

    • Separate the faceplate from main body by twisting the prying tool with some force.

    • The faceplate is held by three plastic fasteners, so pry evenly on both sides of phone.

  4. A1ZjboHDSJkSuVDn
    A1ZjboHDSJkSuVDn
    5GDngvpB4CSFE3XY
    mFbXZg3gPkhBoSeq
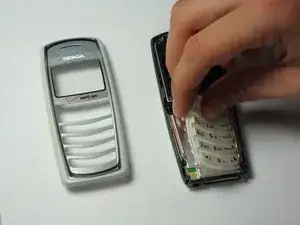
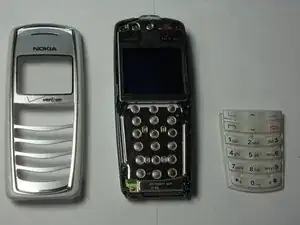
    • With the faceplate removed, simply peel off rubber key pad and remove.

  5. tOiX5syFVkKhIqI4
    tOiX5syFVkKhIqI4
    KqnXosrOjDQlAUEr
    5mOPj2KEQ2jb3vG6
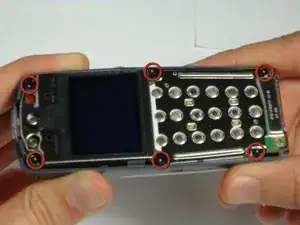
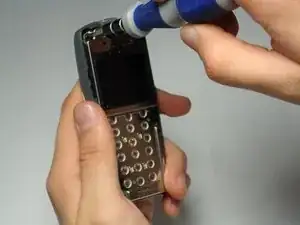
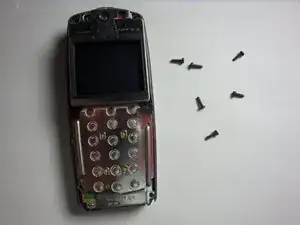
    • Locate and remove the six screws on the front of the phone using a T6 Torx.

    • All 6 screws are 6.9mm long.

  6. qTyS6h6q3uT4iV3u
    qTyS6h6q3uT4iV3u
    3QOxhwtGX2KVnbge
    IqWSXo1G4JDehxxJ
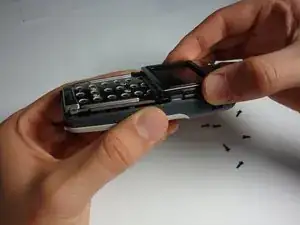
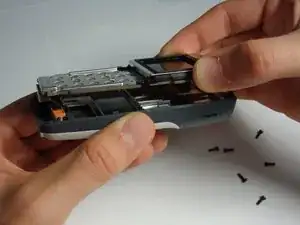
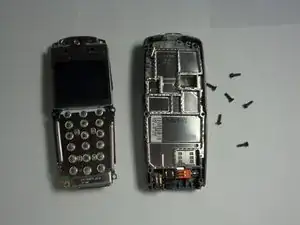
    • After removing screws, lift the motherboard assembly straight off the cell phone body.

  7. QsA2hhTBDHXPyLUb
    QsA2hhTBDHXPyLUb
    avWcqOOIHZnar3Pq
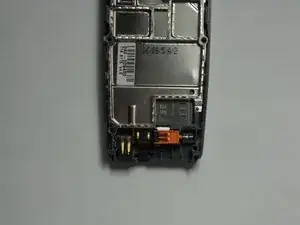
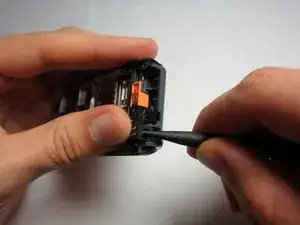
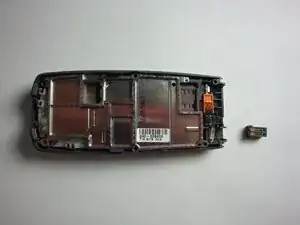
    • With the logic board and LCD unit removed, gently pry out the charging port.

Abschluss

To reassemble your device, follow these instructions in reverse order.
Curtis Lutje

Mitglied seit: 07/10/10

28 Reputation

0 Kommentare