Einleitung

Introduction

In this guide, we show how to unscrew and remove the back case of the Nokia 2630b. This enables access to the motherboard, antenna, and LCD screen of the phone.

  1. CDgcEOQnqEECtLpw
    CDgcEOQnqEECtLpw
    olDrcuFPuDqbMR5t
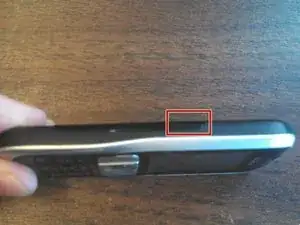
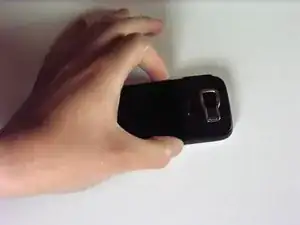
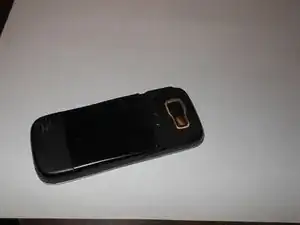
    • Press each release button on either side of the battery cover and simultaneously remove the battery cover from the phone.

  2. hJo2tQACTsPBteW2
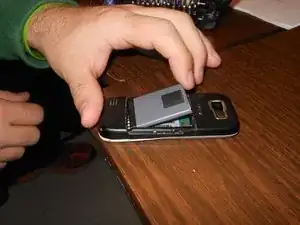
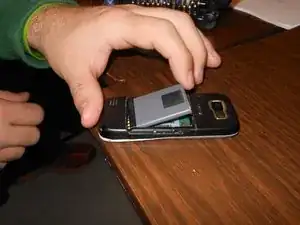
    • Pull the battery out of the phone with your fingers.

  3. LNOF4G4eBaLv6Kj4
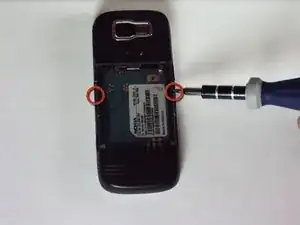
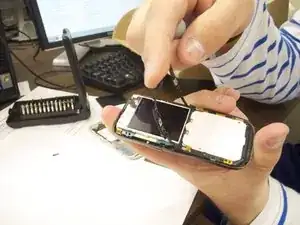
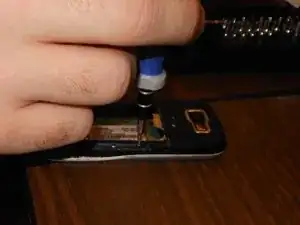
    • Remove the two screws on either side of the battery case using the microscrewdriver using the T5 bit

    • The T5 bit has a star shaped end and has "T5" engraved on the side of the bit for easy identification

    • NOTE: Keep the screws in a safe place while you continue working.

  4. t2pQfErAJ3VhHkn2
    t2pQfErAJ3VhHkn2
    o2T2xECOIPchkRy4
    5PCDJOHxglUdcVST
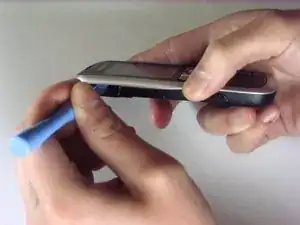
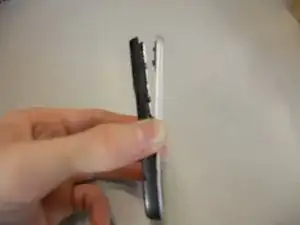
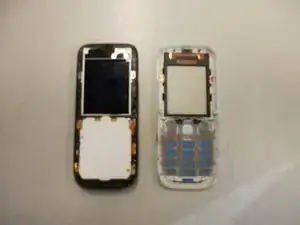
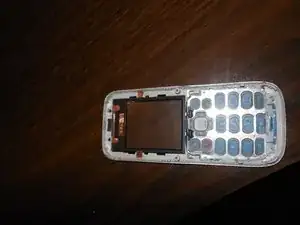
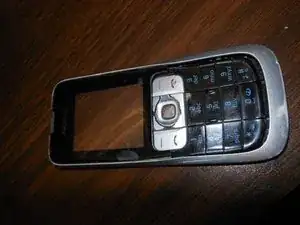
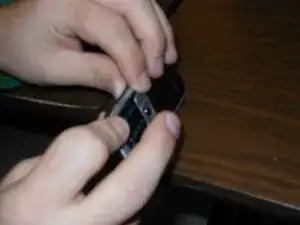
    • Separate the front case from the back case using the iPod opener

    • NOTE: The keypad is a loose piece and may fall out

  5. RySDhhqyjhPE6POl
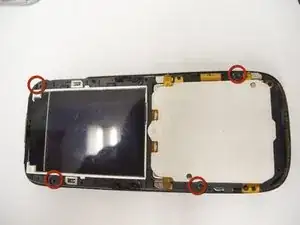
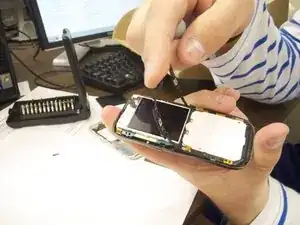
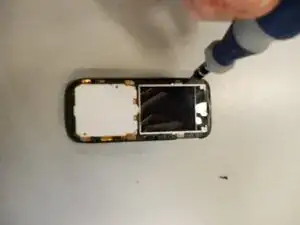
    • Remove screws using the same T5 screw bit to release the computer chip from the case

    • NOTE: Keep the screws in a safe place while you continue working

  6. Ws1RxMrvFVxOYGgQ
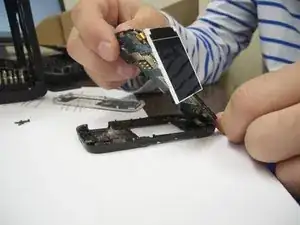
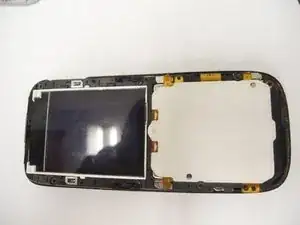
    • Carefully lift the black frame off the screen with your fingers

  7. b6wiGPulluFYSlnK
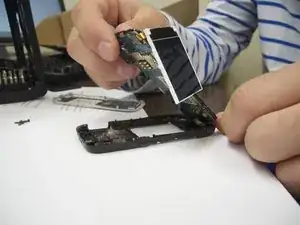
    • Carefully remove the computer chip and screen out of the black case with your fingers

  8. EJSHvQZi6iEUilAG
    EJSHvQZi6iEUilAG
    DRLx4De4YnESlBai
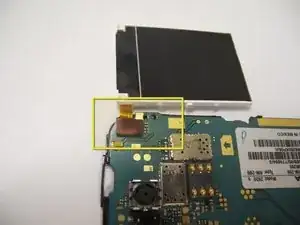
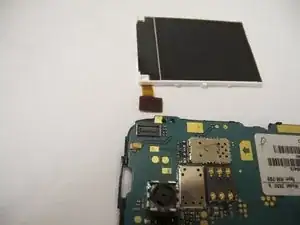
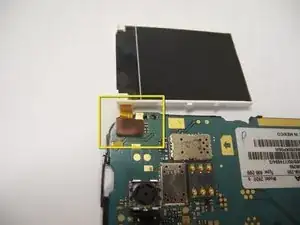
    • The screen is attached to the motherboard by an orange ribbon

    • Carefully detach the ribbon from the motherboard using your fingers

  9. QOWIkOAEvPPYtkoY
    • Reattach new screen by connecting the orange ribbon to the computer chip

  10. V4ZAcCEbIlNTbj61
    V4ZAcCEbIlNTbj61
    UTRLaXZauH1meDHJ
    • Place computer chip and screen back into black case

  11. u2Tgms5dbd1MtHwN
    • Place black frame back over screen

  12. oIkNkF3Wgy4Twf55
    oIkNkF3Wgy4Twf55
    iYA5BlUjqlrUpuCd
    • Carefully place keypad back in place

  13. ekfisRukTynrbgJs
    ekfisRukTynrbgJs
    GFHCe65Thhvu1vsP
    • Snap the front case back in place with the bottom case with your fingers

  14. MoycRXePCMNJQmbw
    • Reassemble screws with microscrewdriver

  15. gfPF24UvyMZr63BN
    • Slide battery back into place

  16. uY5LNsEKVAFWVOMq
    • Snap battery cover back into place

  17. ssHlK4pCFTEJqnK2
    ssHlK4pCFTEJqnK2
    seO2ctEA5UhREtau
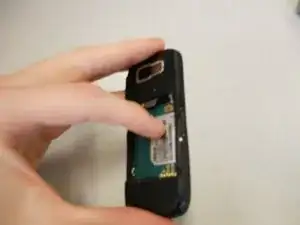
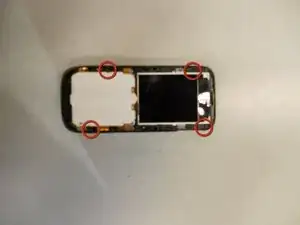
    • Locate the four screws that secure the back case to the rest of the phone.

    • Unscrew all four screws using a "T-5" star shaped screw driver, turning counter-clockwise.

  18. vshx1nUK5jEV2YkZ
    vshx1nUK5jEV2YkZ
    gPV2oFJInkfgl6Zj
    T2BBaUU1MWLvfNFQ
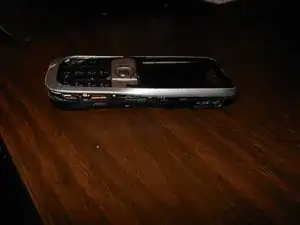
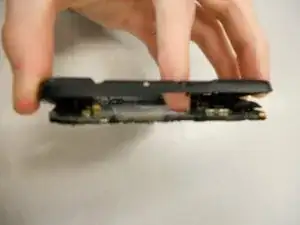
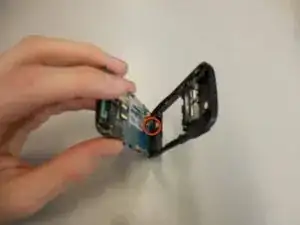
    • DO NOT PULL APART! There is a wire attaching the speaker to the rear case. It is very important to NOT sever this connection. Because of this, the rear case does not completely detach from the rest of the phone.

    • Holding the rear case, applying pressure to the back of the phone near the location of the battery in order to separate the two components.

Abschluss

To reassemble your device, follow these instructions in reverse order.
Eric

Mitglied seit: 07/04/11

51 Reputation

0 Kommentare