Einleitung
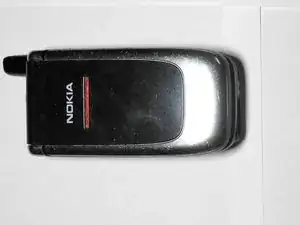
Gather tools needed. Have a small tray or container on hand to hold screws and cell phone parts as you disassemble and reassemble the Nokia 6061.
Werkzeuge
-
-
Gather the necessary tools:
-
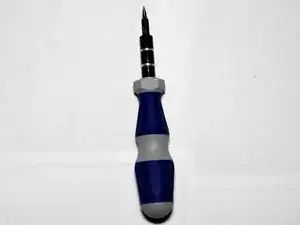
T6 Torx screwdriver
-
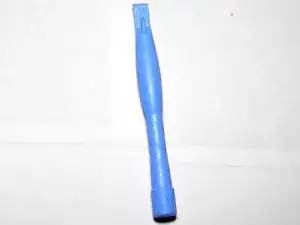
Plastic opening tool
-
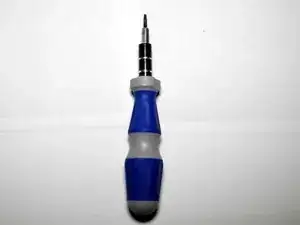
Small flathead screwdriver
-
-
-
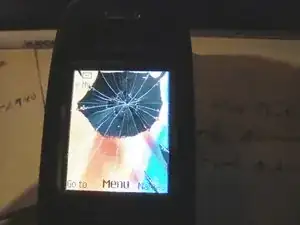
This guide will show you how to replace the LCD—after it's been dropped one too many times.
-
-
-
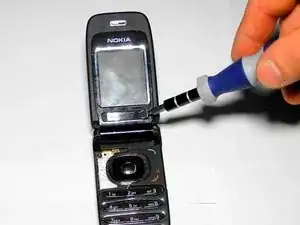
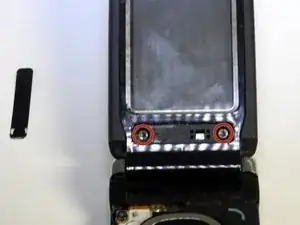
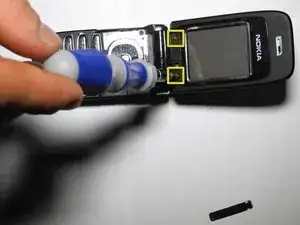
Using a 2.0 flathead screwdriver, pry open and remove the black, plastic strip (beneath the screen) to reveal the 2 screws holding the screen in place.
-
-
-
Once the screws are removed, flip the phone shut.
-
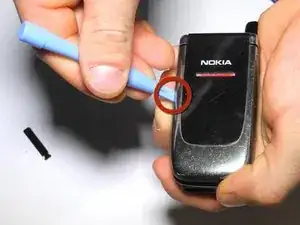
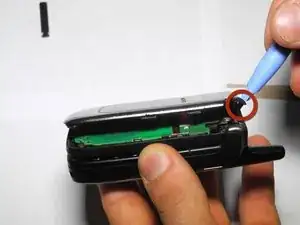
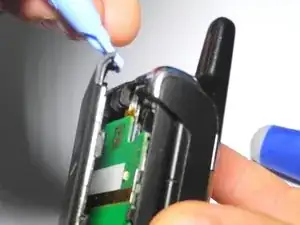
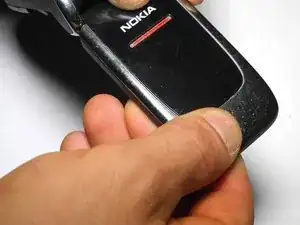
Insert the plastic opening tool at the position indicated and pry along the seam between the front cover and display.
-
Continue prying along the perimeter of the front cover until it is free from the phone.
-
-
-
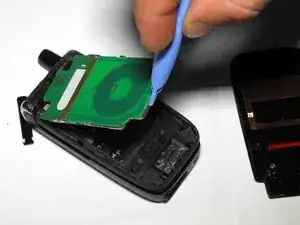
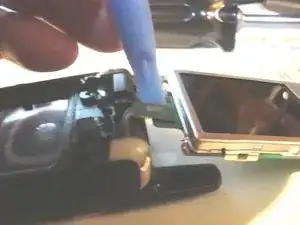
Use a plastic opening tool to gently pry the LCD ribbon cable connector up out its socket on the LCD circuit board.
-
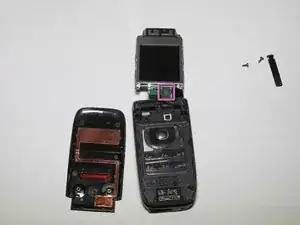
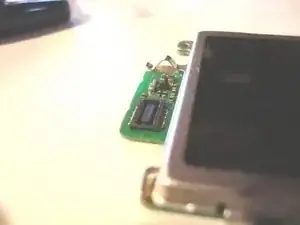
The other two photos show the male and female sides of the small green connector. Make sure they snap together tightly when the new display is attached.
-
-
-
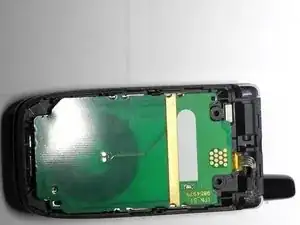
To reassemble your phone, reattach the display to the phone by reconnecting the display ribbon cable. Place the screen assembly back into the front case of the phone.
-
-
-
With the cover reattached, flip the phone into the open position and replace the screws removed in step 3. The screw-holes are indicated in the photo.
-
Replace the black, plastic strip by applying pressure until the strip audibly clicks into place.
-
