Einleitung
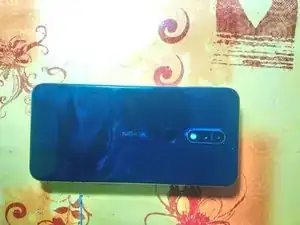
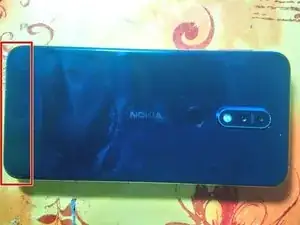
This guide will offer moderately basic steps in disassembling and replacing the charging port on the Nokia 7.1 device. Follow the steps carefully to ensure no unintended consequences arise.
Werkzeuge
Ersatzteile
-
-
Heat the back of the phone along the bottom edge. Once the adhesive is sufficiently warm, insert a pick or pry tool inbetween the seam of the back glass and the body of the phone.
-
Use the pick/pry tool to separate the back glass from the adhesive, starting at the bottom edge. Slowly move your tool around all edges of the phone, ensuring you don't insert too deep and sever any cables. It will likely be necessary to re-heat the other edges of the back glass as you are prying around the phone.
-
-
-
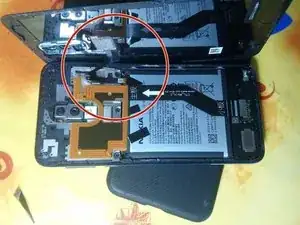
Once all the adhesive has separated, slowly rotate the back glass up and off the phone to the right, being careful of the ribbon cables still attached to the phone.
-
Do your best to ensure no unnecessary strain/tension is placed on any attached ribbon cables before proceeding. It may be best to set the back glass against something to hold it up while continuing.
-
-
-
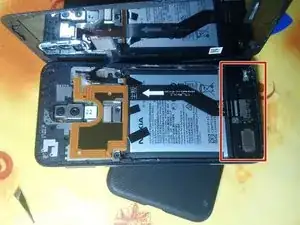
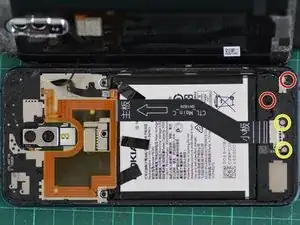
Unscrew the charging port cover at the bottom of the device. Ensure you keep track of which screws went in each specific location.
-
Red Markers - Phillips #00
-
Yellow markers - T5 Torx
-
-
-
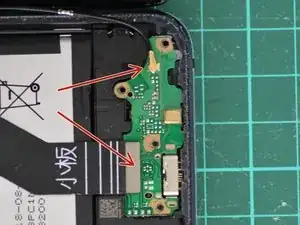
Remove both connectors labelled in each picture (red arrows).
-
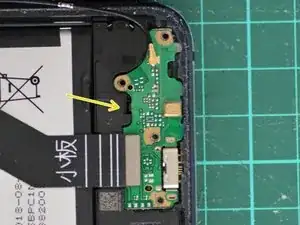
After ensuring all screws/connectors are removed, carefully pry up the charging port circuit board from the phone (retaining clip marked by yellow arrow).
-
Replace the circuit board with your new part.
-
To reassemble the device, follow these instructions in reverse.
8 Kommentare
One has to be very careful not to break the backside glass (I wasn’t that lucky). Other than that, very easy replacement
Thank you for sharing this. Where to buy a new “charging port”?
Did you find a good reseller?
Thanks
Greetings
Sorry for the delay, I bought mine form Telebit.pt
But depending from where you are i would recommend you look at local/country specific stores.
Otherwise you could always go to ebay, but you need to be more warry of parts numbers and origins.
Goat -
Hi same question where to buy the charging port ?
Thanks.
Bonjour,
Même question où avez vous acheter le port de chargement?.
Merci.
Greetings
Sorry for the delay, I bought mine form Telebit.pt
But depending from where you are i would recommend you look at local/country specific stores.
Otherwise you could always go to ebay, but you need to be more warry of parts numbers and origins.
.
Goat -
