Einleitung
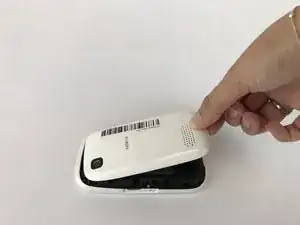
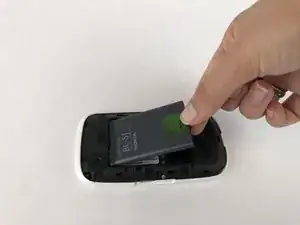
Have you ever tried listening to music on your phone with headphones to only hear no sound? Don't want to spent the money to replace the phone in its entirety? Using this guide, you can easily go step by step to replace your Nokia Asha 201 audio jack and get back to listening to the things you love. There are no special skills required for this guide and the only tools you need are an iFixit opening tool and a T6 Torx screwdriver. Instead of buying a brand new phone, use this guide to take matters into your own hands and replace your audio jack yourself!
Werkzeuge
-
-
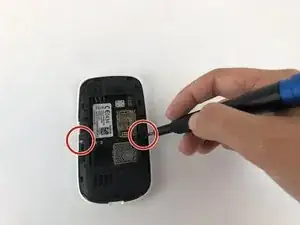
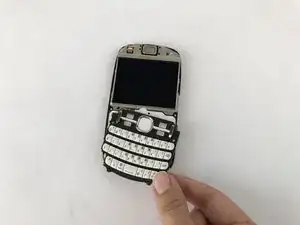
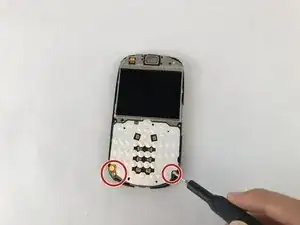
Unscrew the two 5.5mm screws near the bottom of the device on either side using the T6 screwdriver.
-
-
-
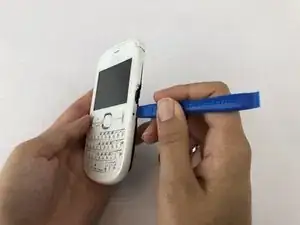
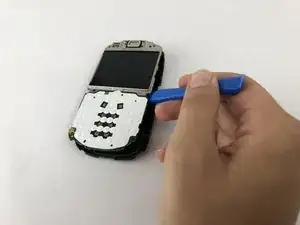
Separate the black plastic internal case from the screen by prying with the blue plastic opening tool.
-
-
-
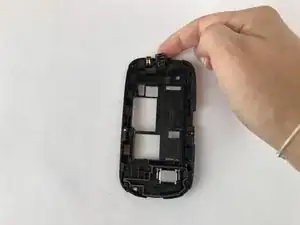
The black plastic cover should now be separated from the motherboard. Replace the audio jack by removing it with your fingers.
-
To reassemble your device, follow these instructions in reverse order.
