Einleitung
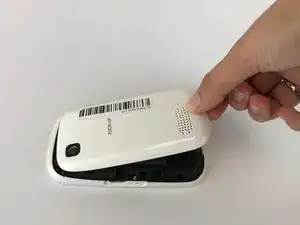
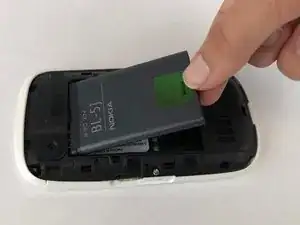
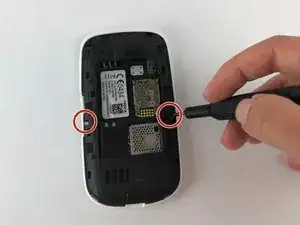
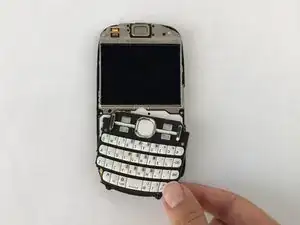
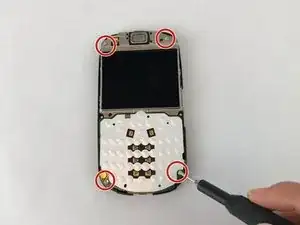
If your Nokia Asha 201’s screen has shattered, is malfunctioning and/or requires a replacement use this guide to change it. The Nokia Asha 201 is a single-sim budget phone added to the Nokia Asha family released in Q4 2011. This is not to be confused with the Nokia Asha 200 which is a double sim version of the former, however the screen replacement steps are the same.
Before getting started make sure you have a Nokia Asha 201 screen to replace the old one with. It would be best to use an official screen from Nokia to avoid any incompatibility. It is through the screen that one is able to see any information from their phone so it is important not to damage the surface of the new screen you will be replacing with, handle it with care.
Before beginning, make sure to power off your phone completely and disconnect from any external power source.
Werkzeuge
-
-
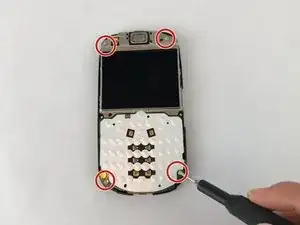
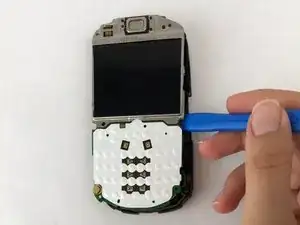
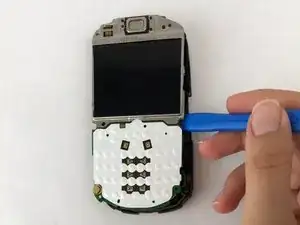
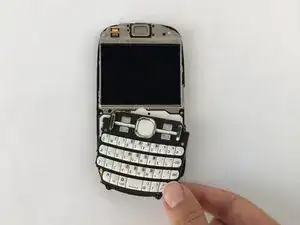
Unplug your old screen from your phone, unpack your new one and gently plug in the new screen. Make sure you plug in the screen just like the old one was placed in the phone.
-
-
-
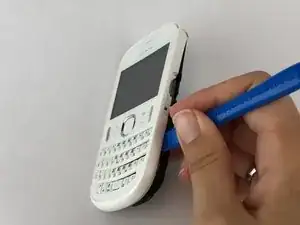
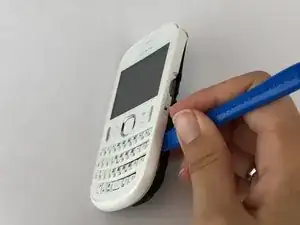
Using your fingers and the Phillips opening tool reposition and adjust the front case onto the phone.
-
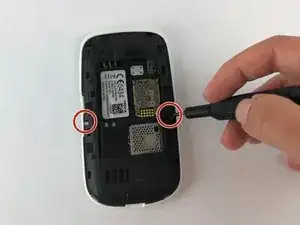
Replacing Nokia Asha 201 screen takes several steps. These steps should be followed precisely to have the screen replaced without complications. Each step should be done before start doing the next step. After you’re done following these steps, you should start reassembling the device. To reassemble the device, follow these instructions in reverse order.
