Einleitung
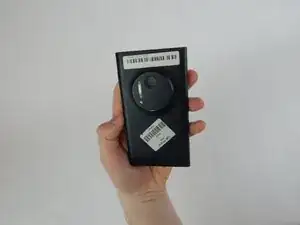
Replacing the rear-facing camera of the Nokia Lumia 1020 requires removal of the phone's screen.
Werkzeuge
-
-
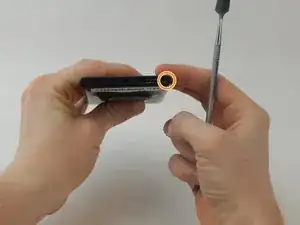
Use a SIM door key to remove the SIM card and SIM card tray from the device.
-
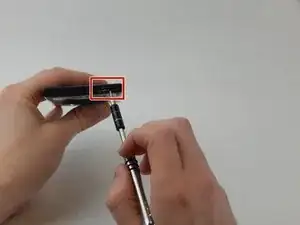
Use a T4 screwdriver to loosen the captured torx screw to the right of the SIM card tray (the screw will not come out).
-
-
-
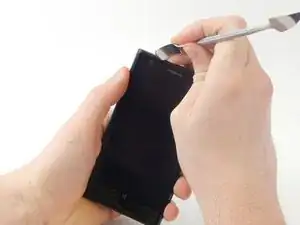
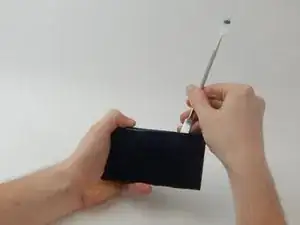
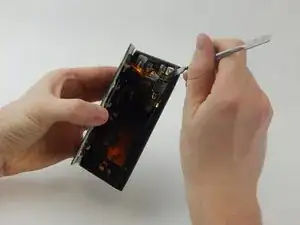
Wedge a spudger in between the screen and the back of the device, starting from the top left corner of the phone.
-
Gently pry the screen away from the back of the device using slight upward pressure.
-
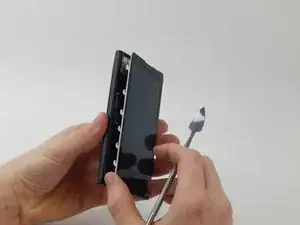
Slide the spudger down towards the bottom left corner of the device, continuing to gently pry upwards. The screen will now be slightly separated from the back of the phone.
-
-
-
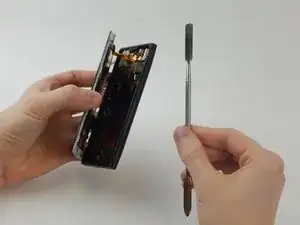
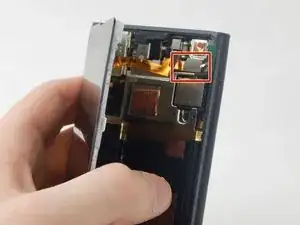
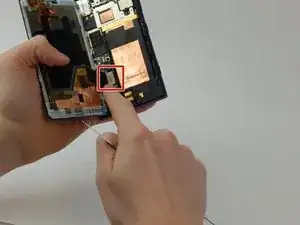
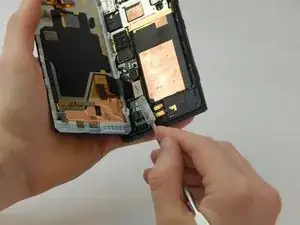
Wedge a spudger underneath the silver rectangle in the upper right corner until it pops off the back of the phone.
-
-
-
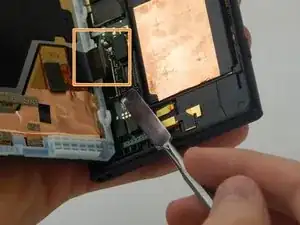
Wedge a spudger underneath the silver rectangle in the lower left corner until it pops off the back of the phone.
-
Completely remove the screen from the back of the phone.
-
-
-
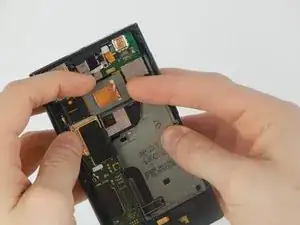
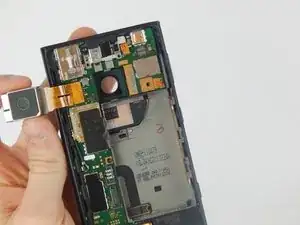
Use your fingernail to grip the rear-facing camera on the upper middle part of the back of the phone. Pry until it pops off to the left.
-
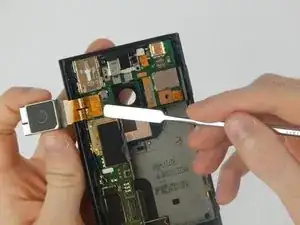
Remove the camera by wedging a spudger underneath the attached gold foil.
-
To reassemble your device, follow these instructions in reverse order.
