Einleitung
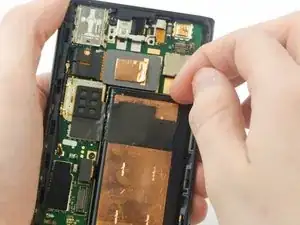
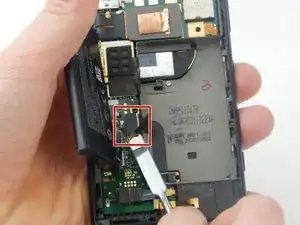
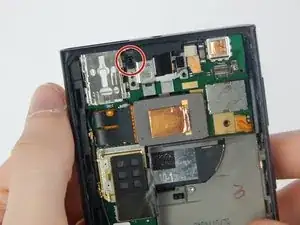
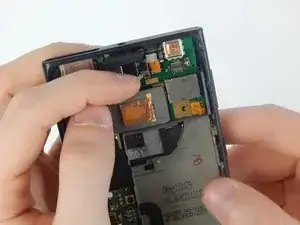
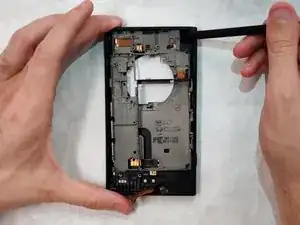
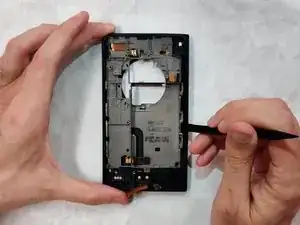
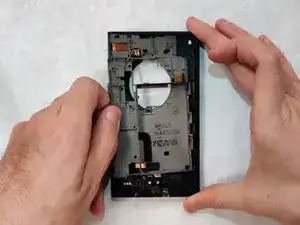
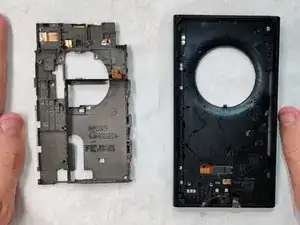
This guide will describe how to remove the speaker of your Nokia Lumia 1020.
This replacement will be useful if you want to replace a damaged speaker. Speakers can be damaged from broken wires or water damage. If the speaker sound quality is significantly decreased, you may want to consider replacing your speaker.
Werkzeuge
-
-
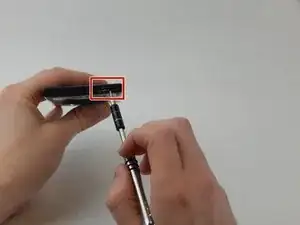
Use a SIM door key to remove the SIM card and SIM card tray from the device.
-
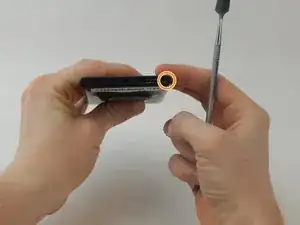
Use a T4 screwdriver to loosen the captured torx screw to the right of the SIM card tray (the screw will not come out).
-
-
-
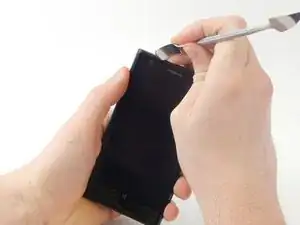
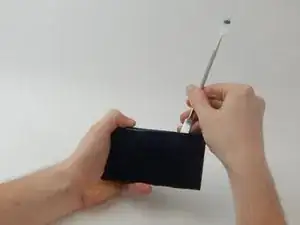
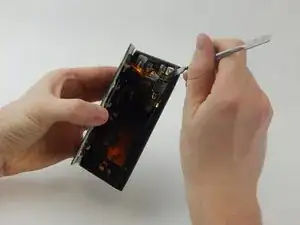
Wedge a spudger in between the screen and the back of the device, starting from the top left corner of the phone.
-
Gently pry the screen away from the back of the device using slight upward pressure.
-
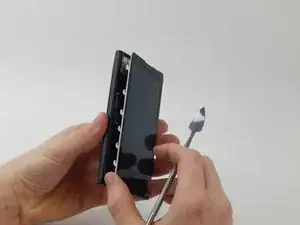
Slide the spudger down towards the bottom left corner of the device, continuing to gently pry upwards. The screen will now be slightly separated from the back of the phone.
-
-
-
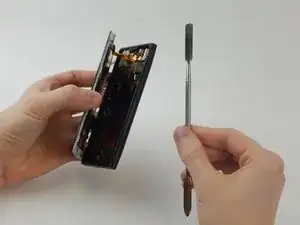
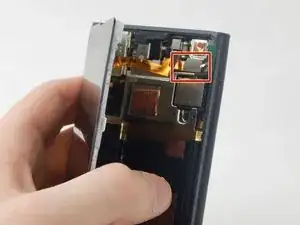
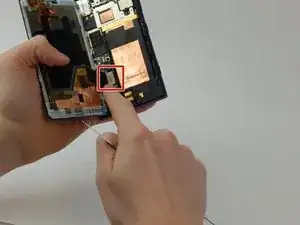
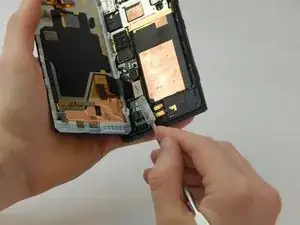
Wedge a spudger underneath the silver rectangle in the upper right corner until it pops off the back of the phone.
-
-
-
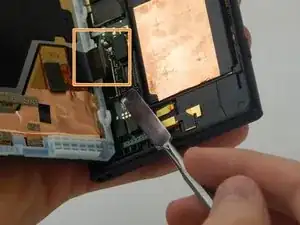
Wedge a spudger underneath the silver rectangle in the lower left corner until it pops off the back of the phone.
-
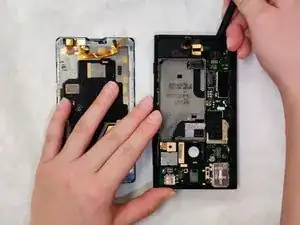
Completely remove the screen from the back of the phone.
-
-
-
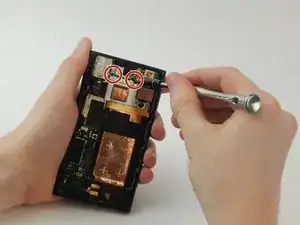
Unscrew the two 4 mm torx screws on the top silver strip with a T4 screwdriver.
-
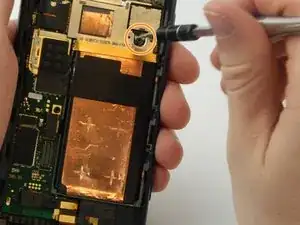
Unscrew the 4.5 mm torx screw above the gold bar with a T6 screwdriver.
-
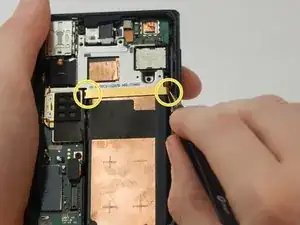
Grab the edges of the gold strip with gripped tweezers to remove. The gold and silver metal will come off together.
-
-
-
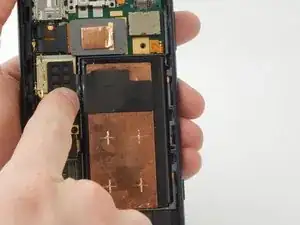
Remove the battery with your finger.
-
Wedge a spudger underneath the small black rectangle attached to the battery until it pops off.
-
-
-
Use the T4 screwdriver to remove the 4 mm torx screw.
-
Remove the headphone jack by pulling back on the silver plate with your fingernail.
-
-
-
Remove the headphone jack with spudger.
-
Wedge the spudger underneath the grey rectangle and pry until it pops off. Note this piece is glued and may require more force than previous rectangles.
-
Headphone jack is fully removed and can be replaced.
-
-
-
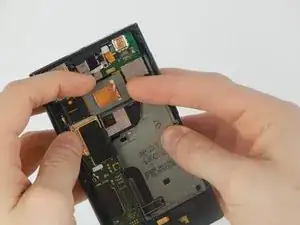
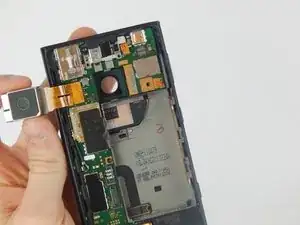
Use your fingernail to grip the rear-facing camera on the upper middle part of the back of the phone. Pry until it pops off to the left.
-
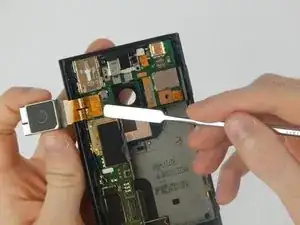
Remove the camera by wedging a spudger underneath the attached gold foil.
-
-
-
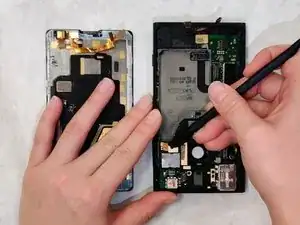
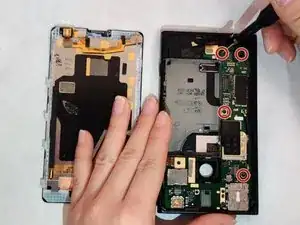
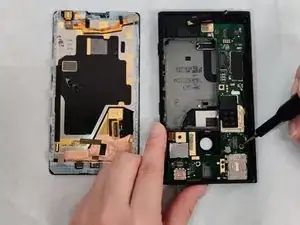
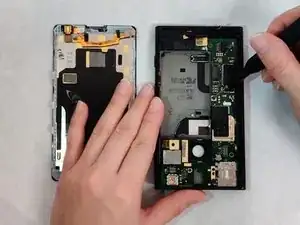
Using a T4 screwdriver, remove four 4.60 mm screws to disconnect the motherboard from the rest of the device.
-
-
-
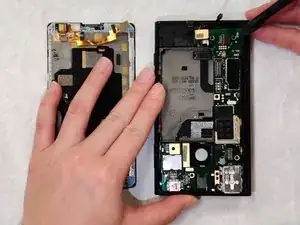
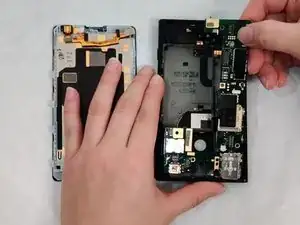
Use the spudger to remove motherboard first from the top right corner, then bottom right corner, then the bottom left corner.
-
After loosening the motherboard, begin to remove the component by starting at the top right corner first, then pull motherboard out.
-
-
-
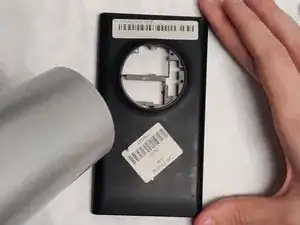
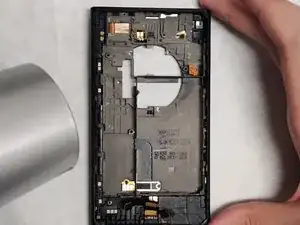
Use a hairdryer to heat up the adhesive of the plastic base. This may take around 5 minutes.
-
-
-
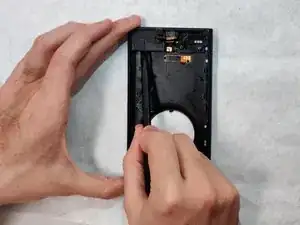
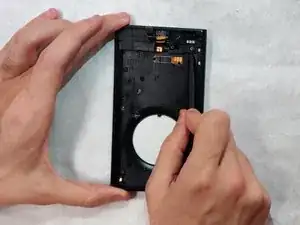
After removing the base, slide the spudger underneath the speaker and charging port components.
-
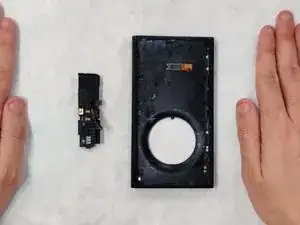
The speaker and charging port components should pop out after lifting up with the spudger.
-
-
-
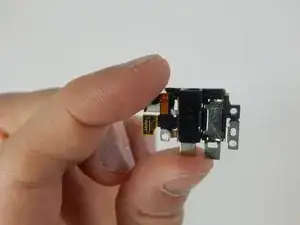
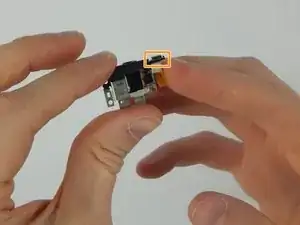
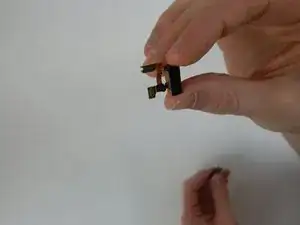
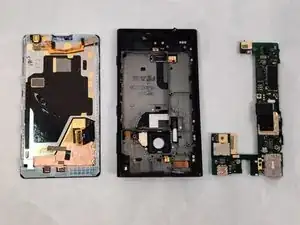
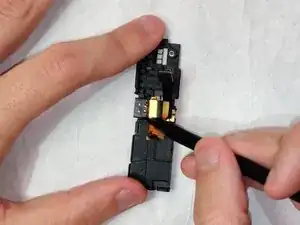
Now that the charging port and speaker components have been removed, separate the two components in order to retrieve the speaker.
-
Wedge the spudger between the charging port and speaker components and push outwards.
-
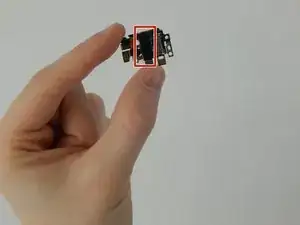
After disassembling the components, the speaker can now be retrieved. This part is highlighted in red.
-
To reassemble your device, follow these instructions in reverse order.
