Einleitung
-
-
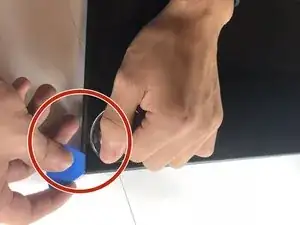
Insert the pick between the glass to separate the glass from the device. You can also use the suction cups to help lift the glass.
-
-
-
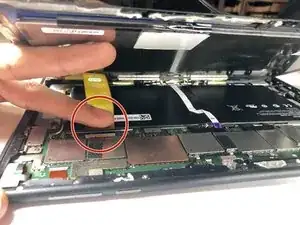
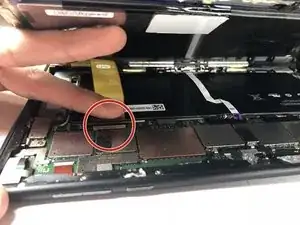
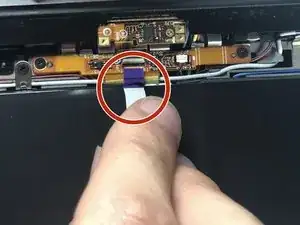
Pull the ribbon cable out from the connection port on the board.
-
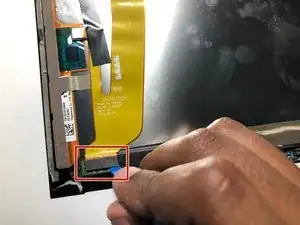
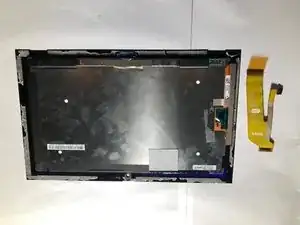
Move on the step 4 to remove the ribbon connection from the screen.
-
-
-
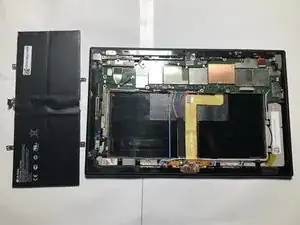
Theres four screws that attach the battery to the chassis. Use a PH0 Phillips head screwdriver to loosen the screw.
-
-
-
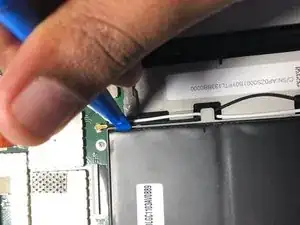
Take a plastic pry to to pry out the battery from its casing.
-
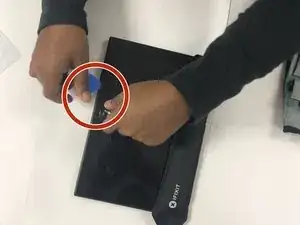
Using two tool different plastic pry to can help give you leverage on areas that are hard to get up.
-
-
-
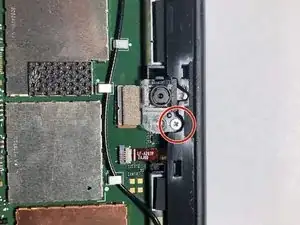
Take a PH0 Phillps head screw bit to take the screw out.
-
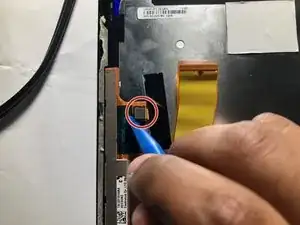
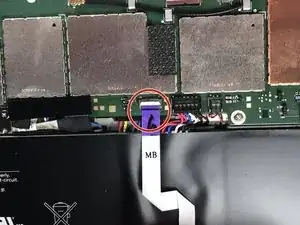
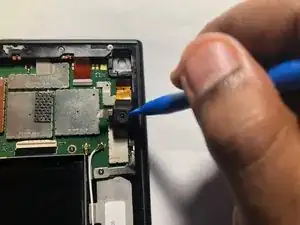
Take a pry tool and disconnect the ribbon cabe from the logic board
-
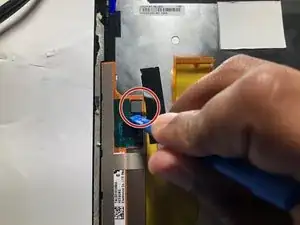
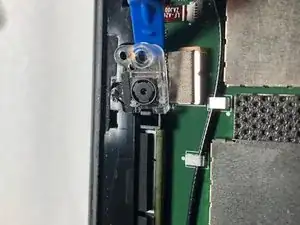
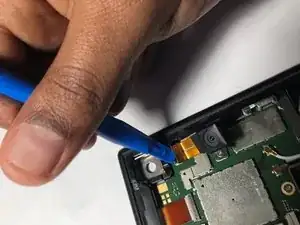
Then use a plastic pry tool and take out the front facing camera out of its housing.
-
-
-
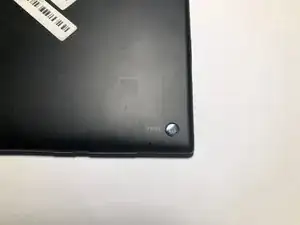
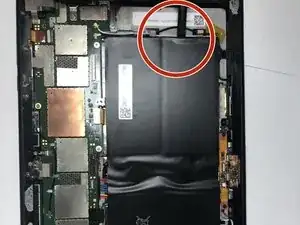
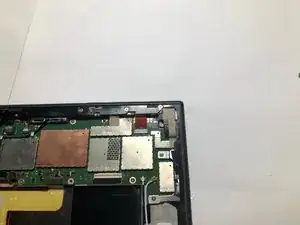
Locate the rear facing camera. which is located on the top right side of the case.
-
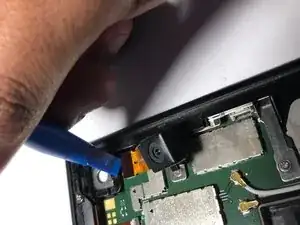
Take a plastic pry tool to pill the tape and camera from its housing.
-


To reassemble your device, follow these instructions in reverse order.