Einleitung
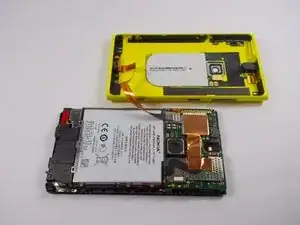
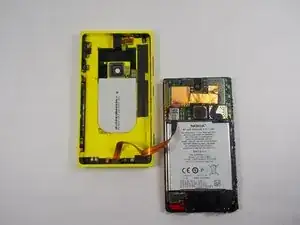
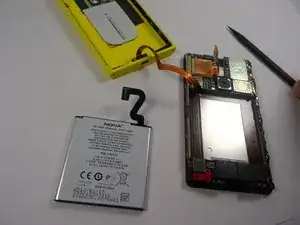
This is a guide for replacing the battery of the Nokia Lumia 920 in case there is any issues with the existing battery.
Werkzeuge
Ersatzteile
-
-
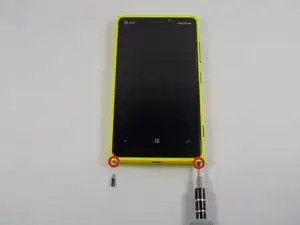
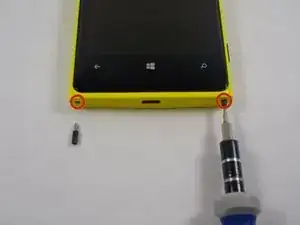
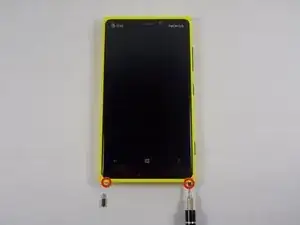
Use the T5 screwdriver to remove the two 8.6mm long screws, located at the bottom of the phone. (Head size is 2.5mm)
-
-
-
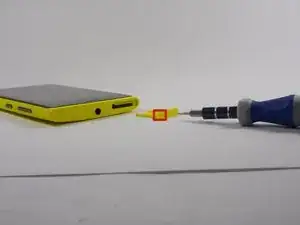
Use the smallest Torx screwdriver or another small poking tool and push into the hole on the SIM card slot. The plastic SIM protective piece should pop out quite easily.
-
Put that plastic piece aside.
-
-
-
Once both screws on the bottom are removed, and the plastic SIM protective piece is removed, gently push on the outside of the screen.
-
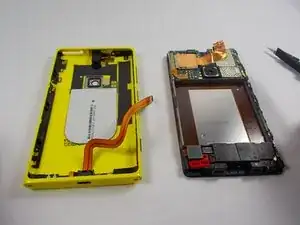
The screen should become separated using little force. And should like the pictures shown once complete.
-
-
-
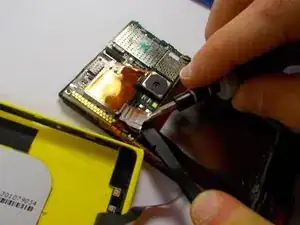
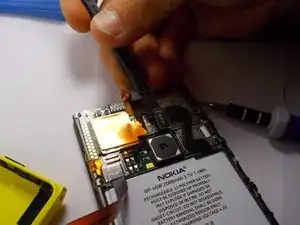
Place the spudger tool or flat plastic tool on top of the ribbon cable to avoid damaging it when prying up on the metal clip.
-
Use a plastic opening tool, or gently use a small metal flat-head screwdriver to pry up the metal clip. (It is recommended to use a plastic tool; However, if the opening tool does not work or fit into the small opening underneath the clip, use the flat-head.)
-
-
-
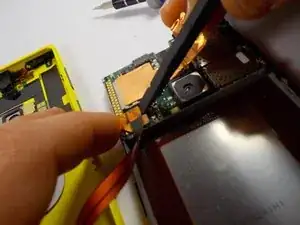
Once the metal clip is removed, gently pry up on the ribbon cable connection, located underneath the metal clip you have just removed.
-
-
-
Prerequisite step: Back panel removal
-
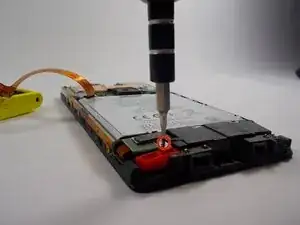
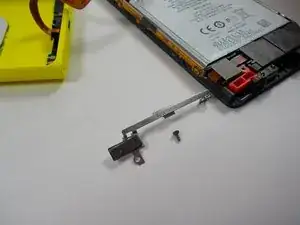
Use the T4 torx screwdriver to remove the 3mm screw (diameter of the head is 1.5mm) fastened to the metal clip, holding the battery in place.
-
-
-
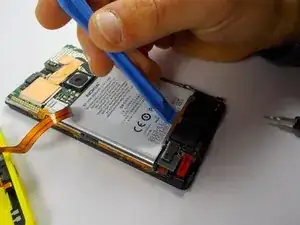
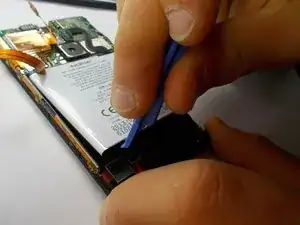
Using the plastic opening tool, pry up on the metal clip holding the battery in place.
-
Completely remove the clip.
-
-
-
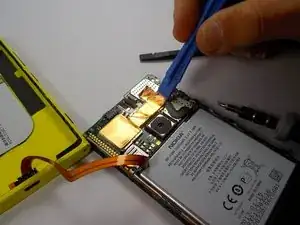
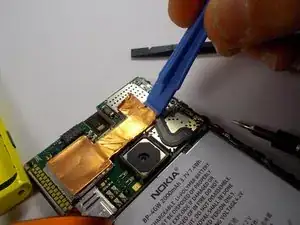
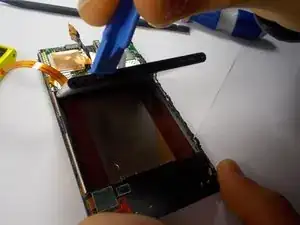
Use a plastic opening tool. Start on the right, and gently lift up on the copper strip.
-
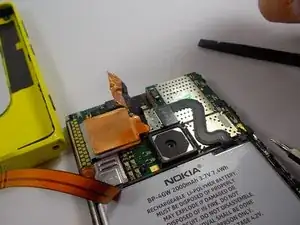
You do not have to completely remove the copper strip, only enough so that the connection to the battery is visible.
-
-
-
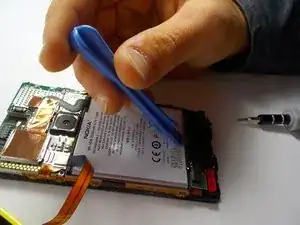
Use a plastic opening tool at the bottom of the battery and gently lift.
-
The battery should lift out easily.
-
To reassemble your device, follow these instructions in reverse order.
5 Kommentare
Perfect ! Thanks a Lot
Hello Lloyd
May I ask where did you buy the new battery from and how much it cost you? Is the phone still working fine?
roykh95 -
Maybe it's because it was my first time, but everything was so much more complicated... :D
Step 3: "The screen should become separated using little force"? LOL! I'd rather say: "Some kind of epic struggle". Maybe it's because I'm a novice, but the whole %#*@ thing simply didn't want to come apart.
Step 4 & Step 5: Totally unnecessary: you can easily remove the old battery and insert the fresh one working around the ribbon cable. And removing the metal clip is pretty difficult, so just leave it be.
Step 8: Here it's where the REAL swearing began. No fancy "copper strip", just some sort of very thin black tape, totally impossible to lift up and then put in place again. I had to scrape away the %#*@ thing to access the battery connector, and obviously I couldn't put it in place again. I guess someone decided to change the production process, probably to cut costs (the black tape probably being much less expensive than the "copper strip")... Anyway, the phone now works like a charm...
Congrats :) and thanks for your feedback, very useful.
May I ask where did you buy the new battery from and how much it cost you? Is the phone still working fine?
roykh95 -
It all worked fine other than separating the screen. When putting it back together, make sure that the squared off corners of the screen go into the case first, otherwise it will be very difficult to get it in.

