Einleitung
Werkzeuge
Ersatzteile
-
-
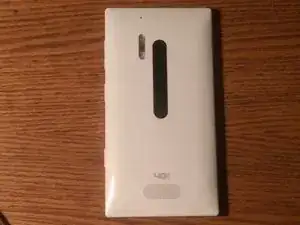
Start by powering off the phone.
-
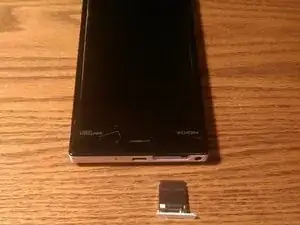
Next remove the sim card tray.
-
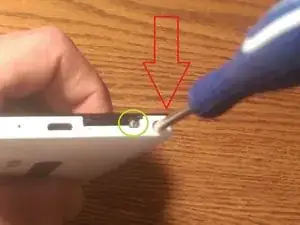
Once sim tray is removed you can now remove the T5 screw from the sim card slot.
-
Now insert the T5 screwdriver into the headphone jack. There is a T5 screw in the headphone jack that has to be loosened.
-
-
-
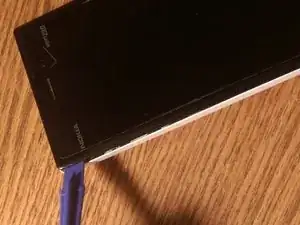
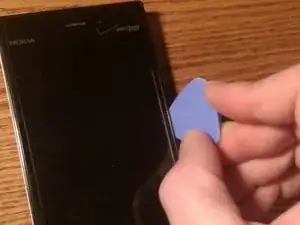
Now with the lock bar loosened you can begin using your pry tool to free the plastic clips that hold the back case in place.
-
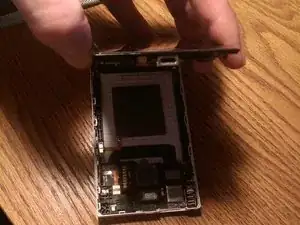
Once the clips are free you can then pull the back case off.
-
-
-
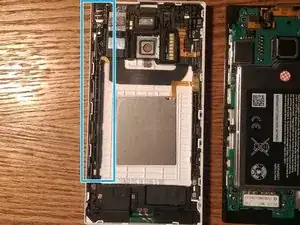
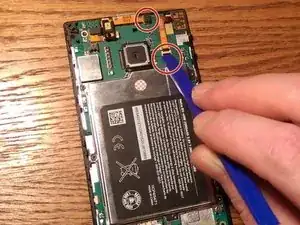
First free all ribbon cables from their connections on the motherboard.
-
The two areas circled in red are where the ribbon cables connections need to be freed from the logic board.
-
Free the ribbon cables from the logic board with a plastic pry tool.
-
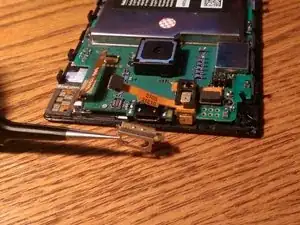
Now that the ribbon cable connections are free you will now need to remove a metal clip around the usb port.
-
-
-
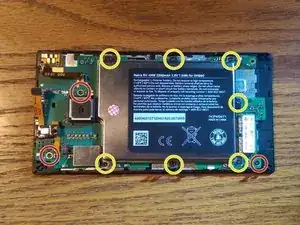
With all ten T5 screws removed we can now lift from the left side of the motherboard. that needs freed
-
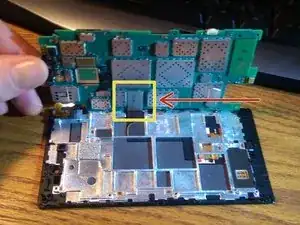
The area in yellow is the only connection on the underside of the motherboard that needs to be freed up. This is the display connection.
-
Pry the connection loose from the motherboard with a plastic pry tool.
-
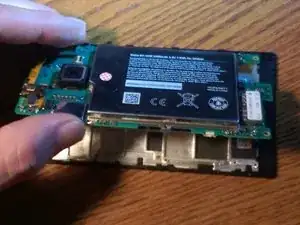
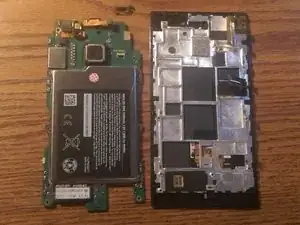
Now you can remove the motherboard.
-
-
-
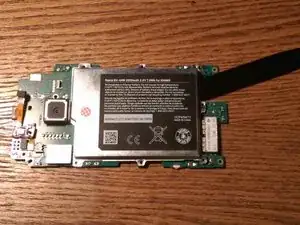
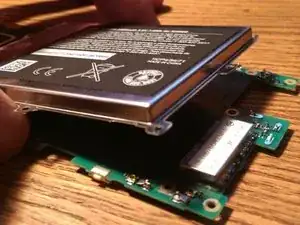
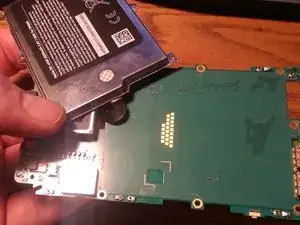
The battery is also adhered to the motherboard. So you will want to use a plastic spudger or similar tool to pry the battery from the motherboard.
-
Then work your way around the battery to free it from the adhesive. Beware that the ribbon cable is located near the camera so be careful when you get to that area.
-
-
-
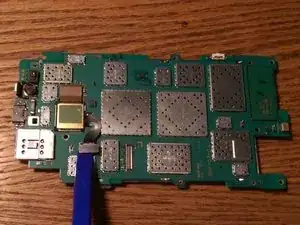
Once the battery is loosend from the adhesive on the motherboard you can now flip the motherboard over to release the battery connection from the motherboard.
-
Free the battery connection with a plastic pry tool.
-
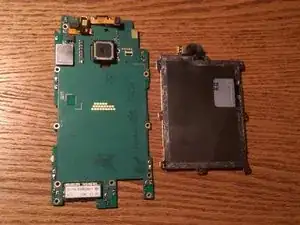
Now we can remove the battery from the motherboard.
-
Now the replacement battery can be installed and you can follow these directions in reverse order to reassemble the phone.
-
To reassemble your device, follow these instructions in reverse order.
