Einleitung
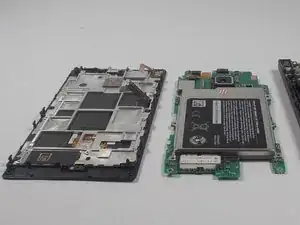
This guide involves following 2 previous guides for the Nokia Lumia 928. It will first show you how to remove the back cover from the device. Then, it will show you how to remove the motherboard, which will let you remove the display assembly. It involves removing some screws, and a little bit of patience to ensure the safety of your device.
Werkzeuge
-
-
Power down the phone.
-
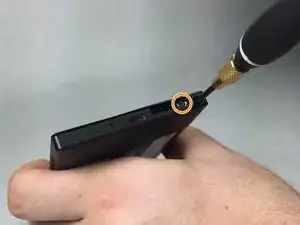
There is a screw located inside the 3.5mm headphone jack that needs to be loosened. Use a Torx T5 screwdriver for this.
-
Remove the sim card tray on the top of the phone.
-
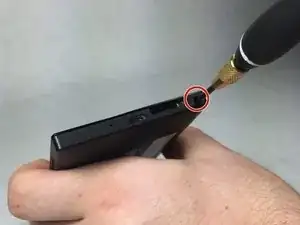
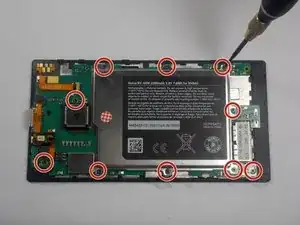
Remove the 4.5 mm Torx T5 screw highlighted with a red circle in the picture. (Note: all screws that you will remove in the phone will be the same)
-
-
-
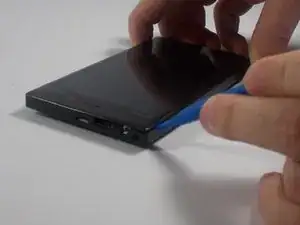
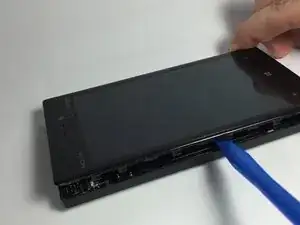
Using the plastic opening tools, you can start to release the plastic clips around the phone. Start in the top left corner, work your way down the left side. Then do the top and bottom of the phone, and finally the right side.
-
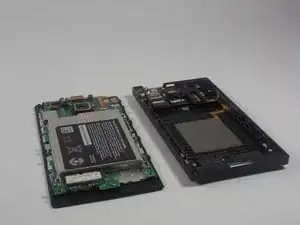
Once all the clips are released, remove the back cover of the phone.
-
-
-
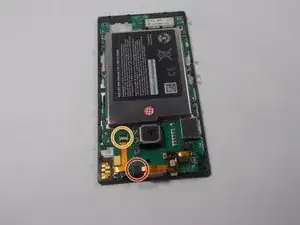
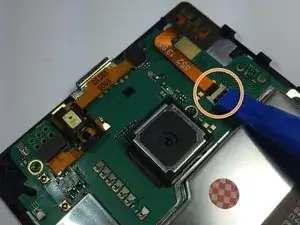
Remove the ribbon connector with a highlighted with a red circle with the plastic opening tool.
-
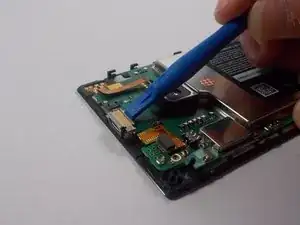
The ribbon connector highlighted in yellow has a zero insertion force connector. This has a black flap on the end that needs to be flipped up before the ribbon cable can be pulled out.
-
-
-
Remove USB port cover using the plastic opening tool, or your hand. It can be removed easily.
-
-
-
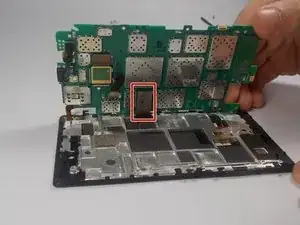
Pull up the left side of the motherboard.
-
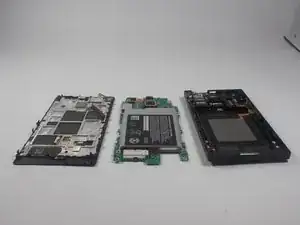
You have now removed the motherboard from the display assembly and the back cover.
-
-
-
After following the steps for removing the motherboard, your display assembly can also be removed. These steps happen simultaneously.
-
To reassemble your device, follow these instructions in reverse order.
Ein Kommentar
Be carefule in step 4, the red circled connector’s other side is attached by a pair of small plastic hooks to the motherboard. One of the hooks is very small and can be easily bent if that side comes off and has to be reattached.
