Einleitung

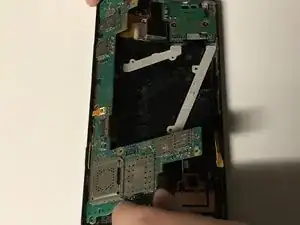
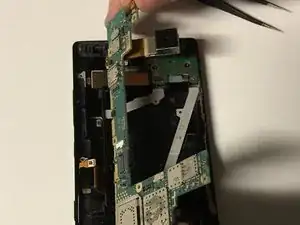
You will be removing all four microphones on a Nokia Lumia 930. Two are on the phones engine board and the other two are on the engine cover assembly.

  1. iWPCceEfxVpnNEuM
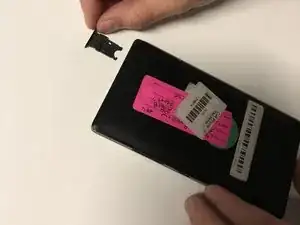
    • Pull the SIM card holder out of the top of the phone using your fingernail.

  2. aPxjE5avP1BahLEN
    aPxjE5avP1BahLEN
    AUHVEMGUiLkGKhBu
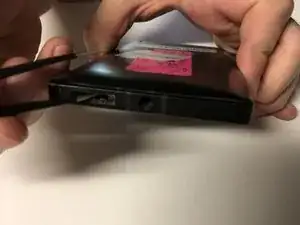
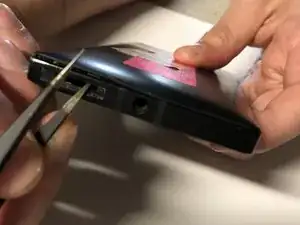
    • Place tweezers or an opening tool in the SIM card slot and push upwards until the back panel pops out.

  3. GlF1hKICbtJJXdXf
    GlF1hKICbtJJXdXf
    lgktgLDemreJPSJj
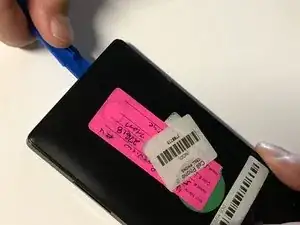
    • Wedge a plastic opening tool between the two panels. Slide it along each side of the phone to completely remove the back panel.

  4. fh24yLmfyfVpIiVS
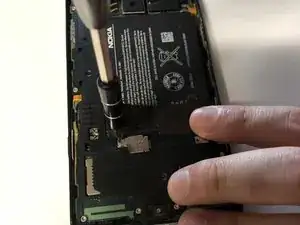
    • Remove the 4mm Torx #4 screw that's securing the battery connector.

  5. eYRmehT2Hs5rRmNW
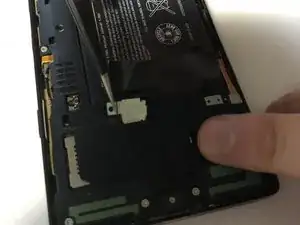
    • Use tweezers to remove the battery connector strap.

  6. gpWi1EASSjboQZKt
    gpWi1EASSjboQZKt
    P1JJQ4M4gZBTxUOi
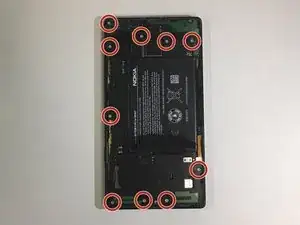
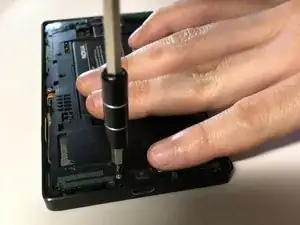
    • Remove all ten 4mm Torx #4 screws that secure the battery cover to the frame of the phone.

  7. HNXxed3MZMUsFfqG
    HNXxed3MZMUsFfqG
    SvkMcVk5oiAoKEtA
    RR63RUbiXQW1lOSm
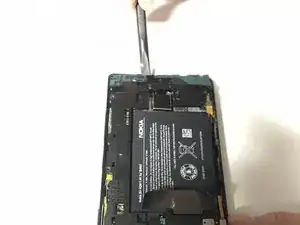
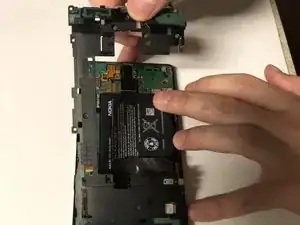
    • Use the flat end of a spudger to pry the battery cover from the phone's frame.

  8. LdCYXcxSJd44Idko
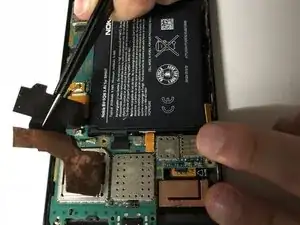
    • Pull up on the heat spreader.

    • Be careful not to tear it!

  9. dSpUqyTOiDslEuff
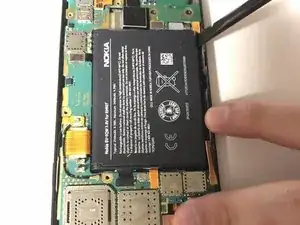
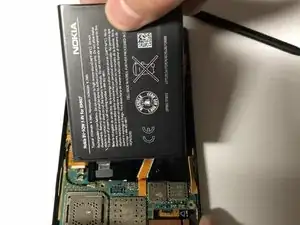
    • Use the flat end of the spudger to lift up the battery.

    • The battery is glued in place. Pry up carefully, not to damage it.

    • Two flex cables are directly underneath the battery.

  10. POU6cRaOs6WVlKeF
    • Remove the battery from the phone.

  11. EchiWa2Z3SExWGoR
    EchiWa2Z3SExWGoR
    qCTyb5oJVXBTGZZT
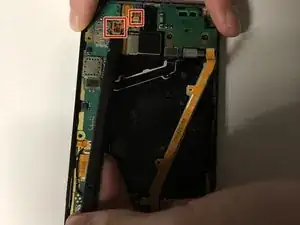
    • Use the flat end of a spudger to disconnect the camera connectors.

    • Pull the camera up and out to remove it from the phone.

  12. 4qVYRhnPGTXEFSGf
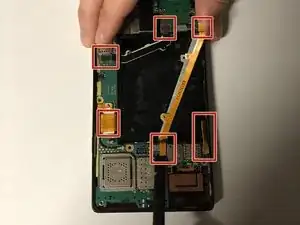
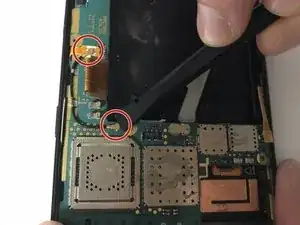
    • Use the flat end of a spudger to disconnect the six ribbon cables from the motherboard.

  13. xUpvVNdU5QNnTKpb
    xUpvVNdU5QNnTKpb
    YI3r3RqgAjTGGwGT
    IFdVS6QVJouCKXq3
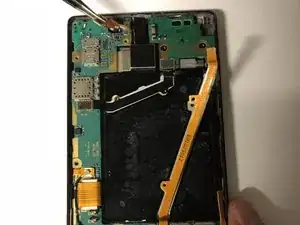
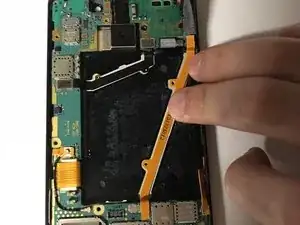
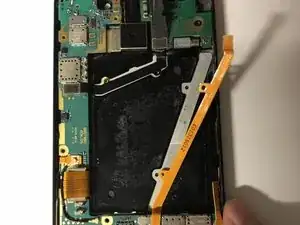
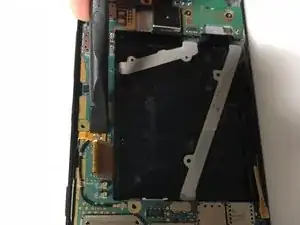
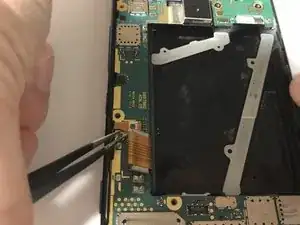
    • Use the flat end of a spudger to pry up the orange flex cable underneath the battery.

    • Remove the orange flex cable from the phone.

  14. CgaBb35TsBCoIjOV
    • Repeat the previous step for the black jumper flex cable under the battery.

  15. EUoDK1XDHXNu4RrE
    EUoDK1XDHXNu4RrE
    vXRQqFUtmVrPVUGS
    • Use the flat end of a spudger to disconnect both ends of the antenna cable from the motherboard.

    • Remove the antenna.

  16. OYKIMCTXyWgbBiHb
    • Use tweezers to grab the adhesive that is under the LTE flex cable and pull it outwards and towards the bottom end of the phone.

    • Apply new adhesive when reassembling the phone.

  17. uiSCerHE2CNyUrpn
    uiSCerHE2CNyUrpn
    isuiPdrUEn4ZLeQK
    f6aSUEWAFsxeMA5P
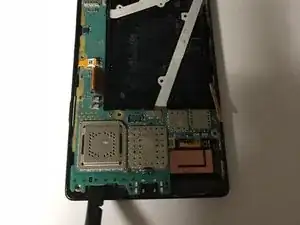
    • Use a spudger to pry up the bottom end of the motherboard, then pull it out.

  18. rOHXtElTkWFGNFUZ
    rOHXtElTkWFGNFUZ
    h3SI6fY2uvJyFWWF
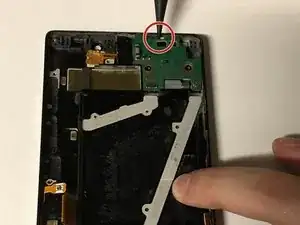
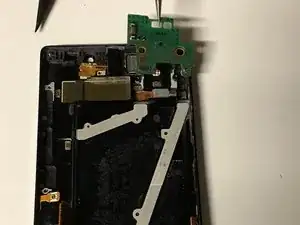
    • Use the pointed end of the spudger to pry up the daughterboard.

    • Use tweezers to lift the daughterboard out of the phone.

  19. IVsdrHW5yNZVVTMh
    IVsdrHW5yNZVVTMh
    IpG11gPg3p1EVBPk
    hAvNWJcZcSJKQjoa
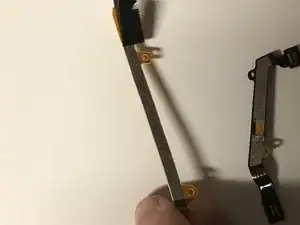
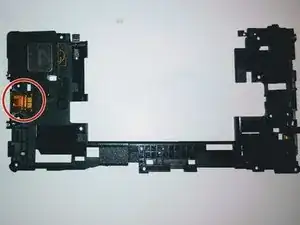
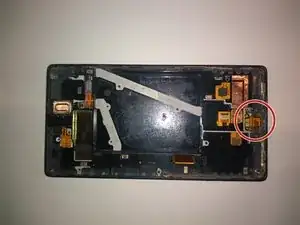
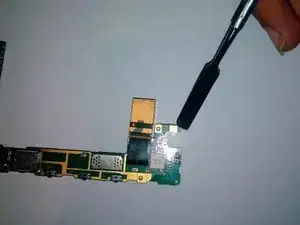
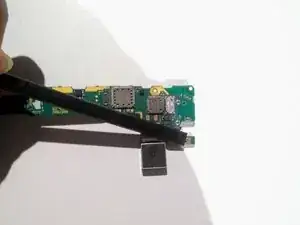
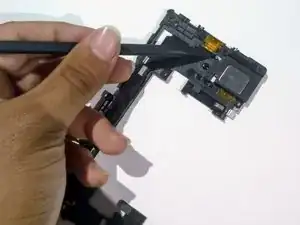
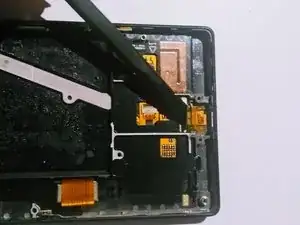
    • Locate all microphones. The first two microphones you will find are on the engine board. The two microphones will be back to back with each other. The third microphone will be on the engine cover. The last microphone will be on the last layer of the phone before the screen.

  20. G4MlM34YqGaYGwa5
    G4MlM34YqGaYGwa5
    LsayOAnU2brSTOMU
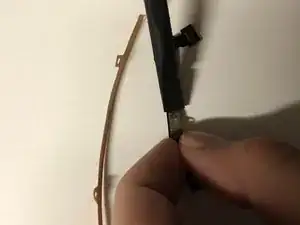
    • You are gonna wanna use akistan to pop off the microphone.

    • Remove all remainings with the Spudger #2.

    • Repeat both steps on second microphone which is located on the other side of the first microphone.

    • Be gentle with the metal akistan it is stronger than the Spudger.

  21. VSAHTDKQ5CJpIDVK
    • Use spudger to remove 3rd microphone. Located on the engine board cover.

  22. tCJJMNMpoS1TEEKE
    • Use spudger to remove 3rd microphone. Located on the last layer before the display screen.

Abschluss

To reassemble your device, follow these instructions in reverse order.
Josiah Sweatt

Mitglied seit: 21/02/18

565 Reputation

0 Kommentare