Einleitung

  1. SS4qDnHDG4jXitSZ
    SS4qDnHDG4jXitSZ
    OCttAjMLTlARvVhR
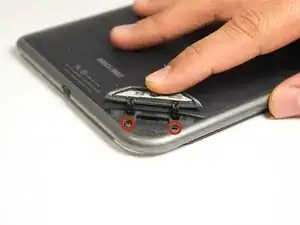
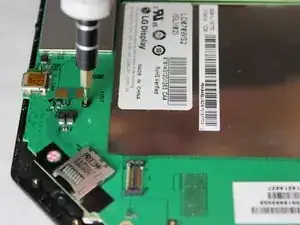
    • Remove the two 3.8 mm screws located in the back right corner of the device using the T5 Torx screwdriver.

  2. pQ1OsPkRfBA361TG
    pQ1OsPkRfBA361TG
    CXWt1etUkvDI1CMU
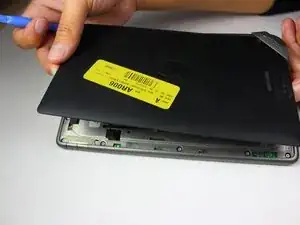
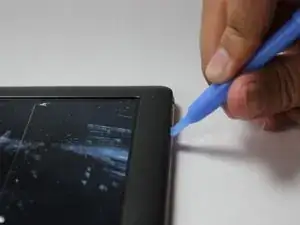
    • Pry off the back cover with the plastic opening tool. Go around the device with the tool to ensure complete detachment.

  3. 3XPxMarkoLcYTLCP
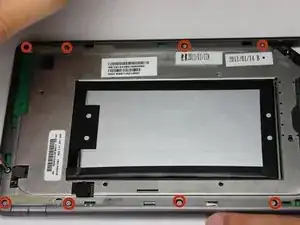
    • Remove the ten 4.0 mm screws from the device's perimeter using the T5 Torx screwdriver.

  4. ThASIIxj4RjPimrD
    ThASIIxj4RjPimrD
    NdGZ4sUZabsDujlO
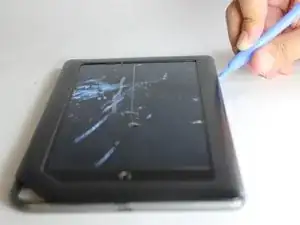
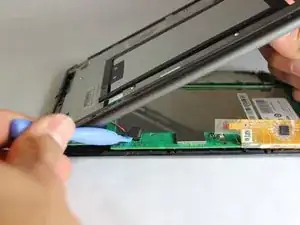
    • Pry off the front panel using the plastic opening tool.

  5. o3WGHa5i6cLmXdPO
    o3WGHa5i6cLmXdPO
    gYcgKjssddw2LAMY
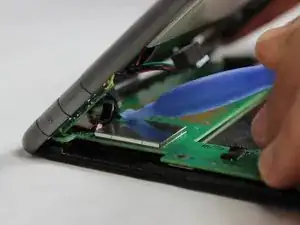
    • Lift up on the connectors to disconnect them using the plastic opening tool.

  6. GDVQdDM1BIKttJCX
    GDVQdDM1BIKttJCX
    obXJRUlbMZFZGQrX
    vkFlAsXRksfmodkP
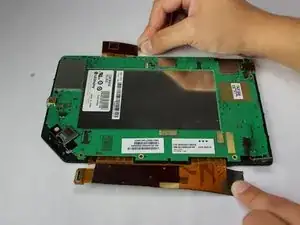
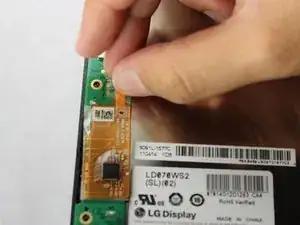
    • Gently lift and peel the orange and grey ribbon connectors to disconnect the screen and motherboard.

    You might want to tell them that the little yellow ribbon has a little thing you have to lift to remove the ribbon from the mother board. I thought I killed it. The rest of your instructions are perfect. Thanks

    alicemariebass6860 -

  7. XTDn2uiTLUrMnXoD
    • Remove the easy-to-miss T5 Torx 3.8 mm screw located in the tabbed corner of the device.

  8. FXkZZZ2JGOw3QMxt
    FXkZZZ2JGOw3QMxt
    mppi15e5VTfmsI3g
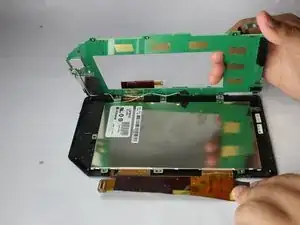
    • Lift the motherboard gently from the side with the larger connector ribbon.

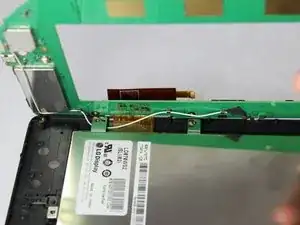
    • Slide the white cable gently from underneath its holding place to free the motherboard completely.

    • Remove the motherboard carefully from the device.

Abschluss

To reassemble your device, follow these instructions in reverse order.
Matthew Perdomo

Mitglied seit: 20/01/15

497 Reputation

0 Kommentare